
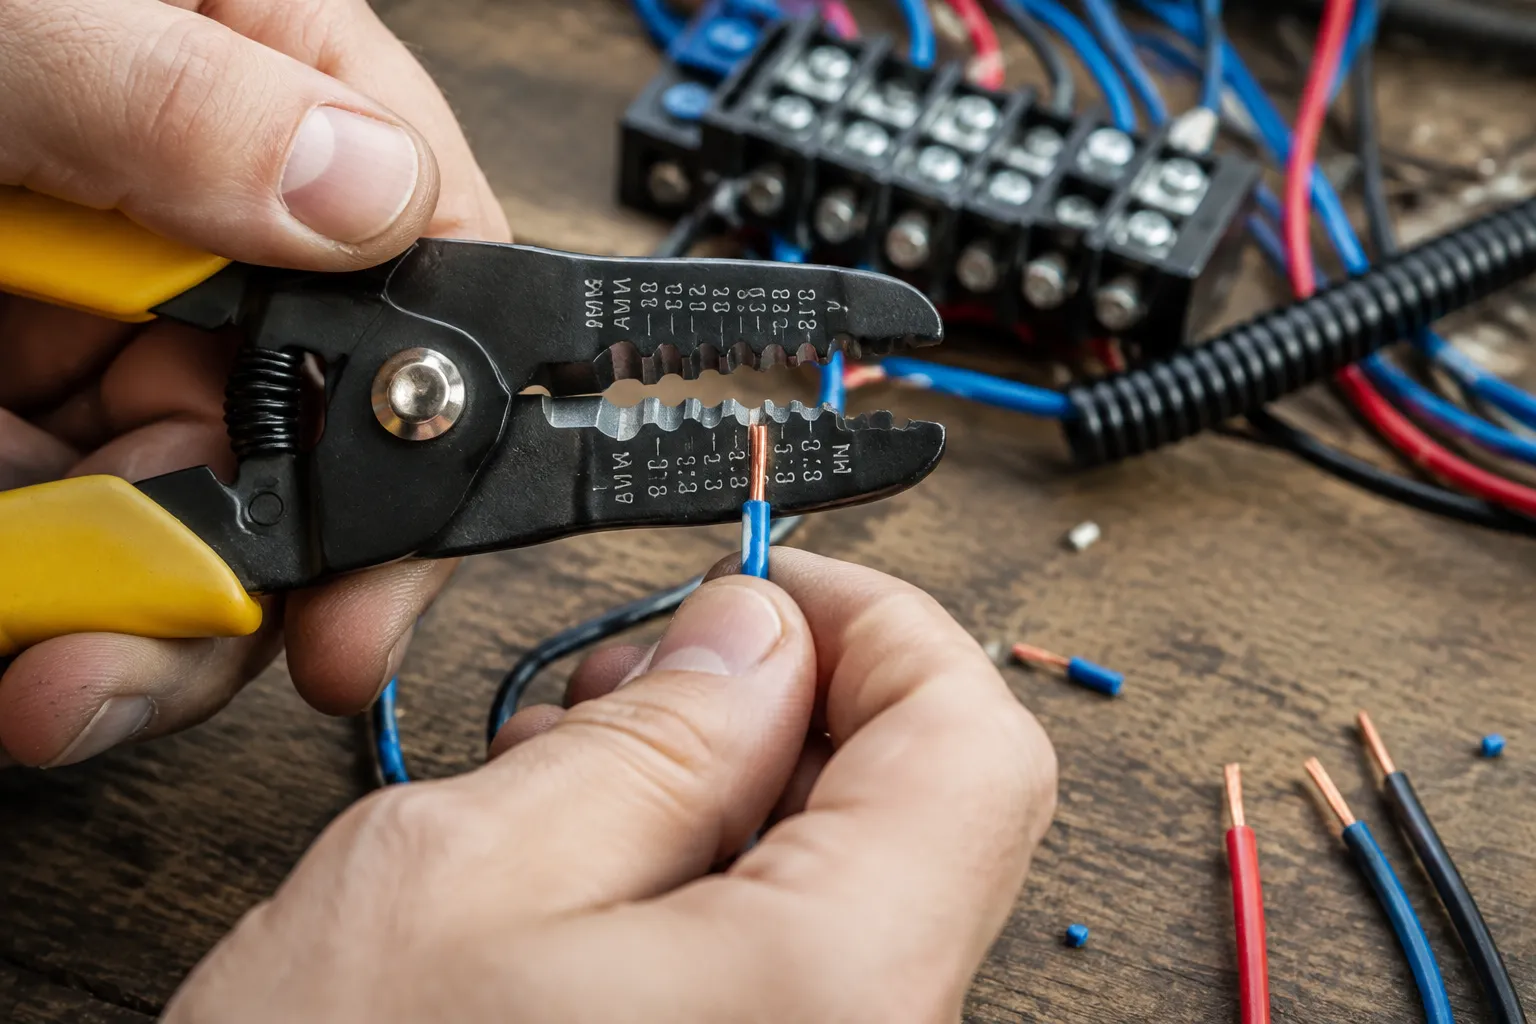
The printed gauge chart on a wire stripper is a lie, and the lie costs every electrician and hobbyist a few hundred wasted seconds per year. The markings are stamped for an ideal cable that no longer exists outside of a manufacturer's quality-control lab. Copper stranding has gotten looser, insulation compounds have gotten softer and thicker relative to the conductor, and the cheap strippers most people own are forged with tolerances that would make a machinist wince. The result is a tool that says "10 AWG" on the jaw but strips the insulation off a 12 AWG wire just as readily, or chews into the copper strands of a genuine 10 AWG because the blade gap has drifted. Reading the chart correctly means understanding that it is a starting point, not a specification.
The first thing to accept is that every stripper is calibrated for a specific insulation thickness, and that insulation thickness has changed. The classic PVC insulation on THHN wire, the stuff in every home center and most commercial jobs, measures roughly 30 mils thick on a 12 AWG conductor. But the same gauge of wire sold as "building wire" in a big-box store can carry a thinner or thicker jacket depending on the manufacturer and the lot. A stripper set for 30 mils of PVC will still strip a wire with 35 mils of insulation, but it will score the copper slightly. It will also fail to cut cleanly through a wire with 45 mils of jacket, leaving a ragged fringe that has to be picked off by hand. The gauge chart on the tool assumes a fixed jacket thickness. The wire on the spool does not care about that assumption.
This matters most for people working with the cheap yellow-handled strippers sold at hardware stores for eight dollars. Those tools are die-cast zinc with stamped steel jaws, and the jaw gap is set at the factory by a person or a machine that may or may not have been having a good day. A new one will often strip 12 AWG perfectly and then mangle 14 AWG, or the reverse. The gauge chart printed on the handle is a suggestion printed in optimistic ink. The tool's actual performance has to be tested on the real wire being used, not read off the side of the handle.
Why the Same Gauge Strips Differently by Brand
Take two spools of 14 AWG stranded wire from two different manufacturers and hold them side by side. One has a tight, glossy PVC jacket that feels almost hard. The other has a matte, rubbery compound that squishes under a thumbnail. The copper inside is the same gauge in both, but the stripper does not see copper. It sees the outside diameter of the insulation, and that diameter can vary by 15 percent between brands without either one violating the National Electrical Code.
The practical consequence is that a stripper set for the thicker, rubbery jacket will cut cleanly through it while barely scratching the glossy one, and a stripper set for the glossy jacket will crush the rubbery one and leave a permanent compression ring in the insulation. That ring is not cosmetic. It creates a weak point where the jacket can split later, especially in a hot attic or a cold garage where the PVC gets brittle. The gauge chart does not tell a person any of this. It just says "14", and the person assumes that means the tool is correct for every 14 AWG wire ever made.
Automotive wire is the worst offender. The primary wire sold for car rewiring in the 16 and 14 gauge sizes is almost universally thin-wall cross-linked polyethylene, which is maybe half the thickness of building wire. A standard stripper set for THHN will grab that thin jacket, cut through it, and then also bite into the copper strands because the blade travel is too deep for the thin wall. The result is a damaged conductor that looks fine until it flexes a few hundred times and a few strands fatigue and snap. A person who uses the gauge chart as gospel will strip a hundred wires and damage a quarter of them without ever seeing the strands break.
Reading the Chart for Stranded Versus Solid Conductor
The gauge number printed on the tool corresponds to the conductor cross-section, not to the number of strands. A 12 AWG solid wire is a single copper rod with a specific diameter. A 12 AWG stranded wire is a bundle of seven or nineteen smaller strands that occupies roughly the same overall cross-section but presents a compressible surface to the stripper blade. When the blade presses into stranded wire, the individual strands give slightly, which means the effective cutting depth is shallower than on solid wire. A stripper that works perfectly on solid 12 AWG will often grab stranded 12 AWG and squeeze it instead of cutting it cleanly, pushing the strands together and leaving a ragged end.
This is why many professional electricians keep two strippers in the bag: one tuned for solid wire and one for stranded. The gauge chart on each tool is identical, but the jaw gap has been filed or adjusted over time to suit the actual wire type. The honest reading of the chart is that it gives the nominal gauge, and the user has to develop a feel for whether the tool is cutting or crushing. A clean strip produces a pop or a click as the blade passes through the insulation. A crush produces a dull thunk and the wire comes out with a flattened section. Listening to the difference is more reliable than looking at the chart.
For very fine wire, 22 AWG and smaller, the chart is almost useless. The blade gap on most budget strippers is too coarse to reliably catch a 22 AWG jacket without nicking the conductor. A person doing electronics work with 22, 24, or 26 AWG wire should skip the standard stripper entirely and use a precision tool with an adjustable stop or a swivel blade. The gauge chart on those small tools is usually engraved on the adjustment dial and is accurate only if the dial is clicked to the exact position for the wire being stripped. Even then, a quick test strip on a scrap piece is faster than trusting the dial.
The Self-Adjusting Stripper Exception
Self-adjusting strippers, the kind with a spring-loaded V-jaw that closes around the wire, sidestep the gauge chart problem entirely because they have no gauge chart. The tool senses the outside diameter of the insulation and adjusts the blade depth automatically. This works brilliantly for standard round PVC and terribly for flat or oval cable, for wires with unusually thick jackets, and for any wire where the insulation is so soft that the jaws deform it before the blade can cut. The self-adjuster is the right tool for someone who strips a wide variety of gauges all day and does not want to fiddle with a dial. It is the wrong tool for someone who needs a precise, repeatable strip length on every wire.
For everyone else, the fixed-gauge stripper with the printed chart is still the workhorse, and the chart still matters, but only as a map of where to start. A professional does not read the chart, set the tool, and strip. A professional reads the chart, strips one test wire, looks at the result, and then adjusts the stop screw or files the jaw if the cut is off. The chart gives the nominal gauge. The test strip gives the truth. The gap between those two is where the skill lives.
Adjusting the Stop Screw on a Quality Stripper
A decent stripper, the kind that costs twenty-five dollars or more, has a small stop screw or a cam that limits how far the handles can close. That screw sets the blade depth, and it is the single most important adjustment on the tool. Turning it a quarter turn changes the strip quality more than any other variable. The factory setting is for average insulation. A person working with thin-wall automotive wire needs to back the screw out slightly so the blades do not close as far. A person working with thick rubber-jacketed cord needs to turn it in. The gauge chart on the handle does not mention the stop screw, but the stop screw is what makes the chart accurate.
Testing the adjustment takes ten seconds. Strip a piece of the actual wire being used, pull the insulation off, and look at the copper under a bright light. A clean strip leaves the copper bright and round with no score marks and no flattened strands. A strip that is too deep leaves a faint ring around the conductor or a few strands that are shiny and burnished from the blade. A strip that is too shallow leaves a lip of insulation that has to be pulled off manually. Adjust the screw, strip again, and repeat until the cut is clean. The gauge chart gets a person close. The test strip gets a person right.
The Color-Coded Jaw Problem
Many strippers color-code the jaw openings to match the standard wire color scheme: red for 22 AWG, blue for 18, yellow for 16, green for 14, and so on. The color coding is a convenience, but it fails in two ways. First, not all manufacturers use the same color scheme. One company's green jaw is another company's blue jaw, and a person who switches brands without checking the chart will strip with the wrong hole. Second, the color coding assumes the standard insulation thickness for that gauge. A 14 AWG wire with thick rubber jacket will not fit through the green hole meant for 14 AWG building wire. The color is a guide, not a guarantee.
The better habit is to ignore the colors and read the numbers stamped into the steel. Those numbers are the gauge, and they correspond to the conductor size, not the jacket size. A wire that is 14 AWG with a thick jacket will still need the 14 AWG hole; the blade will just have to cut deeper. The alternative, forcing the wire into a larger hole because the jacket is thick, produces a strip that is too long and leaves too much bare conductor exposed. That creates a short-circuit risk in a junction box and a general mess on a workbench.
When the Chart Is Right and the Wire Is Wrong
Occasionally the chart is perfectly accurate and the wire is defective. Low-cost imported wire, especially the stuff sold in bulk online, sometimes has insulation that is visibly thicker on one side than the other. The conductor sits off-center inside the jacket, and a stripper that cuts cleanly on one side of the wire will chew into the copper on the other. This is not a tool problem. This is a wire quality problem, and no gauge chart, no stop screw, and no self-adjusting jaw can fix a conductor that is not centered in its own insulation. The only response is to inspect the wire before stripping and discard any spool that shows eccentric insulation.
There is also the matter of metric wire. A person who buys imported equipment from Europe or Asia will encounter wire labeled in square millimeters, not AWG. The gauge chart on an American stripper does not cover metric sizes, and the nearest AWG equivalent is often off by one. A 2.5 square millimeter conductor is close to 14 AWG but not identical, and stripping it with the 14 AWG hole will either be slightly loose or slightly tight depending on the actual strand count. The chart is silent on this, and the only way through is to test a piece and adjust the stop screw until the cut is clean.
The Habit That Replaces the Chart
After enough hours of stripping wire, the chart becomes background noise. A person stops reading it and starts reading the wire. The feel of the tool closing, the sound of the blade cutting, the look of the stripped end against the bright workbench light, these become the real calibration. The chart is what a person checks when first setting up a new tool or when switching to a wire type that is unfamiliar. Everything else is experience, and experience is just a series of test strips that were paid attention to.
The next time the stripper mangles a piece of 12 AWG and the instinct is to blame the tool, blame the assumption instead. The wire on the spool does not know that the chart said 12. It only knows what it is, right now, in this lot, with this insulation compound and this strand count. Strip one test piece before the real ones. Look at the copper. Adjust the screw if needed. Then get to work, and the chart goes back to being what it was always meant to be: a label on a tool, not a promise.