
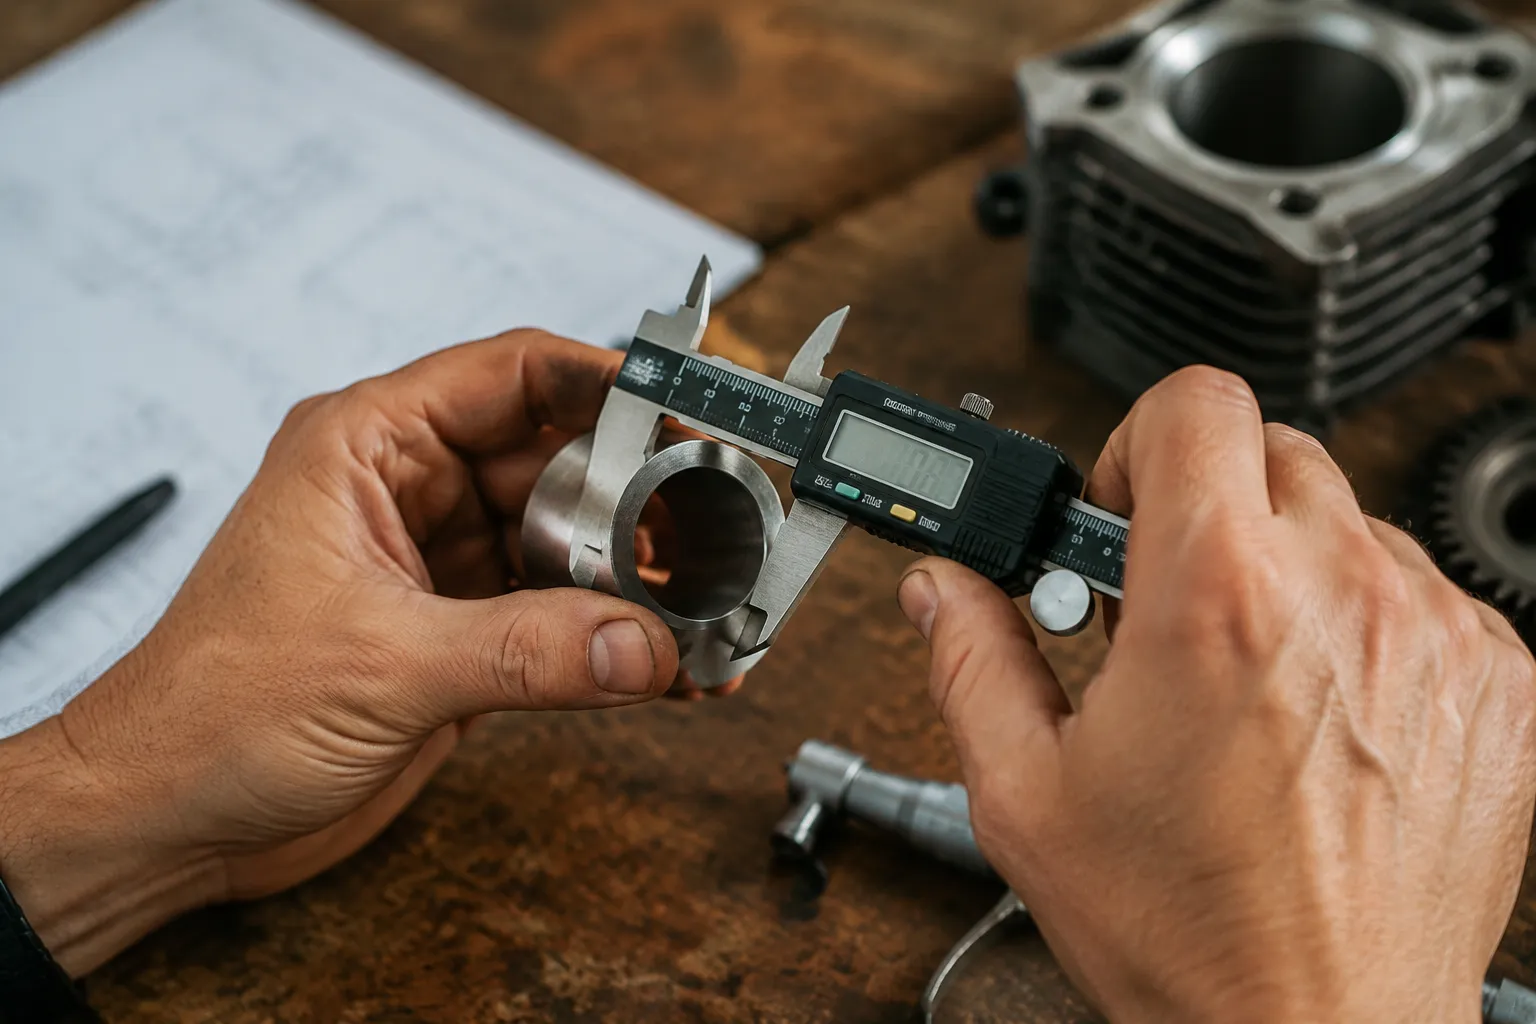
Digital calipers have a split personality. In a machine shop, they are a quick-check tool, a step below the micrometer in precision but far ahead in speed. In a home workshop, they are treated like laboratory instruments, and the whole fit of a project gets blamed on a tool that was never the source of the error. The accuracy conversation usually starts and ends with the resolution on the display, which is a mistake. A caliper reading to 0.01 mm is not the same as a caliper that measures accurately to 0.01 mm, and a DIY fit that fails usually fails because of how the tool is held, what it is measuring, and where the assumption of flatness and squareness came from.
The distinction between resolution and accuracy matters more than the number of decimal places. Resolution is just the smallest increment the display can show. Accuracy is how close that displayed number is to the true dimension, and for most digital calipers in the affordable range, the stated accuracy is plus or minus 0.02 mm, which is fine for woodworking and most metalwork on a hobby scale. The problem appears when a person expects the last digit to mean something it does not. That digit is often a guess, a rounding artifact, or a product of temperature drift.
What the jaws actually do
The jaws are the most under-examined part of the whole tool. A set of calipers can have a perfect digital circuit and still measure wrong because the measuring faces are not flat, not parallel, or not actually touching the work piece. Cheap calipers often have jaws that are ground, not lapped, and the difference shows up when a person takes a measurement at the very tip of the jaws versus the base near the beam. The tip can read 10.02 mm and the base can read 10.05 mm on the same object. That is not a display problem. That is a geometry problem.
The fix is to measure consistently in the same zone of the jaws, and ideally at the same depth. For a press-fit or a sliding fit, the exact location of the measurement matters more than the average. A bore that is 10.00 mm at the mouth and 10.03 mm at the bottom is a different part than a bore that is uniform, but a single caliper reading cannot tell anyone which one they have. The caliper only reports what the jaws touched, and if the jaws only touched the mouth, the rest of the bore is a guess.
The squeezing error
Hand pressure is the quiet killer of DIY fits. A person measuring a shaft with calipers tends to squeeze until the jaws feel snug, and snug is a moving target. On a soft material like aluminum or brass, the squeeze can compress the part by a few hundredths of a millimeter, which is exactly the tolerance zone for a tight fit. The caliper reads 9.98 mm on a part that is actually 10.00 mm at rest, and then the part gets machined to the wrong size.
The same squeeze affects the caliper itself. The frame flexes slightly, and the jaws deflect. A person who measures the same pin five times in a row with different pressure will get a spread of readings that has nothing to do with the pin. The right approach is to close the jaws gently until they just touch the part, then back off a hair. If a person cannot feel the difference between light contact and firm contact, they should practice on a known standard, like a gauge block or a brand new drill bit shank, until the readings stop shifting.
Where the zero point goes wrong
Zeroing a caliper sounds simple. Close the jaws, press the zero button, and start measuring. But the zero is only as good as the closing. Dust, a tiny burr, or a speck of swarf sitting between the jaws at the moment of zeroing becomes a permanent offset for the whole session. A 0.01 mm chip that no one sees turns every reading into a 0.01 mm lie.
Beyond that, the zero button gets misused as a way to fake a measurement. Some people use the absolute-zero function to zero on a reference part that is not actually a reference, then measure other parts against it. That works only if the reference is known good, and most shop-made reference parts are not. A person is better off zeroing the caliper with the jaws closed on air, cleaning the jaws first, and then measuring the work piece directly.
There is also the question of whether the caliper has a true absolute encoder or a capacitive system that drifts. Many cheap digital calipers use a capacitive scale that can lose its reference point when the battery is low or when the electronics get a static shock. The display still shows numbers, but those numbers are floating. The tell is a reading that jumps by a full millimeter when the jaws are not moving. A caliper that does that is not accurate, it is decorative.
Temperature drift nobody accounts for
Metal expands with heat, and that is not a theoretical concern for a DIY fit. A caliper held in a warm hand for a couple of minutes can read 0.02 mm larger on a 50 mm part than the same part measured cold. The work piece itself also changes. A shaft that was just machined and is still warm from cutting will measure large, and when it cools down to room temperature, it shrinks. A person who measures a warm part, machines a mating bore to that warm dimension, and then assembles the parts later at room temperature gets a press fit where a sliding fit was intended.
The practical rule is to measure everything at the same temperature, ideally room temperature, and to let the caliper sit on the bench for a few minutes before a critical measurement. Holding the caliper in one hand while the other hand positions the part is the worst case, because the heat from the hand has time to soak into the beam. The steel beam expands more slowly than the aluminum jaws, which creates a reading that drifts as the person waits.
The inside jaws lie more than the outside jaws
Most people measure outside diameters and widths, and those readings are reasonably trustworthy if the pressure and position are controlled. The inside jaws are a different story. They are shorter, they are at the top of the tool, and they require the caliper to be angled slightly to get the tips into a bore. That angle means the jaws might be measuring across the bore at a slight diagonal, which makes the reading larger than the true diameter.
Worse, the inside jaws on many calipers are not ground to the same precision as the outside jaws. A caliper can measure a 10.00 mm pin accurately on the outside jaws and then measure the same bore at 10.03 mm on the inside jaws, and the error is in the tool, not the part. For bores and slots, a person should either use a dedicated inside micrometer, a telescoping gauge, or at least check the inside jaws against a known ring gauge before trusting them for a critical fit.
The step and depth rods are afterthoughts
The step measurement, which uses the back of the main jaw against the end of the sliding jaw, is convenient but rarely accurate on cheap calipers. The step faces are often not perfectly square to the beam, and a small angular error becomes a large linear error over the length of the step. Measuring the depth of a blind hole with the depth rod is even worse, because the rod is thin, it flexes, and it is easy to rock the caliper so the rod is not perpendicular to the bottom of the hole.
For a slip fit or a press fit, the depth measurement is often the one that gets ignored until the last minute, and then it fails. A person measures the depth of a pocket with the depth rod, gets a reading of 15.00 mm, cuts a part to 14.98 mm, and then finds the part does not seat because the pocket has a small radius in the corner that the depth rod did not account for. The caliper was accurate. The geometry of the part was not what the person assumed.
Battery voltage and the slow death of accuracy
Digital calipers stop being accurate before they stop displaying numbers. As the battery voltage drops, the capacitive measurement system can produce readings that drift or skip, but the display keeps updating, so the tool looks alive. A caliper that reads 10.00 mm on a known standard one day and 10.02 mm the next day, on the same standard, at the same temperature, is telling the user the battery is weak or the scale is contaminated.
Replacing the battery is cheap. Replacing a ruined part is not. A smart habit is to check the caliper against a known standard before every critical session, not just when it looks like the battery is low. A gauge block is ideal, but a new drill bit shank or a precision dowel pin works as a rough check. A caliper that cannot repeat the same reading on the same standard within 0.01 mm is not fit for the job.
Choosing the right caliper class for the job
Not every DIY project needs a 0.01 mm caliper. Woodworking joints, for example, involve wood movement that dwarfs caliper error. A board that expands 0.5 mm across its width with humidity change makes a 0.02 mm caliper error irrelevant. The caliper is still useful for measuring the thickness of a board or the diameter of a dowel, but the final fit is decided by the material, not the tool.
Metal parts with actual tolerance requirements, like a bearing pressed into a housing or a shaft sliding through a bushing, demand a caliper that is at least repeatable, and ideally accurate to the stated 0.02 mm. The difference between a 20 dollar caliper and a 100 dollar caliper is not the resolution, it is the consistency of the jaws, the smoothness of the slide, and the quality control on the scale. A cheap caliper can be accurate, but it needs to be verified, and it needs to be used with the same technique every time.
For the person doing one-off fits, the single most useful upgrade is not a more expensive caliper. It is a set of gauge blocks or a known standard to check against. That changes the caliper from a device that displays numbers to a device that reports measurements, and the difference is the entire game. A caliper that has been verified at the start of a session, used with light pressure, at a consistent jaw position, at room temperature, will produce fits that work.
The habit that actually fixes fits
People who build things for a living do not trust the caliper for critical fits. They measure the part, then they measure the mating part, and then they compare the two numbers. The caliper does not need to be perfectly accurate for that comparison. It needs to be repeatable. If the caliper consistently reads 0.01 mm large, that error cancels out when both parts are measured with the same tool. The fit works because the relative difference between the two measurements is correct.
The failure mode in DIY is when someone measures the shaft with a caliper, writes down the number, and then measures the bore with a different tool, like a telescoping gauge and a micrometer, and trusts both numbers absolutely. Now the errors stack. The caliper reads large by 0.01 mm, the micrometer reads small by 0.005 mm, and a fit that was designed for 0.02 mm clearance becomes an interference fit. The tools are fine. The process is broken.
A person who wants reliable fits should pick one measuring tool for each type of measurement and stay with it. Measure outside diameters with the caliper. Measure bores with the caliper inside jaws if they have been checked. Measure depths with the depth rod. And then, when the numbers seem suspicious, measure the same part three times, repositioning the caliper each time, and see if the readings agree. They usually will, within a hundredth or two, and that spread is the real tolerance of the process.
The final check is a simple one. Take the caliper, measure the part, and then set the part down and pick it up again and measure it a second time. If the two readings are identical, the caliper is repeatable at that moment. If they are not, the issue is technique, pressure, or the tool itself. A person who does this check on every critical part will catch the failures early, and a fit that is measured twice is a fit that is twice as likely to go together right the first time.