
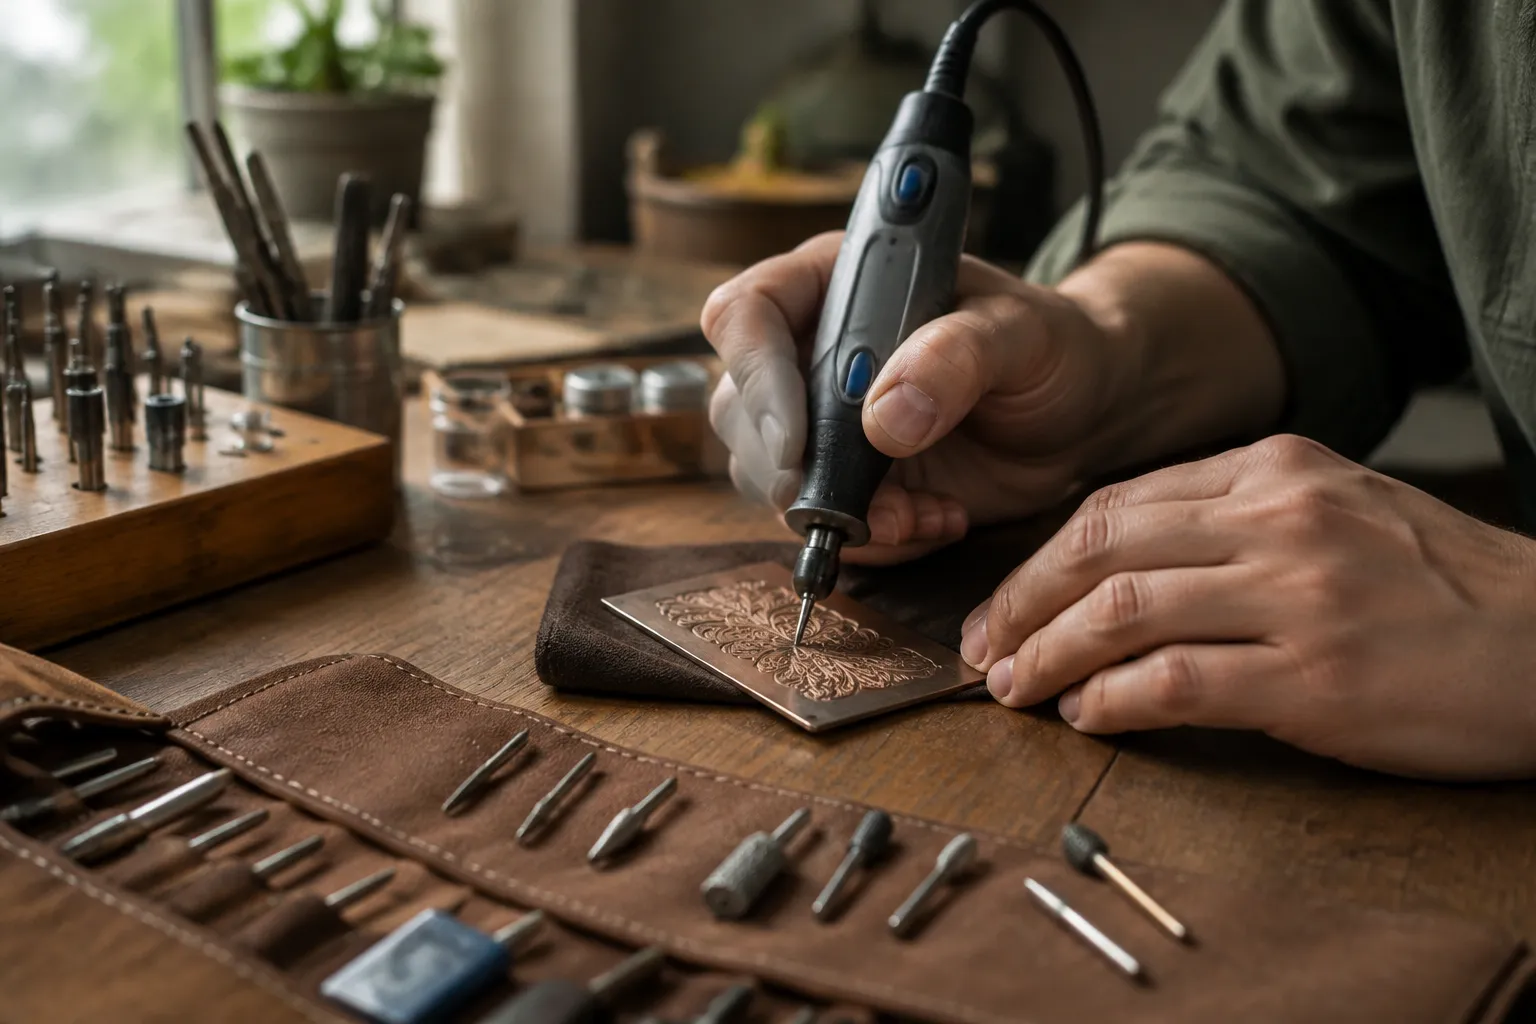
The small rotary tool, usually sold as a Dremel or one of its many clones, sits in a drawer in most households, pulled out twice a year to cut a rusty bolt or grind down a sharp edge on a piece of metal furniture. That is a waste. The same tool, fitted with the right engraving bit, can put a permanent, precise line into steel, glass, stone, and hard plastic. The difference between a scratchy mess and a clean, professional-looking engraving is almost entirely about the bit, not the tool. The motor just spins; the bit does the thinking.
Engraving bits are a confusing category because the packaging rarely explains what the bit is actually good at. A blister pack of "engraving cutters" might contain five shapes that look interchangeable but behave completely differently against a surface. The geometry of the cutting end, the material it is made from, and the speed the tool is set to all matter more than the brand name on the shank. Sorting out which bit does what turns a frustrating afternoon into a reliable skill.
The geometry of a cut, not a scratch
The fundamental distinction between engraving bits is whether they cut or they abrade. A cutting bit has flutes, like a tiny drill bit, and it removes material by shearing it away. An abrasive bit, usually a cone or cylinder coated in diamond grit or aluminum oxide, removes material by grinding it down particle by particle. Newcomers often reach for the abrasive bits first because they are cheap and seem safer. They are also the reason so many home engraving projects look like they were done with a dull nail.
Abrasive bits work, but they leave a frosted, rough-edged line that picks up dirt and looks gray rather than bright. They also wear down quickly, which means the line gets wider and shallower as the work progresses. For a one-off signature on a glass vase, that might be acceptable. For a repeated pattern, a monogram, or any work where the line should look deliberate, a carbide cutter with actual flutes is the right tool.
Carbide engraving cutters come in a few standard shapes. The cone with a rounded tip is the workhorse. It cuts a broad, shallow trough with a smooth bottom, and the rounded tip means the tool can move in any direction without digging in. The pointed cone, sometimes called a 60-degree or 90-degree graver, cuts a V-shaped line that looks like traditional hand engraving. That shape is ideal for lettering on metal because the line has a crisp edge and catches light well. The flat-bottom cylinder, or end mill, is for cutting wider channels and is less useful for fine detail work, though it excels at cutting clean edges on thin sheet metal.
The material of the bit matters as much as the shape. High-speed steel bits are cheap and fine for soft materials like wood and acrylic. They dull quickly on brass and aluminum and are nearly useless on steel. Carbide bits hold an edge much longer and are worth the higher price for any metal work. Diamond-coated bits, which are abrasive rather than cutting, are the only practical option for glass and stone, since carbide will skitter across those surfaces without biting in.
What the packaging does not say
Manufacturers sell engraving bits in kits, and the kits are almost always a trap. A typical set includes a dozen assorted shapes, most of which are duplicates or variations on the same idea. The useful ones are usually two or three specific shapes, and the rest sit in the plastic case forever. Buying a small kit to learn what works is reasonable, but the smart move is to buy the individual bits that match the task.
The other thing the packaging hides is the shank size. Most rotary tools accept a 1/8-inch shank, but some of the more powerful models take 1/4-inch shanks, and the tiny tools used for nail art or model building take a 3/32-inch shank. A bit with the wrong shank size either wobbles dangerously or requires a collet adapter that introduces runout. Runout, the wobble of the bit as it spins, is the enemy of fine detail work. A bit that appears perfectly straight in the package can still have a slight bend or an off-center grind, and at 20,000 RPM that tiny imperfection becomes a visible vibration that chatters the cut.
Testing for runout is simple. With the tool unplugged, insert the bit and spin the collet nut by hand while watching the tip against a fixed background. If the tip traces a visible circle, the bit is bad or the collet is dirty. Cleaning the collet with a small brush and a drop of solvent fixes more engraving problems than buying a better bit does. Dirt and old grit in the collet cause the bit to seat slightly crooked, and no amount of steady hand work can compensate for that.
Speed, pressure, and the feel of the cut
The rotary tool has a variable speed dial for a reason, and the reason is not comfort. Engraving speed is a compromise between cutting efficiency and control. At the maximum 30,000 to 35,000 RPM, a carbide cutter removes material fast, but it also wants to skate across the surface and pull the tool out of the hand. At too low a speed, the bit grabs and chatters, leaving a scalloped, uneven line. The sweet spot for most carbide engraving bits on metal is between 10,000 and 15,000 RPM. On glass, the speed should be lower, around 8,000 to 10,000 RPM, and the pressure almost feather-light, because glass does not cut so much as it fractures.
Pressure is the variable that ruins the most home engraving. The instinct is to press down hard to make the line deeper and more visible. That instinct is wrong for nearly every material. A carbide cutter at 12,000 RPM cuts steel just fine with the weight of the tool and a light guiding hand. Pressing down forces the bit to dig, which increases friction, heats the tip, and dulls it prematurely. It also makes the line wider than intended and harder to control. The correct feel is like drawing with a fine-tipped pen on a slightly rough paper: the tool does the work, and the hand only steers.
The sound changes when the pressure is right. A clean cut produces a steady, high-pitched whine with no vibration in the hand. A bit that is being forced produces a lower, grinding sound and a distinct buzz that travels up the tool body. Learning to listen for that difference is more useful than watching the cut, because the eyes are usually focused a few millimeters ahead of the bit.
Steel, glass, and the materials that fight back
Annealed steel, like the body of a pocket knife or a brass plate, is the most forgiving surface for a beginner. It cuts cleanly with a pointed carbide cone, holds a fine line, and does not chip. Hardened steel, like a drill bit or a file, is a different story. The surface is too hard for a carbide cutter to bite, and the bit will skate and leave a faint, uneven scratch. Diamond-coated bits handle hardened steel, but slowly, and the process is more like grinding than cutting. For most home projects, the practical answer is to engrave the material before it is hardened, or to choose a softer metal like aluminum or brass for the project in the first place.
Glass is where engraving bits earn their reputation. A carbide cutter on glass makes a horrible screeching sound and skips across the surface without cutting. Diamond-coated bits, either in a cone or a fine point shape, grind glass slowly and produce a frosted white line. The trick with glass is to keep the bit moving. Stopping in one spot, even for a fraction of a second, creates a deeper, darker pit that looks like a flaw. The correct technique is to make the whole pass in one smooth motion, then go over it again if a deeper line is needed. Water or a drop of cutting oil keeps the dust down and the bit cool, but dry engraving works too if the speed is low and the passes are light.
Stone behaves like a slower, harder version of glass. A diamond cone bit on a river stone or a piece of slate produces a rough, light-colored line that looks natural and rustic. The challenge with stone is the uneven surface. A bit that is set to a certain depth will cut deeper in a depression and shallower on a ridge, so the line thickness varies. Working with the tool angled slightly and letting the bit ride the contours, rather than forcing it into the surface, produces a more consistent result.
Plastic and acrylic present a different problem: melting. A carbide cutter spinning too fast generates enough heat to soften the plastic, which then re-solidifies around the bit and leaves a fuzzy, cloudy edge. The solution is high speed and very light passes, or low speed and a slow, steady feed. The best approach is a test cut on a scrap piece of the same plastic, because the melting point varies widely between types of plastic. A 3D-printed part in PLA engraves beautifully at low speed, while a sheet of acrylic needs high speed and a gentle touch to keep the edges clear.
The bits worth buying and the ones to skip
For a home shop that wants to engrave a little of everything, a short list of bits covers almost every task. One 1/8-inch shank carbide cone with a rounded tip, around 3/32-inch cutting diameter, handles metal, plastic, and wood. One 60-degree pointed carbide cutter, the kind sold for circuit board work, does fine lettering and detailed line work on metal. One diamond-coated cone bit, either 1/8-inch or 3/32-inch, covers glass, stone, and hardened steel. That is the whole kit. Everything else in the store is either a specialty tool for a specific industrial task or a variation that makes a marginal difference.
The bits to skip are the ones sold as "high-speed cutters" with a ball-shaped abrasive end. These are for grinding, not engraving, and they leave a rough, round-bottomed groove that looks like a gouge. Also skip the tiny diamond points sold in sets of ten or twenty for use in nail art tools. They work, but the shanks are too thin for a standard collet, and they break at the slightest side load. A single good carbide cutter costs more than one of those sets and lasts longer than all of them combined.
Sharpness is not negotiable. A carbide bit that has been used on steel will eventually dull, and the first sign is a change in the sound and a tendency for the line to get rougher. Carbide cannot be sharpened by hand with any practical success, so a dull bit is simply a dead bit. Replacing it is cheaper than ruining a work piece. Diamond-coated bits last much longer, but they too wear out, and a worn diamond bit cuts slowly and produces a fuzzy, inconsistent line. Keeping a mental log of how many pieces each bit has done helps, because the dulling is gradual and easy to miss until the work starts looking bad.
Practice lines and the value of scrap
The single most useful habit for engraving at home is keeping a scrap bin of materials to practice on. A few pieces of 1/16-inch aluminum sheet, a broken glass jar, a spare piece of acrylic, and a few steel washers provide enough surface to test every bit, every speed, and every pressure before touching the real project. A person who spends fifteen minutes on scrap before starting learns more about the tool than from any amount of reading. The feel of the bit biting into aluminum at the right speed, the sound of a clean cut on glass, the way the tool wants to pull to one side when the bit is slightly worn, all of that lives in the hands and the ears, not in a manual.
Marking the work before engraving removes most of the difficulty. A thin line from a fine-tipped permanent marker, or a layout drawn with a scribe on metal, gives the hand a track to follow. Freehand engraving without a guide is a show of skill, not a sensible way to work. Masking tape over the surface also helps. The tape gives the bit a slightly different feel, reduces skipping on smooth surfaces, and lets a person draw the design on the tape with a pencil before committing to the cut. The tape peels off afterward and leaves a clean edge.
The rotary tool is often called a precision tool, but precision is the wrong word. It is a fast tool, and speed amplifies every mistake. A hand graver moved a fraction of a millimeter off course makes a tiny error. The same error at 12,000 RPM becomes a visible gouge in the time it takes to blink. Working slowly, letting the bit feed at its own pace, and stopping to check the line frequently produces better work than any amount of steady-handed speed. The engraving bits are the difference between a tool that scratches and a tool that draws, but the hand that holds it still has to be patient.