
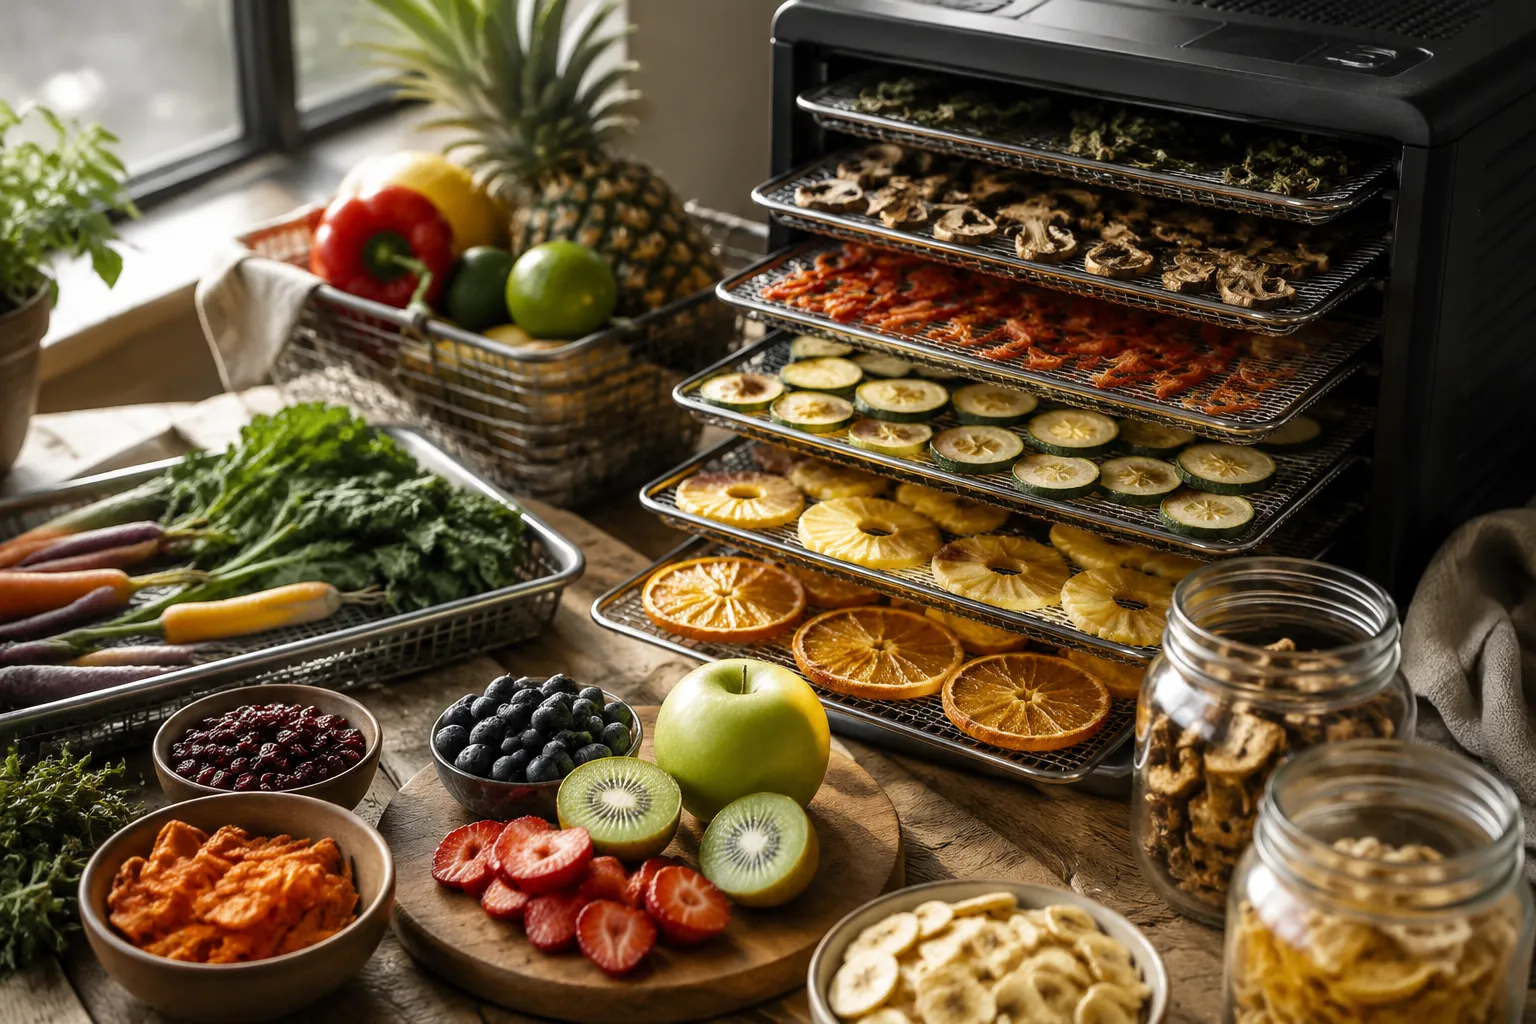
Fruit leather that tastes like a melted fruit roll-up with none of the structure, beef jerky that snaps like a twig, kale chips that turn into green dust at the bottom of the container within a day. These are the failures that give home dehydrators a bad name, and they are almost always the result of the same mistake. People treat the dehydrator like a tiny oven and expect it to behave like one. It does not. It is a machine for removing water slowly, and every successful snack depends on respecting that single fact.
The machine itself is a simple box with a fan and a heating element. It has no broiler, no convection setting, no temperature probe. The heat is gentle, usually between 125 and 165 degrees Fahrenheit, and the air circulates until the moisture inside the food is gone. That is the entire mechanism. The craft is in how the food is prepared before it goes in, how long it stays, and what happens after it comes out. Most snack prep fails at the preparation stage.
Take the humble apple slice. A person can core an apple, cut it into rounds, and dry them for eight hours to get a leathery disc with a flavor that is barely distinguishable from cardboard. The same apple, peeled, cored, sliced into quarter-inch wedges, and soaked in a solution of water and lemon juice for five minutes, will dry into a crisp chip with a bright tang that snaps cleanly and tastes like a much sweeter version of the original fruit. The lemon juice is not for flavor preservation, although it does help with browning. It is there to soften the cell walls just enough that the drying process creates a light, airy structure instead of a dense, chewy one.
The same principle applies to vegetables. Zucchini chips are a classic dehydrator project that almost always disappoints. The high water content turns them into thin, rubbery shingles that stick to the teeth. The fix is salt. Salt the slices, let them sit for twenty minutes, then pat them dry. The salt draws out a significant amount of moisture before the dehydrator ever gets a chance to work. What remains dries into a chip with actual crunch, not a sad, floppy imitation of one.
The Case for Making Your Own Jerky
Beef jerky is the most obvious candidate for home dehydration, and it is also the one where the cost savings are most dramatic. A pound of flank steak, on sale, costs about six dollars. That pound will yield roughly four ounces of finished jerky, which would cost twelve to fifteen dollars in a store. The math works even before considering that homemade jerky tastes dramatically better than anything in a bag.
The texture problem is the first hurdle. Store-bought jerky is usually either too dry, with a chalky interior, or too wet, with a slick surface that feels like raw meat. The home version has a secret weapon that no commercial producer can match: control. The meat can be sliced to a precise thickness, marinated in a specific blend, and pulled from the dehydrator at exactly the right moment.
For the best texture, the meat should be partially frozen before slicing. A partially frozen flank steak holds its shape and cuts into even strips without shredding. Slice against the grain for a chewier bite, with the grain for a more tender one. The marinade needs salt, a liquid acid like soy sauce or Worcestershire, and something sweet to balance the salt. A simple mix of soy sauce, brown sugar, garlic powder, and cracked black pepper handles most situations. The strips should marinate for at least six hours, overnight if possible.
The dehydrator should run at 160 degrees for the first hour to kill surface bacteria, then drop to 145 for the remaining five to seven hours. The jerky is done when it bends and cracks, but does not snap in half. A strip that snaps is overdone and will taste like leather. A strip that bends without cracking is underdone and will spoil quickly. The window between the two states is about thirty minutes, so checking every fifteen minutes in the final phase is essential.
Fruit Leather Without the Sticky Mess
Fruit leather is the snack that children actually eat, and it is also the one that causes the most frustration. The puree sticks to the dehydrator tray, tears into ugly shreds when peeled, and often emerges with a texture closer to fruit cement than fruit leather. The solutions are mechanical, not magical.
First, the puree must be smooth. A blender is mandatory. The fruit should be cooked down slightly to break the fibers, then blended until completely smooth. Lumps and seeds create weak points where the leather will tear. Second, the puree needs to be spread in a thin, even layer. A quarter-inch is too thick, an eighth of an inch is about right. A spatula is not precise enough. A spoon, a gentle hand, and a lot of patience work better than any fancy tool.
Third, and this is the part most people skip, the leather needs to be peeled while it is still slightly warm. Let the tray cool for about ten minutes after the dehydrator shuts off, then peel the leather off in one slow, steady pull. If it sticks, it is not done. Return it to the dehydrator for another thirty minutes and try again. The leather should peel away from the tray like a sticker, not like a bandage.
Roll the leather in parchment paper, not plastic wrap. Plastic wrap traps any residual moisture and turns the leather into a sticky, moldy mess within a week. Parchment paper breathes just enough to keep the leather dry while it sits in the pantry.
Crunchy Kale Chips That Last
Kale chips are the snack that everyone tries once and then abandons because the store-bought version costs eight dollars for a bag that tastes like a pile of dried lawn clippings. The home version can be better, but only if the kale is prepared with the same attention as the fruit and meat.
The kale must be completely dry before it goes into the dehydrator. Any water left on the leaves will steam, and steam creates a soggy chip. The leaves should be washed, spun in a salad spinner, then patted dry with a towel. Each leaf should be torn into bite-sized pieces, and the thick stem should be removed. The stem takes twice as long to dry as the leaf, and a chip with a stem in it will be chewy in one spot and crisp in another.
The kale needs a coating of oil and salt before drying, but only a light one. A heavy coat of oil creates a greasy chip that goes rancid quickly. A light mist of olive oil and a pinch of sea salt is enough. The dehydrator runs at 125 degrees for four to five hours. The chips are done when they crumble between the fingers with a clean snap.
The storage problem is real. Kale chips absorb moisture from the air at a shocking rate. A batch that is perfectly crisp at noon will be limp by dinner if left in an open bowl. The solution is a sealed container with a desiccant packet, changed out regularly. Mason jars with a packet of silica gel work well. Chips stored this way last for two weeks, which is a long time for a snack that usually disappears in two days.
The Potato Chip Alternative
Dehydrated potato chips are the unsung hero of the dehydrator world. They are almost impossible to find in stores because commercial production requires a vacuum fryer, an expensive piece of equipment that no home kitchen will ever have. The dehydrator version is different, but not worse.
Russet potatoes, washed and sliced into one-eighth-inch rounds, need a quick blanching before drying. The blanching, thirty seconds in boiling water, then immediately into ice water, stops the enzymes that cause browning and gives the chips a light, airy texture. The slices should be patted dry, tossed with a little salt, and arranged in a single layer on the trays. A dehydrator runs at 135 degrees for six to eight hours.
The finished chip is not as crisp as a fried potato chip. It is closer to a dense cracker, with a nutty potato flavor that is genuinely pleasant. It pairs well with hummus or a simple onion dip, and it holds up much better in a lunchbox than a fried chip, which goes stale by noon. A batch of dehydrated potato chips stored in a sealed container will stay crisp for three weeks, which makes them a realistic option for the office snack drawer.
Dehydrating Herbs Without Burning Them
Herbs are the quiet workhorse of the dehydrator. A person who grows their own basil, oregano, or thyme faces the annual problem of what to do with a giant pile of leaves that will go bad in the fridge within a week. The dehydrator solves this problem elegantly, but only if the heat stays low.
Most herbs dry best at 95 to 105 degrees. A higher temperature causes the volatile oils to evaporate, and what remains is a bowl of green dust that tastes like nothing. The leaves should be removed from the stems, spread in a single layer, and checked every hour after the three-hour mark. They are done when they crumble between the fingers, not before. Leaves that still have any bend to them will mold in the jar.
The dried herbs should be stored whole, not crushed. A jar of whole dried oregano leaves keeps its flavor for a year. The same leaves, crushed into flakes, lose half their potency within a month. The crushing should happen right before the herbs go into the pot, which means the home cook needs a mortar and pestle or a dedicated spice grinder.
This is the point where the dehydrator stops being a novelty and becomes a standard tool in the kitchen. Once a person has a jar of home-dried oregano that actually tastes like oregano, the store-bought version becomes unappealing. The same thing happens with dried onion flakes, garlic powder, and celery salt, all of which can be made at home with a dehydrator and a little planning.
A Note on Temperature and Timing
The dehydrator is a slow machine, and the temptation to crank the heat up to finish faster is strong. It is a mistake. High heat does not dry food faster in a meaningful way. It does something worse: it hardens the outside of the food while the inside stays moist. A fruit leather dried at 165 degrees will have a hard, cracked surface and a gummy center. The same leather dried at 135 degrees will be uniform, flexible, and pleasant to eat.
Different foods need different temperatures, and most dehydrators have a temperature dial that goes from about 95 to 165 degrees. Herbs and flowers stay at the low end. Fruit and vegetables sit in the middle, around 125 to 135 degrees. Meat and poultry need the high end, 145 to 160 degrees, for food safety reasons. A person who owns one dehydrator and wants to do all of these things will have to adjust the dial between batches. This is normal.
The other variable is humidity. A dehydrator works by pulling moisture out of the food and releasing it into the surrounding air. In a humid kitchen on a rainy day, the machine has to work harder, and drying times can stretch by a few hours. The best results come from running the machine in a dry room, or on a day when the windows are open. A dehydrator running in a steamy kitchen is fighting a losing battle.
The Empty Tray Problem
Every dehydrator owner eventually discovers the empty tray problem. The machine has five or six trays, and a batch of zucchini chips only fills two of them. Running a full machine for one small batch feels wasteful, but the alternative is to cram the zucchini onto one tray and dry it unevenly. The middle pieces dry faster than the edges, and the batch comes out with a mix of overcooked and undercooked chips.
The professional solution is to batch different foods together. A tray of kale at 125 degrees can share the machine with a tray of apple slices at the same temperature. They do not interfere with each other, and they finish at roughly the same time. This is the way to maximize the dehydrator's output without running it all day and night for a single snack.
A smarter approach is to treat the dehydrator as a preserving tool, not a snack machine. A person who runs it once a week with a mix of whatever is in the crisper drawer ends up with a pantry full of shelf-stable ingredients. Dried mushrooms go into soups. Dried tomatoes get rehydrated for pasta sauce. Dried apples and pears become a snack that does not need refrigeration. The machine earns its counter space when it is used this way.
The Wrong Way to Store Dried Snacks
Dried food fails in storage more often than it fails in the dehydrator. The common mistake is sealing the food in a plastic bag or container while it is still warm. The residual moisture condenses on the inside of the container, and the food absorbs it over the next few days. The result is a bag of fruit leather that is sticky, a jar of herbs that is clumpy, and a container of jerky that grows a white fuzz.
The rule is simple: let everything cool completely before storing. A piece of jerky straight out of the dehydrator is still releasing moisture. Give it an hour on a cooling rack, then pack it. The same rule applies to fruit leather, which should sit out for at least two hours before rolling. The patience pays off in shelf life.
Glass jars with tight lids are the best containers for most dried snacks. They do not absorb odors, they are easy to clean, and they allow a quick visual check for mold. Plastic bags work but they need to be squeezed flat to remove as much air as possible. A vacuum sealer is the premium option, and it extends shelf life by months, but it is not necessary for a household that eats its dried snacks within a few weeks.
The last storage rule concerns light. Dried herbs and fruit lose their color and flavor faster when exposed to direct light. A pantry shelf is better than a kitchen counter. A dark glass jar is better than a clear one. These are small adjustments, but they are the difference between a snack that tastes good in March and one that tastes like sawdust.
A Starting Point for the First Batch
The first batch in a new dehydrator should be simple. Apples are the best choice because they are forgiving, cheap, and available year-round. A person can peel and core four Granny Smith apples, slice them into quarter-inch rounds, toss them with a tablespoon of lemon juice, and dry them at 135 degrees for six hours. The result will be a batch of chewy, tangy apple rings that taste like a candy store version of the fruit.
The second batch should be beef jerky, because it is the snack that justifies the purchase of the machine in most households. The third batch should be herbs, because they are the snack that proves the machine has range. After those three batches, the pattern becomes obvious. The dehydrator is not a one-trick gadget. It is a preservation tool that happens to make snacks, and a person who treats it that way will never go back to the stale, overpriced bags at the grocery store.