
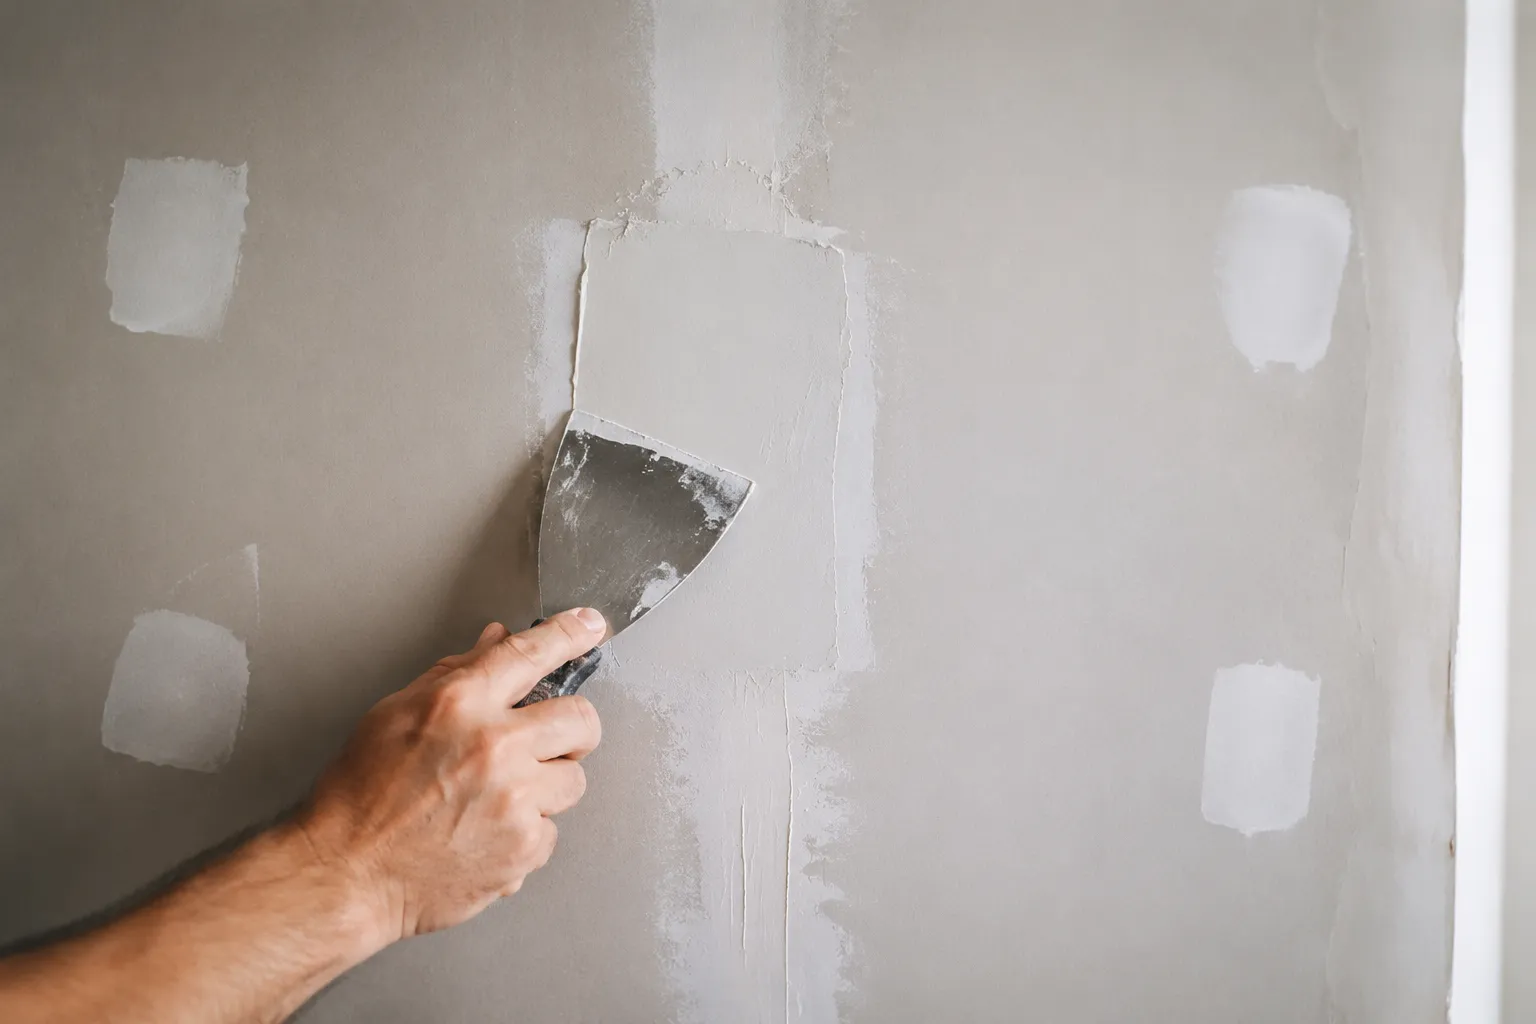
Drywall repair is a confidence game, and the confidence is almost always misplaced. A person patches a nail pop, sands it smooth, paints over it, and then catches the light at the wrong angle for the rest of the time they live in that house. The patch is visible, not because of poor sanding, but because the repair was treated as a filling operation instead of a surface reconstruction. The fastest way to an invisible patch is to stop thinking about mud and start thinking about the geometry of the wall itself.
Most patch jobs fail because the repair sits proud of the surrounding wall surface. The human eye, even without training, detects a raised plane in raking light within milliseconds. Sanding can reduce the crown, but sanding also fuzzes the paper face of the surrounding drywall and creates a dull, porous zone that absorbs paint differently. The result is a ghost: a spot that matches in color but reads as a texture change. The fix is not better sanding. It is a different approach to how the patch is built and feathered.
The Difference Between Filling a Hole and Rebuilding a Plane
A nail pop or a small ding is a hole. A hole gets filled. But a hole that sits in the middle of a flat expanse of wall is also a disruption in a continuous plane, and the plane is what the eye actually registers. Filling the hole and leaving the mud flush with the surface seems correct, until shrinkage pulls the compound down slightly, or the edges of the patch curl, or the mud dries with a subtle depression that catches a shadow.
The reliable method is to build the repair slightly recessed, then bring the final layer just above the surface, then sand the high spot down to meet the wall. This sounds counterintuitive, especially for a small patch. But the physics of drying mud favor a recessed base. Joint compound shrinks as water leaves it. A flush application becomes a low spot. A slightly crowned application becomes a flush surface after shrinkage and sanding.
For small holes, a person should resist the urge to pack the hole full of mud in one pass. The compound dries from the outside inward, forming a skin while the interior stays wet for days. That trapped moisture leads to cracking and a patch that reads as a distinct shape under paint. Instead, the hole gets a thin bed of mud, and a piece of paper drywall tape is embedded into that bed. The tape bridges the hole and ties the repair to the virgin surface of the wall. This is the single most important step for a small patch, and it is the most commonly skipped one.
Paper Tape Versus Mesh: Letting the Tape Carry the Load
Mesh tape is convenient because it sticks to the wall without a bed of mud. But convenience has a cost. Mesh is a fiberglass grid that does not compress, and it builds up a visible layer that must be feathered over a wide area. Paper tape is thinner, and when embedded properly, it disappears into the mud. The paper also creates a bond with the joint compound that prevents the crack from telegraphing through the paint later.
For a patch smaller than a quarter, some pros skip tape entirely and use a product called hot mud, which is a powder that sets by chemical reaction rather than drying. Hot mud does not shrink the way premixed compound does, which makes it ideal for filling a small divot in one pass. But hot mud sets fast, often in 20 to 45 minutes depending on the formula, so a beginner ends up wastefully mixing small batches and racing the clock.
The practical compromise is premixed all-purpose compound for the first two coats, then a lightweight topping compound for the final pass. Lightweight compound is softer, sands easier, and has less shrinkage. It is a pleasure to work with after fighting the stiff, rubbery texture of all-purpose mud. The downside is that it has lower bond strength, which is irrelevant for the final coat but fatal if used as the base. Layer the materials and the patch behaves like a laminate.
The Wide Blade Rule: Every Pass Gets Wider
The feathering strategy is governed by a simple rule: each subsequent coat of mud is applied with a wider blade, and each coat is feathered farther from the center of the patch. The first coat over the tape might use a 4-inch knife. The second coat uses a 6-inch knife. The third coat uses a 10 or 12-inch knife. This graduated widening creates a gentle slope from the patch center to the virgin wall, a slope so gradual that it becomes optically invisible.
A beginner typically makes the opposite mistake, applying each coat with the same narrow blade and feathering only an inch or two beyond the previous edge. This creates a series of ridges, each one a visible lip under paint. The fix is to think in terms of ratios. The feather distance should be roughly three times the width of the patch itself. A two-inch hole needs a repair that is feathered over six inches. That feels excessive, but it is the only way to trick the eye into seeing flatness.
The actual mechanics of feathering matter too. The blade should be held at a shallow angle, nearly flat against the wall, and pulled toward the body with light pressure. The pressure should be on the outside edge of the blade, not the center, so that the mud tapers to a thin film at the edge of the pass. Dragging the blade with even pressure leaves a ridge at the end of the stroke, a ridge that will require sanding and will likely create a slight depression in the surrounding wall if over-sanded.
Sanding With a Sponge Instead of Paper
Sanding drywall is where most repairs go from acceptable to ruined. Sandpaper loaded with mud clogs within seconds, and the paper cuts aggressively, removing high spots and the surrounding paint in equal measure. A sanding sponge is the standard recommendation, but the specific type matters. The soft, white, fine-grit sponges are for final smoothing. The brown or gray, coarser sponges are for shaping. Using the wrong one damages the paper face of the surrounding drywall.
The better approach is to use a damp sponge for the final pass. A wet sponge, wrung out until nearly dry, is dragged across the dried mud in long, even strokes. The water softens the compound slightly, and the sponge acts as a float, leveling high spots without cutting into the paper. This method produces virtually no dust, and it leaves a surface that is as smooth as a sanded one. It feels wrong the first time a person tries it because it does not look like sanding. But the results are consistently flatter.
For patches that are not perfectly flat, the wet sponge method has a limitation: it cannot remove significant material. A patch that is visibly crowned needs dry sanding first. The wet sponge is for the final pass, after the shape is correct. Using it as a primary sanding tool results in a patch that is still crowned but now polished, which is arguably worse because the raised area is smoother and more reflective.
Priming Before Paint: The Non-Negotiable Step
The fastest way to ruin a perfect patch is to paint over raw compound with a finish paint. Bare joint compound is highly porous. It absorbs the binder from the paint, leaving a dull, flat spot that looks different from the surrounding wall even when the color matches exactly. A primer seals the compound and creates a uniform surface for the finish coat.
The primer should be a drywall-specific product, not a general-purpose wall primer. Drywall primer is formulated to seal the paper and compound without raising the fuzz on the paper face. It also has a higher solids content, which fills microscopic pores in the compound. A single coat of drywall primer over a patched area, followed by two coats of finish paint, produces the invisible repair. Skipping the primer and using two coats of paint is a gamble that loses more often than it wins.
There is also the matter of texture. A wall with any texture, whether it is a light orange peel or a skip trowel, will show a patch that is sanded smooth. The patch needs to be re-textured to match the surrounding surface. This is where many DIY repairs fail, because matching texture requires either an aerosol can of texture, which is messy and inconsistent, or a specialized hopper gun, which is expensive for a single repair.
When the Patch Is Bigger Than a Fist: Cut and Replace
For holes larger than a fist, the mud-and-tape approach is the wrong tool. The compound will shrink, crack, and eventually fail under its own weight. The correct approach is to cut out the damaged section and replace it with a new piece of drywall. This is a more involved repair, but it is also the only way to achieve a truly invisible result for a large hole.
The cut should be a clean rectangle, with the edges landing on the center of a stud where possible. This gives the patch a solid backing to screw into. The new piece is cut slightly undersized, leaving a gap of about an eighth of an inch around all sides. This gap is filled with compound and taped, just like a seam between two full sheets. The result is a repair that is structurally sound and, if the tape and mud work is done well, invisible.
A common mistake is to skip the backing and use a drywall patch kit, which is a mesh sheet with a sticky adhesive that spans the hole. These kits work for holes up to about six inches, but the mesh creates a flexible surface that flexes with the wall, leading to cracking along the edges over time. The mesh also builds up a visible layer that is difficult to feather out to nothing. A cut-and-replace patch, with a solid backing, is the more reliable method for anything larger than a fist.
The Last Quarter Inch: Feathered to Nothing
The final coat of compound should be feathered so thin at the edges that it is nearly transparent. This is the difference between a patch that is invisible and a patch that is merely well-hidden. The edge of the compound should not be a defined line, even a very thin one. It should be a gradual fade from full thickness to zero thickness over a distance of several inches.
This final coat is the one place where a person should resist the urge to sand aggressively. The goal is to leave the compound exactly as it dried, with only a light pass to knock down any tiny imperfections. Sanding this final coat aggressively will cut into the surrounding paint, creating a shadow line that no amount of painting will fix. If the coat is too thick at the edge, the fix is not more sanding. It is another thin coat, feathered wider, over the existing one.
Light Inspection: The Angle That Reveals Everything
The true test of a patch is not how it looks under direct light. It is how it looks under raking light, the kind of light that comes from a window or a lamp at a low angle. Raking light casts long shadows across every imperfection in the wall surface. A patch that looks perfect under ceiling lights will betray every ridge, every depression, and every edge under raking light.
The inspection should happen before priming, with a bright work light held at a low angle to the wall. A person should move the light to several positions, because a patch can look flat from one angle and show a crown from another. If any imperfection is visible, it should be corrected before priming. After priming, the texture of the paint will hide small imperfections, but it will not hide a significant ridge or depression.
There is a final, subtle detail that separates a professional patch from a DIY patch. It is the texture of the sanded compound itself. A patch that is sanded with fine grit paper and then primed will have a slightly different sheen than the surrounding wall, even after two coats of finish paint. This is because the primer and paint penetrate the compound differently than they do the original drywall paper. The fix is to apply a very light skim coat of compound over the entire repaired area, including the feathered edges, sand it smooth, and then prime. This skim coat creates a uniform surface that absorbs paint identically to the surrounding wall.
Invisible drywall repair is not about skill with a knife or a trowel. It is about patience with the drying time between coats and a willingness to accept that a perfect patch takes three or four passes, not one. The person who waits for each coat to dry completely, who feathers each pass wider than the last, and who inspects the repair under raking light before priming, will get a result that disappears into the wall. The person who rushes, who packs the hole with mud and sands it flush, will get a ghost that shows up every time the afternoon sun hits the wall at the wrong angle.