
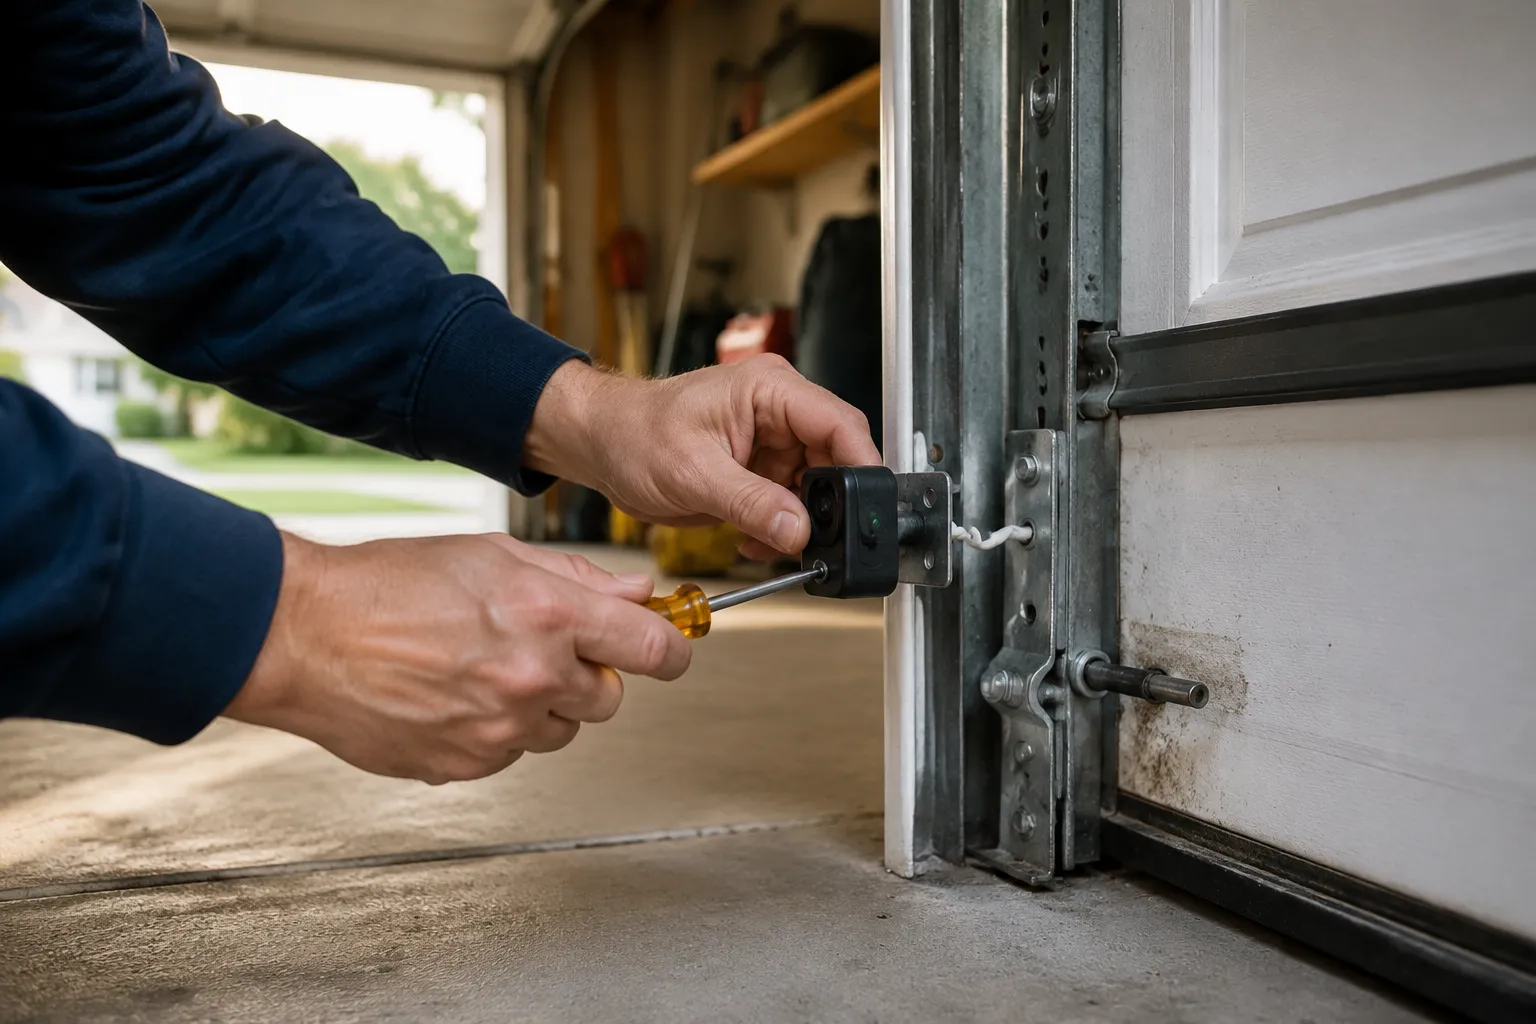
The amber lights on garage door sensors are a small domestic mystery. A pair of small plastic eyes mounted a few inches above the floor, one sending an invisible beam, the other receiving it. When the beam gets interrupted, the door refuses to close. This is a safety feature, and it has been mandatory on all garage door openers manufactured since 1993, thanks to a federal law that followed a string of children being trapped under descending doors. The system is simple, but the failures are not always where they appear.
The most common malady is the blinking light. One sensor flashes, the other stays solid, and the door reverses every time it gets within a foot of the floor. The natural instinct is to assume the sensors are broken and order a replacement pair. In most cases, that is a waste of money. The sensors are rarely dead. They are usually misaligned, dirty, or wired into something that has worked loose over a decade of thermal expansion and contraction in the garage.
Before touching anything, a person should observe the lights. On a functioning pair, both sensors show a steady glow. One is generally red or orange, the transmitter. The other is typically green, the receiver, and it lights up when it locks onto the beam. If the green one is off or flickering, the receiving eye is not seeing the beam. That condition has only a few causes, and none of them require a service call yet.
Reading the Lights Before Touching the Hardware
The diagnostic sequence starts with the eyes themselves. A spider web across the lens is the classic culprit. Garages accumulate dust, and the sensor lenses sit low, right at the height where spiders like to string anchor lines. A single filament of web can scatter enough of the infrared beam to make the receiver see nothing. A dry cloth wipes the lens clean in three seconds, and that fixes a surprising percentage of all sensor issues.
After cleaning, check the mounting brackets. The sensors are usually attached to the door tracks with a small wing nut and a metal or plastic bracket. Over time, a bump from a bicycle, a stack of boxes, or the car mirror can knock one sensor out of its original angle. The bracket holds the sensor in place, but the lock washer on the wing nut loosens with vibration. The sensor droops a few degrees, the beam misses the receiver by half an inch, and the door stops cooperating.
Loosening the wing nut on the bracket allows the sensor to pivot. A person can adjust it by hand, watching the green light on the receiver. When the green light comes on solid, the alignment is correct. Tighten the wing nut gently. Overtightening strips the plastic threads on cheaper brackets, and that turns a five-minute fix into a trip to the hardware store.
The Two-Person Trick and the Cardboard Method
Aligning sensors solo is awkward because the transmitter and receiver are on opposite sides of the door opening. A person can set one sensor in a rough position, then walk across to check the other light. The green light tells the truth, but the process involves a lot of walking back and forth. A faster method uses a stiff piece of cardboard placed under the receiver to wedge it at a different angle while the person works at the transmitter side.
The proper way is to get a second person involved. One stands at the receiving end, watching the green light. The other adjusts the sensor on the opposite side. The spotter calls out when the light goes solid. That takes about ninety seconds and eliminates the guesswork. If no second person is available, a phone propped up on a ladder with a video call running works just as well, provided the phone battery survives the ordeal.
A common misconception holds that both sensors need to move when the door misbehaves. That is rarely true. One sensor is the anchor, usually the transmitter with the amber light. Leave it alone. Move the receiver until it locks on. The beam travels in a straight line, so if the transmitter stays put and the receiver finds the beam, the circuit completes. Adjusting both sensors at once just introduces two variables and doubles the frustration.
Sunlight, the Invisible Interference
Morning and evening sun create a specific failure mode that has nothing to do with alignment. Direct sunlight hitting the receiver lens can overwhelm the infrared signal from the transmitter. The receiver sees a bright flood of light, cannot distinguish the modulated beam, and reports a fault. The door refuses to close even though the sensors are perfectly aligned and clean.
This shows up as an intermittent problem. The door works fine all day, then fails at the same time each afternoon when the sun angles through a window or a gap in the siding. The fix is a physical shield. A small piece of dark tape or a cardboard hood placed over the top of the receiver blocks the sun while leaving the beam path clear. Some newer sensor models include built-in sun shields for exactly this reason.
The sunlight problem also appears on sensors mounted outside the tracks, facing each other across a wide opening. A low western sun hits the receiver directly at certain times of year. The seasonal pattern is a clue. If the door fails only between late afternoon and sunset during spring and fall, sunlight is the suspect, not alignment.
Wiring Faults That Mimic Sensor Failure
When cleaning and aligning do not restore the green light, the problem moves to the wiring. The sensors connect to the opener motor head with thin, low-voltage wires, typically 22-gauge solid copper. These wires run from the sensors up the door tracks and across the ceiling, often stapled to the wall or tucked into conduit. A staple driven too deep can pinch the wire and short the pair. A nail holding a shelf can pierce the insulation. The damage may not show for years, then fail when temperature changes expand the wire and close the gap.
Disconnecting the sensors from the opener terminal and testing the wire continuity with a multimeter is the correct diagnostic step. A person should not guess. The terminals are usually labeled, and the wiring is simple: two wires per sensor, connected to a common terminal and a respective input terminal. A short between the two wires triggers a fault condition that looks identical to a misaligned sensor.
A quick test for a short involves disconnecting both sensors and checking the resistance between the two wires on each side. Zero resistance means the wires are touching somewhere along the run. Pulling new wire is the permanent fix. Splicing the damaged section with butt connectors and heat-shrink tubing works if the damage is localized and accessible. The splices should sit inside a junction box or be wrapped thoroughly, because garage environments cycle between freezing and baking heat.
The Door Track Loosening Follow-Up
A sensor can be perfectly aligned in the moment but drift out of alignment within weeks. The cause is often the door track itself. The track brackets that hold the vertical sections to the wall have bolts that work loose over years of door operation. When the track shifts, the sensor bracket moves with it. The beam angle changes by a fraction of a degree, and the door starts behaving erratically.
Checking track security means looking at the lag bolts or masonry anchors that hold the vertical track to the wall framing. A person can tighten them with a socket wrench. If the bolts are rusted or the anchors have pulled free of the concrete, the track needs re-anchoring. This is a slightly bigger job, but it addresses the root cause instead of fighting the symptom with daily sensor tweaks.
The horizontal track sections, the ones that run along the ceiling, also matter. Their brackets attach to the ceiling joists or the angle iron. A loose horizontal track allows the whole assembly to sag, which pulls the vertical tracks inward or outward at the bottom. The sensors, mounted to those vertical tracks, follow the movement. Fixing a recurring sensor alignment issue without checking the track is like adjusting a wheel on a car with a bent axle.
Bypassing Sensors Is a Bad Deal
The temptation to bypass the sensors is real, especially when the door stops closing at 11 p.m. and a person just wants it shut. Some older openers have a lock feature that disables the sensors temporarily, but using it as a permanent workaround is a poor decision. The safety system exists because children and pets do not always register as obstacles in a way that the door can detect on its own. The sensors are the only thing between a closing door and a toddler crawling underneath.
Jumping the sensor terminals at the opener with a wire makes the door close regardless of what is in the beam path. That works, technically, but it converts a safety device into a decorative feature. The risk is not theoretical. The Consumer Product Safety Commission has documented deaths and injuries from garage doors closing on people, and the 1993 law was a direct response. Removing the protection trades a minor inconvenience for a catastrophic possibility.
If the sensors are truly dead, replacement is the correct move. The cost is modest, usually under thirty dollars for a compatible pair, and installation is straightforward. The new sensors mount in the same brackets. The wiring connects to the same terminals. The hardest part is fishing the new wire through the existing conduit, which is manageable with a fish tape or a straightened coat hanger.
Logarithmic Sensitivity and Fringe Cases
A less common issue involves the receiver being partially blocked by paint or by the sensor housing itself getting warped from heat exposure. Sensors mounted too close to a hot water heater or a furnace intake can see their plastic housings distort over time. The lens tilts inside the housing even though the bracket looks level. A person can check this by removing the sensor from the bracket and rotating it slightly in hand while watching the receiver light. If the light comes on at an odd angle, the housing is the problem.
Another fringe case is a failing capacitor in the opener's logic board. The sensors send a signal, but the board misreads it intermittently. This presents as random failures at all times of day, with no pattern tied to sunlight or temperature. The sensors pass every bench test, the wiring checks out, and the alignment is perfect. The board is the last link in the chain, and it fails less often than the mechanical parts but more often than people expect.
Diagnosing a board problem requires bypassing the sensors at the terminal with a jumper wire. If the door closes with the jumper in place, the sensors or wiring are at fault. If the door still refuses to close, the board is the issue. Replacing a logic board is more involved than swapping sensors, and the cost approaches half the price of a new opener. At that point, a person should weigh the age of the unit. An opener from the early 2000s with a failing board is not worth rebuilding.
A Routine That Prevents Most Failures
A twice-a-year inspection, timed with the season changes, catches most sensor issues before they become emergencies. The routine takes five minutes. Wipe the lenses. Confirm both lights are steady. Try closing the door. Place a cardboard box in the beam path while the door descends and verify it reverses. That last test is the only way to know the system actually works, and it is also the easiest way to find a marginal alignment that has not yet failed.
Owners of homes with attached garages should also listen for the clicking sound the opener makes when it senses an obstruction. A healthy system clicks once, reverses, and the lights flash. A system with a dirty lens may click repeatedly, reverse, and then try again, cycling through a timer and making a clicking sound that is slightly off from the normal rhythm. That rhythm difference is a useful early warning.
Garage door sensors are not exotic equipment. They are a pair of LEDs, a photodiode, and some thin wire, arranged in a loop that the opener checks continuously while the door moves. When the loop breaks, the door stops. Almost every failure traces back to dust, angle, sun, or a loose connection. The fix is usually a cloth, a wing nut, or a screwdriver. The door that refuses to close is rarely a broken machine. It is a machine asking for ten minutes of attention, and the attention costs nothing but time.