
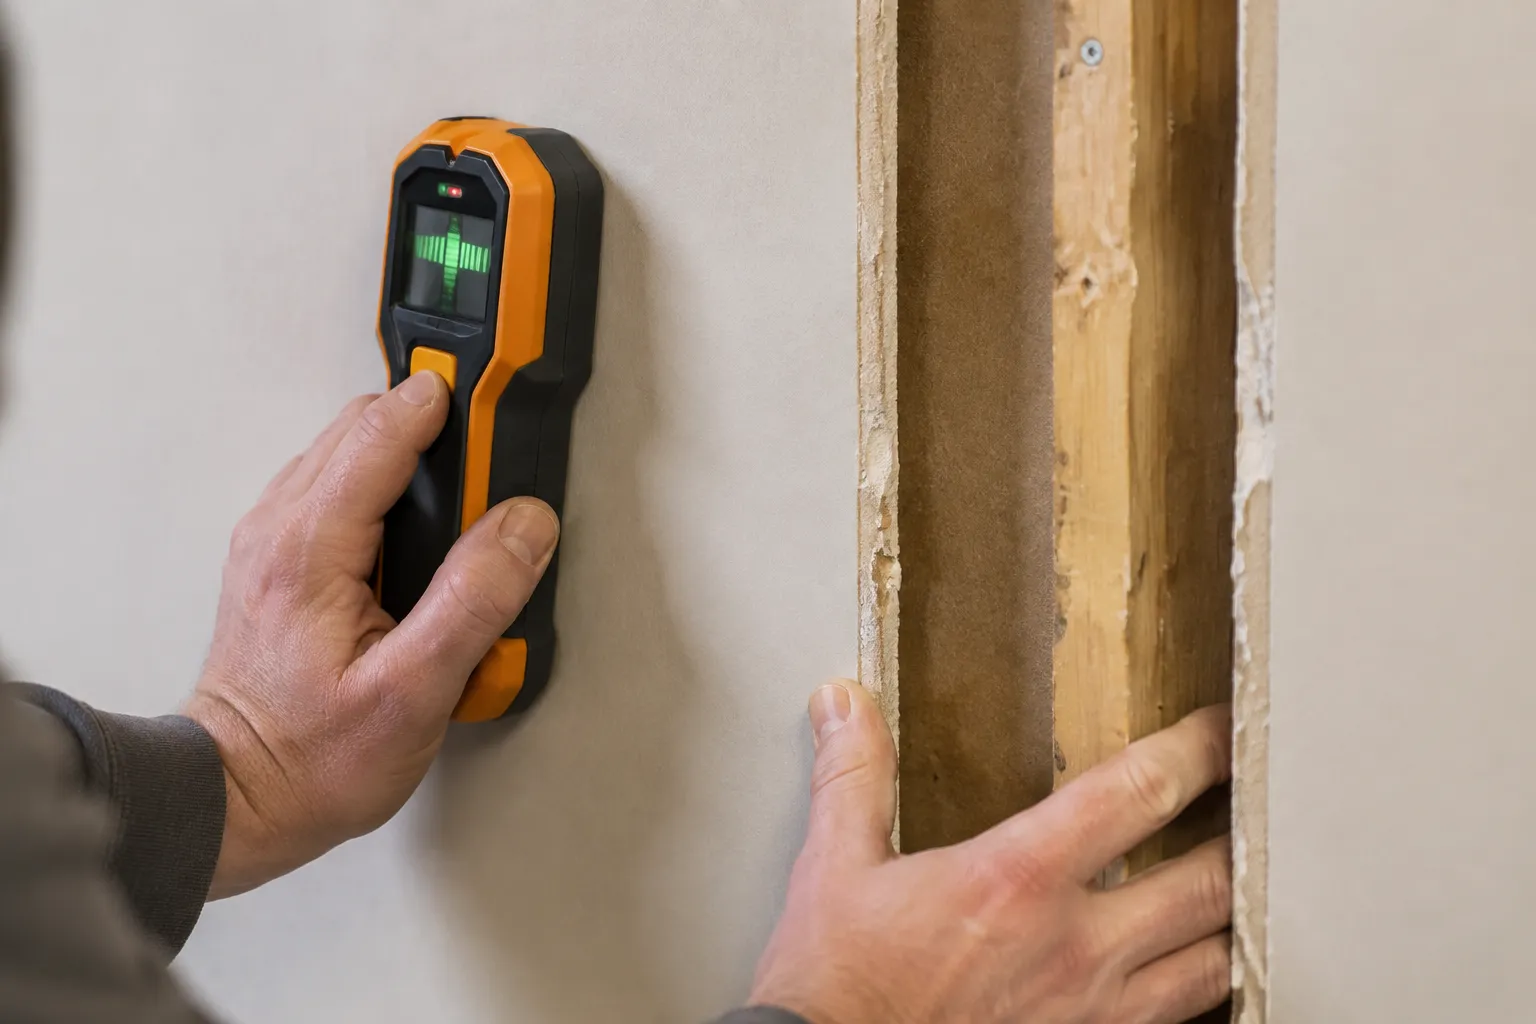
The stud finder is the most lied-to tool in the American household. People trust the little green light the way they trust a parking sensor, and then they hang a eighty-pound mirror on a hollow spot and pick drywall dust out of the carpet. The machine is not stupid. The wall is. Plaster, lath, foil-faced rigid foam, ceramic tile over cement board, radiant heat tubing, double layers of five-eighths drywall: each of these defeats the standard $40 deep scan stud finder in a different way. The trick is knowing which failure mode the wall is offering.
Most trouble starts with the phrase "deep scan" itself. A deep scan stud finder sends a stronger signal and looks for density changes further behind the surface. That works beautifully in a house built in 1995 with half-inch drywall screwed into 2x4 studs placed 16 inches on center. It works terribly in a house built in 1920 with plaster over wood lath, where the lath itself reads as a solid mass and the stud finder cannot decide whether it is looking at one continuous wooden sheet or a series of individual boards nailed to vertical framing. The device gets confused. It blinks. It beeps. It settles on a position that is wrong by three inches.
The first habit to break is the single pass. A person runs the finder up the wall once, gets a beep, and marks the spot. That is a guess with a battery. The correct procedure is a slow horizontal sweep starting at least two feet away from the suspected stud, moving at a pace of roughly one inch per second, then a second pass in the same line to confirm the edge. The finder is looking for the edge of the stud, not the center. Most units trigger when they cross from hollow to dense, so the beep marks the left or right boundary. The center of the stud is three-quarters of an inch to one side of that beep, depending on which direction the sweep moved. This single misunderstanding explains most of the holes in the wrong place.
Calibration is where deep scan finders get sabotaged. Every stud finder needs a calibration pass against a blank area of the same wall. The user holds it flat, presses the button, and waits for the blinking to stop. The problem is that many people calibrate directly over a spot where a stud hides. The device locks in that density as "empty," and then every area of less dense drywall reads as a stud. The fix is to calibrate in a spot that is obviously hollow, established by knocking on the wall and listening for the dull, flat sound of an empty bay. If the wall is too thick or too insulated to tell by sound, calibrate in a location at least 18 inches horizontally from where the stud is expected, ideally near a corner where the framing is typically doubled and easier to locate.
Plaster and lath: the wall that lies about everything
Plaster walls do not cooperate with deep scan stud finders. The plaster itself is dense, and the wood lath behind it creates a repeating pattern of narrow boards with small gaps between them. A deep scan unit sees the lath as a solid sheet, or worse, as dozens of narrow studs every half inch. The display lights up continuously. The beeping never resolves to a single edge. People end up drilling through a gorgeous 1920s plaster wall in four different spots, each one based on a different beep, and every hole is wrong.
The reliable method for plaster is not a stud finder at all. It is a small rare earth magnet on a string, the kind sold for finding metal studs, dragged slowly across the wall until it sticks to a nail head. Plaster walls are covered with thousands of tiny nails driven into the lath. Those nails are arranged in rows that follow the lath boards, and the lath boards are nailed to the studs. Find a vertical line of magnet-sticking nails, and that line marks a stud. This is slow. It is tedious. It works every single time. A person with a magnet and patience can map a plaster wall in ten minutes and hang six shelves without a single miss. The deep scan finder stays in the drawer.
For people who insist on using an electronic finder on plaster, the protocol changes. Set the finder to deep scan mode, hold it flat, and ignore the first three passes. Use the fourth pass as the real reading, because the device needs time to build a composite of the irregular surface behind the lath. Move slower than feels natural, about half an inch per second. When the beep sounds, mark the edge, then immediately reverse direction and sweep back over the same spot. The stud shows up as a narrow range where both passes agree within a quarter inch. Everything else is noise.
Foil-faced foam insulation and the false positive problem
Houses built or renovated after 2000 often have exterior walls with foil-faced rigid foam insulation between the drywall and the sheathing. The foil is electrically conductive. A deep scan stud finder works by sensing changes in capacitance, and the foil layer reads as a continuous conductive surface. The display shows studs everywhere. Every square inch of the wall looks like framing. The user cannot trust a single beep.
The workaround is basic math plus a reference point. Rather than sweeping the wall blindly, find the studs at the top of the wall where the drywall meets the ceiling. The framing is usually visible as slight nail pops or tape lines. Then measure down from the ceiling and mark a vertical line. On a wall with foil-faced foam, the stud finder is only useful for confirming a position after the measurement, not for finding it in the first place. A person can also use the magnet method here, because the drywall screws holding the wallboard to the studs are still there, just beneath the paint. The foil confuses the capacitance sensor, but it does nothing to hide a steel screw head from a magnet.
Another false positive source is radiant heat tubing in the floor or wall. The tubing is often aluminum or has a metallic vapor barrier. A deep scan finder reads it as a stud every time. The user marks a line, drills, and hits a three-eighths inch aluminum pipe carrying 140 degree water. That is not a drywall repair. That is a plumber, a patch, and a flooded room. The rule for any wall or floor suspected of containing radiant heat is to stop using the stud finder and consult the build documents or photos from the installation. If no documentation exists, drill only above a known outlet box or switch box, because the wiring and plumbing for those boxes follow known paths that avoid the heating loops.
Two layers of drywall: the depth problem
Soundproofing adds a second layer of five-eighths inch drywall to interior walls. The total surface is about one and a quarter inches thick, but the problem is not the thickness. It is the seam between the two layers. The inner layer has joints that do not align with the outer layer joints. The stud finder detects the edge of a piece of drywall in the inner layer and reports a stud. The user drills into the middle of a hollow bay, because the inner drywall seam created a density edge that looked exactly like framing.
The fix is to look at the edge conditions. On a double-layer wall, the outer layer is usually screwed off at the top and bottom, and the seams of the inner layer are visible as slight ripples or tape lines if the lighting is raked from the side. A strong flashlight held nearly parallel to the wall surface will reveal the inner seams. Mark those seams and avoid them. The stud finder should be set to deep scan and used with the slow two-pass confirmation method described earlier. The true stud will produce a wider signal than the drywall seam, because the stud is three and a half inches deep while the seam is only a quarter inch thick. A person with a little practice can tell the difference by the width of the beep zone.
There is also the matter of the screw pattern. Double-layer drywall is often glued to the studs with construction adhesive in addition to screws. The adhesive creates a variable gap between the drywall and the stud. In some spots the drywall is tight against the wood, and in others there is a quarter inch of air. The stud finder sees the air gap as a void and may refuse to register the stud at all. When this happens, the magnet trick fails too, because the screws holding the outer layer are not always driven into the studs. They are screwed into the inner layer wherever convenient. The only reliable approach for a glued double-layer wall is to find the studs at the ceiling line, where the framing is exposed or where the baseboard reveals a nail pattern, and then measure down.
Ceramic tile: the scan that never starts
Ceramic tile over cement board is the hardest surface for any stud finder. The tile is dense, the grout lines create endless false edges, and the cement board adds a uniform mass that the sensor reads as one giant object. Most deep scan units simply fail to calibrate on tile. The display blinks forever. The button press starts the process and the device never settles.
The practical answer is to scan from the other side of the wall. If the tile is in a bathroom or shower, the wall behind it has a matching drywall surface on the other side, often in a hallway or an adjacent room. Find the studs on the bare drywall side using a normal scan, then transfer the measurements through. The studs are in the same position on both sides, assuming the wall has not been framed with offset studs for sound control, which is rare in residential construction but common in multi-family buildings. A person can also measure from a known reference point, such as the edge of the shower or the centerline of the drain, and use the stud spacing pattern to estimate the next stud over.
Drilling into tile requires a different approach anyway. The hole should be placed in a grout line whenever possible, because drilling through the tile body risks cracking. Grout lines are often filled with thinset that is nearly as hard as the tile, but the visual result of a patch is much cleaner. If the stud finder cannot produce a reliable reading on tile, and the other side of the wall is not accessible, the fallback is to drill through the grout at a location determined by measuring from a corner or an adjacent fixture. The tolerance for error is low. A person should drill a small pilot hole first, then probe with a bent wire to confirm the presence of a stud before running the larger bit.
Metal studs and the polarity that misleads
Commercial buildings and newer residential construction use steel studs. A deep scan stud finder detects metal studs well, but the signal is different from wood. The edge detection is sharp, almost too sharp. The beep comes on and off in an instant, and the center of the stud is hard to establish because the metal face is only about an inch and a quarter wide while the flange extends further into the wall. People mark the beep and drill straight into the hollow space between the stud flanges.
Metal studs require a different confirmation step. After the stud finder signals an edge, the user should switch the finder to its metal-specific mode if it has one, or use a separate magnetic stud finder. The magnetic finder will latch onto the steel flange at both edges of the stud. The distance between the two edge detections is the width of the stud, typically one and five-eighths inches. Drilling in the exact center between those two magnetic points lands the screw in the middle of the stud face, where the metal is strongest and the screw bites cleanly. Drilling off-center risks hitting the flange edge, which deflects the screw and can strip the hole.
Another metal stud complication is the horizontal bridging or the fire block, a piece of track steel that runs horizontally inside the wall at mid-height. The stud finder reads it as a stud because it is the same material. A person sweeps vertically, gets a beep, and marks a stud that only exists at that one height. The rule is to confirm any vertical stud by scanning at two different heights, at least 12 inches apart. If the beep appears at both heights in the same horizontal position, it is a stud. If it only appears at one height, it is a bridge or a blocking piece, and drilling there is hollow.
The screw trick that works when nothing else does
Every stud finder, no matter the brand or price, fails on some wall. The last resort is a method that uses no electronics at all. A person takes a very thin finishing nail, about one and a half inches long, and taps it into the wall at a slight upward angle. If it hits wood or metal within the first inch, that is a stud. If it punches through with no resistance, it is hollow. The hole left by a thin nail is invisible after the nail is withdrawn and the surface is rubbed with a finger. This is the method professional framers and finish carpenters use when they are in a hurry and the wall is difficult. It is destructive in the most minimal sense, but it is also the only method that provides direct physical confirmation rather than an electronic guess.
The nail trick requires a pattern. Tap a hole, check for resistance, move over three-quarters of an inch, tap again. If the second tap hits, the first tap is likely the edge of the stud, and the third tap, another three-quarters of an inch over, will either confirm or deny by going hollow. This creates a picture of the stud width with three tiny holes. On plaster, the holes are even less visible than on drywall. On tile, the trick still works if the nail is tapped into a grout line, though the risk of cracking the tile edge is real. The nail trick should be the last tool, not the first, but for a person who has spent forty minutes fighting a wall that refuses to reveal its structure, it brings the relief of certainty.
The deeper lesson across all these walls is that a stud finder is a sensor, not a truth teller. It detects density shifts and reports them as framing. The wall is full of things that are not framing but have similar density: pipes, wires, blocking, old work boxes, drywall seams, insulation with a foil face. The skill is not in trusting the beep but in interpreting what the beep means in the context of the specific wall. A person who learns to read the wall first, then the finder, then confirms with a magnet or a nail, will hang anything on anything. The rest is just battery management.