
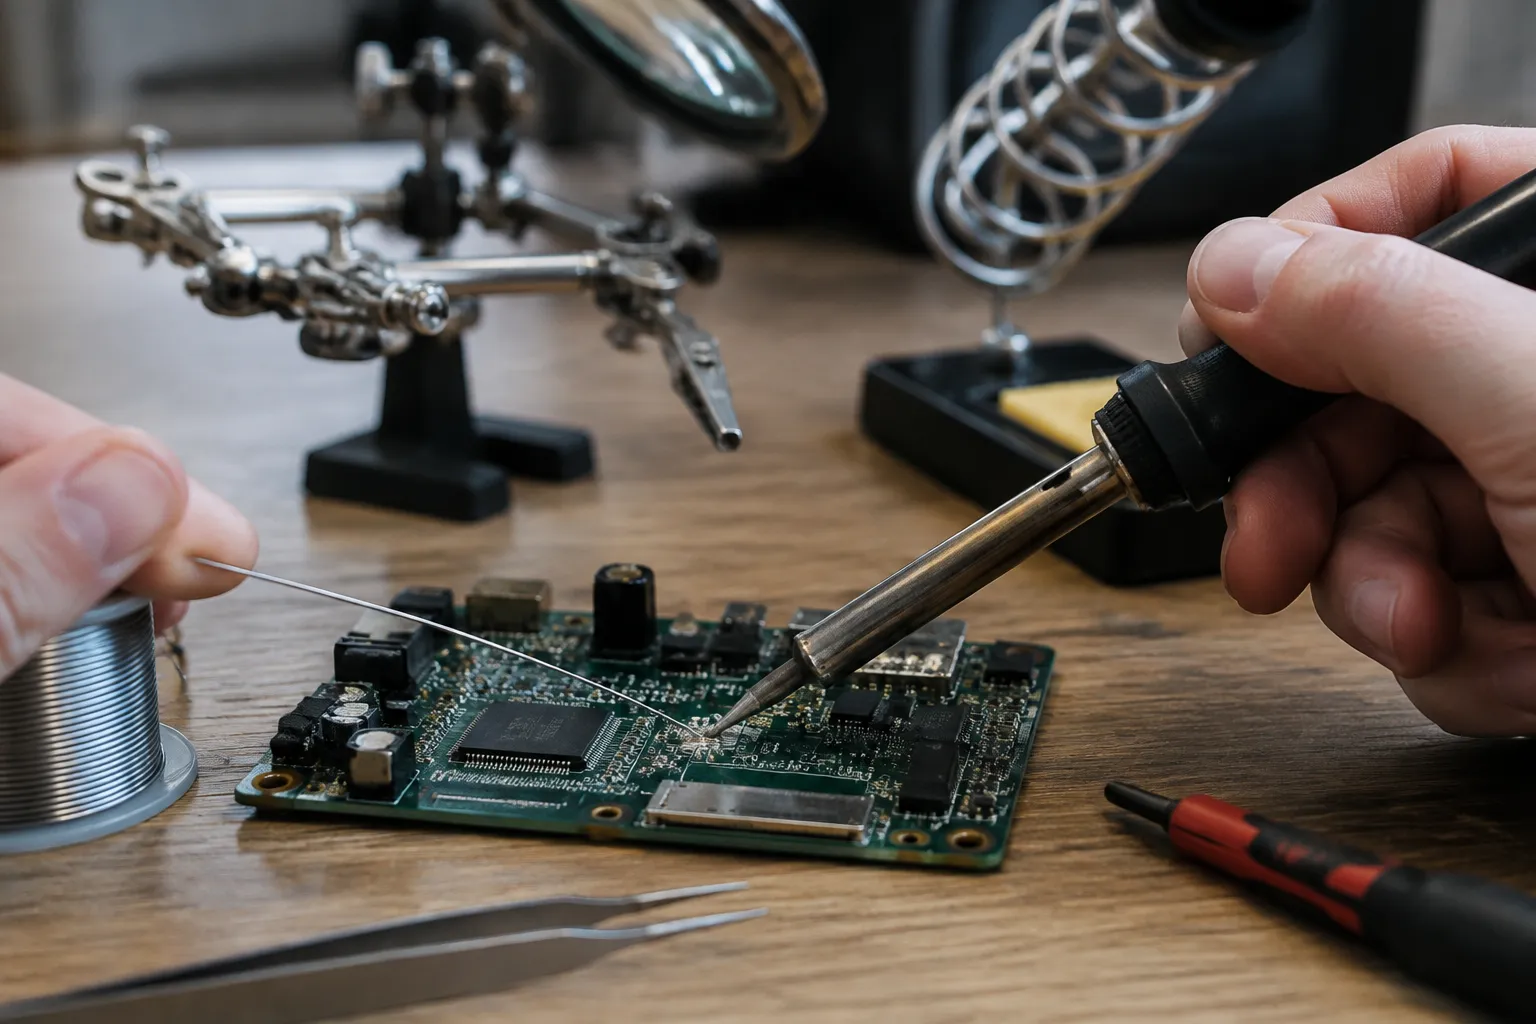
The soldering iron is the most misunderstood tool in the average household toolbox. People own one, or have access to one, because they once watched a video about replacing a guitar jack or fixing a broken toy. Then it sits in a drawer for three years. When it finally comes out, the tip is black, the sponge is hard, and the first joint looks like a tiny gray meteorite. The iron gets blamed. The iron was never the problem.
Simple electronics repairs do not require a $400 station with a digital readout and a fume extractor that sounds like a jet engine. They require a basic understanding of what the tool is doing and a willingness to treat it with a small amount of respect. The gap between a ruined circuit board and a solid repair is rarely the price of the equipment. It is almost always the temperature, the tip condition, and the patience of the person holding it.
What a Cheap Iron Actually Does
A basic soldering iron is a resistive heating element wrapped in a metal tube. Electricity flows through it, it gets hot, and it transfers that heat to a copper tip. The tip touches a wire and a pad on a circuit board. Solder wire melts against the hot metal and flows around the joint. That is the entire job. The magic is not in the tool. The magic is in the heat transfer.
The cheapest irons, the ones that plug directly into the wall with no temperature control, get hot. They get very hot. A 30-watt iron with no regulation can push its tip toward 700 or 800 degrees Fahrenheit and keep climbing if left alone. That sounds like a lot of power. It is too much. At those temperatures, the solder oxidizes instantly, the flux burns off before it can do its job, and the copper pad on the board starts to lift away from the fiberglass. The result is a joint that looks dull and cracked, and a pad that may never take solder again.
The fix is not to buy a more powerful iron. It is to buy one with some form of temperature regulation. A simple adjustable iron, the kind with a dial and a digital display, holds a set point and keeps the tip from runaway. For small electronics work, that set point should live somewhere between 650 and 750 degrees Fahrenheit. At that range, the solder melts quickly, the flux activates properly, and the board has a fighting chance.
The Tip Is the Whole Game
Most people ruin their soldering experience before they even turn the iron on. They leave the factory tip on it, the one that came in the plastic bag, and expect it to perform. Factory tips are fine. They are usually a simple conical or chisel shape, plated with iron over a copper core. They work well when they are clean. The problem is that people do not clean them, and they do not understand what "clean" means.
A clean tip is a tip that is shiny, like a fresh silver coin. A dirty tip is dull gray or black. That black coating is oxidized solder and burnt flux. It acts as an insulator. It stops the tip from transferring heat, so the user turns the temperature up, which burns the coating on harder, which makes the problem worse. The spiral is familiar to anyone who has ever given up on a repair in frustration.
The routine that breaks this cycle takes ten seconds. Before every joint, wipe the tip on a damp sponge or, better, a brass wire sponge. The brass sponge is gentler and does not shock the tip with water. After the wipe, the tip should look bright. Then touch a tiny bit of fresh solder to it, let it melt, and wipe again. This is called tinning. It leaves a thin layer of molten solder on the tip, which protects it from oxidation and makes the next joint dramatically easier.
Tip shape matters less than people think. A conical tip is fine for most through-hole work. A chisel tip holds more solder and transfers heat to a larger area, which helps when soldering to large ground planes that suck heat away. A person doing general repairs around the house needs one chisel tip and one fine conical tip. That is enough. The rest of the shapes, the hoofs and the knives and the weird bent ones, are for specific production tasks that a home repair will never encounter.
Solder Is Not All the Same
The solder wire itself is the part of the process people ignore, which is a mistake. Modern solder is almost always a mix of tin and copper, called lead-free. It melts at a higher temperature than the old tin-lead blend, around 430 degrees Fahrenheit, and it flows differently. It is also harder to work with for a beginner. It does not wet the joint as eagerly, and it tends to form duller joints.
The old 60/40 tin-lead solder, which melts at around 370 degrees, is easier to use. It flows beautifully, it wets the pad and the wire lead with almost no encouragement, and it produces a shiny, reliable joint. It is also banned for most commercial use in many countries because of lead toxicity. For a hobbyist doing a repair at home, a small roll of 60/40 remains the best learning tool. It is not for drinking straws. It is for electronics. Wash hands after use, work in a ventilated area, and the risk is manageable, but a person should know exactly what they are handling.
What matters more than the alloy is the flux core. Solder wire for electronics has a hollow core filled with flux, a rosin-based chemical that cleans the metal surfaces and lets the solder flow. When the flux hits the hot joint, it sizzles and smokes. That smoke is a signal. It means the flux is doing its job. A joint that produces no smoke at all, or a joint that produces smoke but no flow, is telling you something about the temperature or the cleanliness of the surfaces.
Buy solder that is labeled for electronics. It comes in diameters around 0.03 inches, which is thin enough to feed precisely. Plumbing solder, the thick silver stuff in the hardware aisle, has an acid flux that will eat a circuit board. They are not interchangeable. The acid flux does not just clean the joint. It keeps corroding the board long after the repair is done.
The Joint Itself, Up Close
A good solder joint has a specific look. It is shiny, it forms a smooth concave fillet between the wire and the pad, and it covers the pad completely. It looks like a tiny volcano that has been polished. A bad joint is dull, gray, balled up, or cracked. It might look like a small gray pebble sitting on top of the pad, which means the solder never actually bonded to the metal underneath.
The technique that produces a good joint is straightforward. Clean the tip. Tin the tip. Hold the iron so the tip touches both the pad and the wire lead at the same time. Let them heat for one or two seconds. Then feed the solder wire into the joint, not onto the tip. The solder should melt against the heated pad and wire, not against the iron. Feed just enough. The joint should look like a small cone, not a ball. Remove the solder wire first, then the iron, and hold everything still for a second while the joint solidifies.
This sounds simple. It is not, at first. The common failure is that people touch the solder to the tip, where it melts instantly and drips down onto the board without ever heating the pad. The result is a ball of solder sitting cold on the surface. It looks like a connection. It is not. The fix is to be patient with the heating step. The pad needs to be hot enough to melt the solder on its own. If the solder does not melt when touched to the pad, the pad is not hot enough. Wait another second.
Desoldering, the Harder Half
Repairs are rarely about soldering a fresh wire to a clean pad. They are about removing a broken component first. Desoldering is the skill that actually saves things, and it is the one everyone skips.
The basic tool is the solder sucker, a spring-loaded plunger with a silicone tip. Heat the old joint with the iron until the solder melts completely, then press the button on the sucker to create a vacuum that pulls the molten solder off the board. It takes a few tries. The trick is to keep the iron on the joint until the solder is fully liquid, then pull the iron away and place the sucker tip over the joint in one motion. If the solder has cooled and solidified by the time the sucker arrives, nothing happens.
Solder wick, a braided copper mesh soaked in flux, is the other option. Lay it over the joint, press the iron on top of it, and the capillary action pulls the molten solder up into the braid. Wick is slower but more precise. It is the right tool for cleaning up a pad that has excess solder, or for removing a component with many legs. For a two-lead component like a resistor or a capacitor, the solder sucker is faster.
Through-hole components, the ones with legs that poke through the board, require a different approach when the legs are bent over on the other side. A person can try to heat one leg and pull, then the other leg and pull, but the component will not come out cleanly. The trick is to add a little fresh solder to the joint before trying to remove it. Fresh solder contains active flux that revives the old, oxidized joint. Then heat each leg in turn and wiggle the component gently. With practice, it slides out.
Flux, the Invisible Hand
People who struggle with soldering for years often find that the answer was a small jar of flux. The flux inside solder wire is enough for fresh surfaces. But the pads on an old circuit board, or the wires in an old appliance, have oxidized surfaces that need more help. A tiny brush dipped in rosin flux, applied to the joint before the iron arrives, transforms the experience. The solder flows like water. It wets the surfaces immediately. The joint comes out shiny on the first try.
Flux in a jar has a syrupy consistency. It is applied in a thin layer, and it smokes when the iron touches it. It does not need to be cleaned off afterward for most hobby work, though a dedicated flux remover or isopropyl alcohol will clean the board for a more professional look. The important thing is that it works. Anyone doing more than one repair a year should own a small tin. It costs less than a roll of solder and it fixes more problems.
Common Repairs, Realistic Expectations
A broken headphone jack is a classic entry point. The jack is a through-hole component with five or six pins, and the solder joints crack after years of bending. Replacing it is a legitimate first project. It requires desoldering the old jack, which takes patience, and then soldering in a new one, which is straightforward if the pads survive the removal. The repair works about half the time for a beginner. The other half, the pads lift off the board, and the device is beyond home repair.
A broken wire on a laptop power adapter, where the cable flexes at the strain relief, is a better first project. The wire is thick, the solder pads are large, and there is room to work. A person can strip the wire, tin it, and solder it back to the pad with confidence. The repair takes ten minutes and it holds for years.
Battery contacts in toys and flashlights, where the spring corrodes from leaked alkaline batteries, are also good candidates. The contact is usually a spring or a metal tab spot-welded to a thin wire. Desolder the old tab, clean the corrosion with vinegar or isopropyl alcohol, and solder a new tab in place. This repair is satisfying because the failure is visible and the fix is permanent.
The Station Versus the Pencil
There are two form factors for soldering tools. The pencil is a single unit, a heating element with a handle and a cord. The station has a separate base unit with the power supply and temperature controls, connected by a cable to a much lighter handpiece. The station is better in almost every way. The handpiece is lighter, which means less fatigue and more control. The temperature is regulated in the base, which means a more stable tip temperature. And the base usually comes with a holder and a sponge built in.
A decent station costs around $40 to $60. A cheap pencil costs $15. For a single repair, the pencil will do. For anyone who plans to make this a habit, the station pays for itself in frustration avoided. The extra money buys a heating element that recovers quickly after touching a joint, so the temperature does not sag, and a tip that stays clean longer.
One more thing distinguishes a good station from a bad one: the cord. A cheap station has a stiff, heavy cord that fights the hand. A good one has a soft, flexible silicone cord that lies flat and stays out of the way. This sounds trivial. It is not. The cord is what makes a long repair session tolerable.
Safety as a Habit, Not a Lecture
The iron is hot. This seems obvious, but the number of people who grab the metal shaft right after unplugging it is higher than anyone admits. The iron stays hot for a minute or more after the power is off. The correct habit is to set the iron in its stand, unplug it, and walk away for five minutes. Touching the tip to check is a mistake. The tip will burn a fingerprint off without hesitation.
The smoke from soldering is not something to inhale deliberately. The flux fumes are irritants. A small fan blowing across the work area toward a window is enough for hobby work. A dedicated fume extractor with a charcoal filter is nicer. Neither is optional equipment for someone who solders weekly. The nose will complain otherwise.
Lead solder requires hand washing. The lead does not jump off the solder and into the bloodstream. It gets on the fingers, then into food, then into the body. A person who washes their hands after a session and does not eat while soldering is fine. The fear around lead solder is overstated for the hobbyist, but the hygiene rules are simple enough to follow without drama.
The First Real Fix Changes Everything
There is a moment that separates people who own a soldering iron from people who use one. It happens after the first successful repair of something that was genuinely broken. A lamp that would not turn on, a remote with a cracked solder joint at the battery spring, a set of earbuds with a loose connection at the plug. The joint is made, the device is reassembled, and it works. The feeling is not exactly pride. It is more like the realization that the world is made of fixable things.
That realization is what keeps the iron out of the drawer. The next repair is easier because the hands remember. The tip gets cleaned without thinking. The solder flows because the pad was given time to heat. The joint comes out shiny because the flux was allowed to work. None of this requires talent. It requires the willingness to let the tool do its job and the patience to watch what happens at the point of contact.