
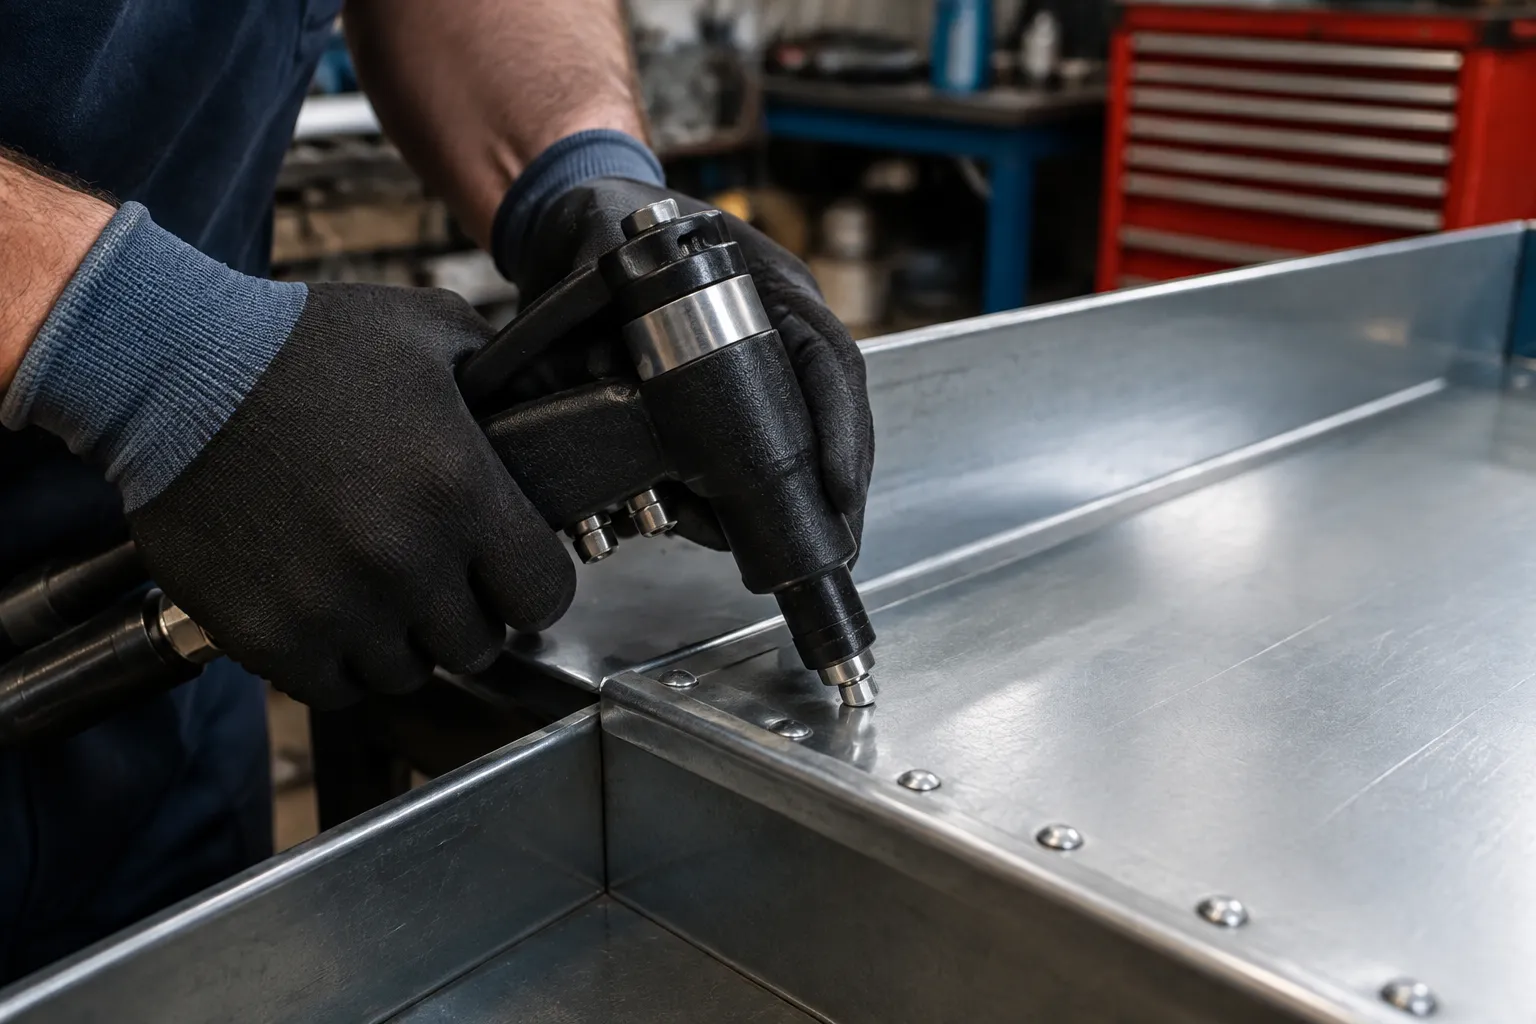
Sheet metal work has a way of sorting people into two camps: those who treat the rivet gun as a permanent fixture in the shop and those who reach for it only after the welder has already let them down twice. The truth about riveted joints is that they are neither the weak link nor the shortcut. A properly set rivet will outlive the surrounding material in most cases, and a poorly set one will fail the moment the assembly actually has to do something. The difference has almost nothing to do with the gun itself and almost everything to do with the preparation leading up to the pull.
Most of the frustration people experience with rivets traces back to a single misunderstanding: that the rivet does the work. It does not. The rivet is the final clamp in a sequence that starts with hole alignment, continues through fit-up, and only then arrives at the fastener. Skip any of those earlier steps and the gun will happily set a thousand rivets, none of which will hold the joint together any better than a drywall screw.
The first habit worth building is also the most boring one. Measure the material stack before you ever pick up a rivet. Not the advertised thickness on the label, but the actual stack of the two or three layers being joined. A 1/8-inch rivet with a grip range of 0.125 to 0.25 inches will not magically accommodate a joint that is 0.30 inches thick, regardless of how hard the gun pulls. The mandrel will snap, the body will bulge in the middle, and the joint will feel solid until the first real load tries to separate it.
Grip range is the number that actually matters, and it is printed on the box for a reason. Most manufacturers list both the grip range and the diameter, but the grip range is the one that gets ignored. A rivet that is too long for the stack will set with a loose, rattling head and a mandrel that breaks off clean but leaves the body of the rivet standing proud of the work surface. A rivet that is too short will pull the layers together with an alarming crack and then fail to form a proper bulb on the blind side. Neither failure looks dramatic at the moment. Both show up later as a joint that moves when it should not.
The Hole Is the Joint
Hole preparation is where the joint is actually won or lost. A rivet set in an oversized hole has no purchase. The body of the rivet expands to fill the hole as the mandrel is pulled, but it can only expand so far before the material around it has nothing left to bite into. The result is a joint that feels tight for the first few cycles and then develops a distinct clunk as the rivet rocks back and forth in the clearance.
The rule of thumb that has served well for decades is a hole diameter of 1.5 to 2 thousandths of an inch over the nominal rivet size for standard work, and closer to 4 thousandths for harder materials like stainless steel that resist deformation. A 3/16-inch rivet calls for a 0.191-inch hole in aluminum, not a 0.25-inch hole just because a drill bit of that size happens to be within reach. Drilling for rivets is not like drilling for bolts. Bolts need clearance to drop through. Rivets need the hole to guide the body and let the expansion grip the full circumference of the opening.
Drill bits wander. That is not an opinion, it is a physical fact. A standard twist drill will push sideways against the grain of the material, especially when the bit is dull or the spindle speed is too high for the metal being cut. The cleanest approach for rivet holes is to drill undersized and then ream to final diameter, but very few hobby shops own a reamer set. The practical alternative is to use a sharp bit, run the drill at the correct speed, and debur the hole on both sides before the rivet ever goes in. A burr on the blind side will hold the layers apart and make the rivet pull the burr down into the joint, where it becomes a permanent wedge that prevents full clamp-up.
Deburring is the step that separates a careful job from a rushed one. The inside of the hole matters just as much as the outside. A countersink on the visible side creates a nice seating surface for the rivet head, but the blind side needs a light chamfer too. That chamfer does not need to be large. A few thousandths of an inch is enough to keep the sharp edge from digging into the shank of the rivet as it expands. Skip it and the rivet will still set, but the joint will have a microscopic gap that flexes under load.
Clamp Before You Pull
The single biggest mistake in riveted assemblies is pulling the trigger while the layers are still separated. A rivet gun is not a clamp. It will pull the mandrel, the body will deform, and if the layers are not already touching, the rivet will simply solidify the gap that exists. The joint will look fine from the outside and have a hidden void on the inside where the two sheets never actually meet.
Cleco fasteners exist for exactly this reason. They are temporary pins that hold the layers together with spring-loaded plungers while the permanent fasteners go in. A person can install a dozen Clecos, set the rivets between them, and remove the Clecos as the real fasteners take over. This is standard practice in aircraft assembly for a good reason: it removes the variable of human hands clamping the material.
For shops that do not keep Clecos on hand, the alternative is a pair of locking pliers with soft jaws or a simple C-clamp placed as close to the rivet hole as possible. The clamp does not need to exert much force. It needs to hold the layers in contact so the rivet sets into a zero-gap condition. A joint that is clamped before the set will have a consistent, even clamp-up across all the fasteners. A joint that is not clamped will show its truth in the first thermal cycle or the first time it carries a load.
The order of operations matters as much as the clamping itself. A person should always work from the center of the joint outward, setting the middle rivets first and then moving toward the edges. This keeps the material from buckling or walking under the cumulative clamp force of the rivets. Starting at the edges and working inward is a recipe for a wavy panel and a joint that sits proud in the middle where the material has nowhere to go.
Read the Mandrel Break
The mandrel break tells a person exactly how well the rivet set, provided they know what to look for. A properly set rivet breaks the mandrel clean at the nail point, leaving a small nub in the center of the head. The head sits flat against the material with no gap around the circumference. The body of the rivet on the blind side forms a tight, even bulb that looks like a small button.
When the mandrel breaks before the body has fully formed, the result is a joint that looks acceptable from the outside but has a deformed, partially formed bulb on the back. This happens when the rivet is too short for the stack, when the hole is oversized, or when the material is so hard that the mandrel fails before the body can crush against the blind side. The fix is to step up to a rivet with a longer grip range or a softer body material.
When the mandrel pulls through entirely, leaving a hole in the center of the head, that is a failure of the rivet itself or a sign that the hole was far too large. A setting that yanks the mandrel through with a sharp snap and no resistance means the rivet never actually engaged with the material. The joint is not just weak, it is nonexistent. The rivet is a tube with a hole in the top and no purchase on anything.
The sound of a good set is also worth learning. A proper rivet sets with a smooth, firm pull and a clean pop at the end as the mandrel breaks. A rivet that sets with a rough, grating sound has likely picked up debris or has a burr in the hole. A rivet that pops immediately with almost no effort was undersized for the material or the hole was too big. Experienced hands develop a feel for this through the trigger of the gun, and that feel is worth more than any spec sheet.
Material Choice Changes Everything
Aluminum rivets are the default for most sheet metal work because they are soft enough to deform easily and strong enough for structural duty in the right applications. But not all aluminum rivets are the same. The alloy and temper of the rivet body directly control how much force the gun needs and how well the joint holds up over time. A soft 1100-series rivet will set like butter and hold about as well as a piece of chewing gum under sustained load. A 2117-series rivet, which is the classic aircraft-grade material, sets with more resistance and delivers a joint that actually carries weight.
Stainless steel rivets are a different beast entirely. They require a gun with real pulling power and they punish undersized holes with stripped mandrels and broken noses. The benefit is a joint that shrugs off corrosion and vibration in a way that aluminum cannot match. The cost is that the operator must have a solid technique and the right tool for the job. A cheap hand riveter will fight a stainless rivet all day and lose. A hydraulic gun will set the same rivet in a second.
Blind rivets, also called pop rivets, are the workhorse of the category, but they have a structural sibling that deserves more attention. Structural blind rivets, often called lock-bolt rivets, use a mechanical lock to hold the mandrel in place after the set. The mandrel does not just break off and fall away. It stays captured inside the body, adding shear strength to the joint. These rivets cost more and require a specialized setting tool, but they deliver a joint that approaches the strength of a solid rivet without requiring access to the blind side.
For thin sheet metal, the flange or head style matters more than most people realize. A large flange head spreads the clamp force over a wider area and is the right choice for soft materials like thin aluminum or fiberglass. A countersunk head sits flush with the surface and is the right choice when the assembly has to slide against something else or when appearance matters. The countersunk rivet requires a precisely chamfered hole, and the depth of that chamfer controls whether the head sits flush or sits slightly proud. Getting this wrong produces a rivet that looks like a small volcano and acts like a stress riser.
Gun Choices and Trigger Discipline
The tool itself is the least interesting part of the equation, but it still deserves a few words. A hand-operated riveter works fine for occasional use and small rivets up to 3/16-inch in soft aluminum. Past that point, or for any volume of work, a pneumatic rivet gun with a hydraulic head is the right tool. The power difference is not subtle. A pneumatic gun sets a rivet in a fraction of the time and with a fraction of the physical strain, and the consistency of the pull produces more uniform results across a large joint.
The hydraulic head is the key feature to look for. A pneumatic gun without hydraulic assistance will pull the mandrel with a sudden, jerky motion that can damage the fastener and the material. A hydraulic head delivers the pull in a smooth, controlled stroke that lets the rivet body form evenly before the mandrel breaks. This is the difference between a joint that looks professionally set and one that looks like it was done with a hammer and a punch.
Trigger discipline is a real thing in riveting, even though it sounds like it belongs at a shooting range. The operator should apply the trigger smoothly and let the gun do the work. Mashing the trigger produces a fast, violent pull that stresses the rivet body unevenly and can cause the mandrel to break prematurely. A smooth, steady squeeze produces a clean set every time. This sounds like common sense, but watch a few people work with a rivet gun and the number of them who slam the trigger is surprisingly high.
The nose piece, the little interchangeable tip that fits over the mandrel, wears out over time. A worn nose piece will not grip the mandrel properly and will cause the gun to slip or the mandrel to break off flush with the head instead of leaving the proper nub. Replacing the nose piece is a cheap fix that most people never think about. A gun that starts slipping on rivets it used to set cleanly is usually telling the operator that the nose piece has reached the end of its life.
Edge Distance and Pitch Are Non-Negotiable
Two numbers govern the layout of a riveted joint, and both are frequently ignored. Edge distance is the distance from the center of the rivet hole to the edge of the material. The general rule is a minimum of two times the rivet diameter. A 1/8-inch rivet needs at least a quarter-inch of material between the hole center and the edge. Fall below that and the rivet will tear out of the edge under load, leaving a small crescent-shaped scar where the material used to be.
Pitch is the distance between rivet centers along the joint line. Closer pitch means more fasteners per inch, which sounds stronger but actually weakens the material by putting too many holes in a small area. The material between the holes becomes a fragile strip that can tear along the line of holes. A pitch of three to four times the rivet diameter is a sound starting point for most applications. This gives enough fasteners to distribute the load while leaving enough material between them to carry the stress.
The spacing rules exist because a riveted joint transfers load through the bearing of the rivet against the hole wall. Each rivet carries its share, and the material between the holes carries the remaining stress. Violate edge distance or pitch and the joint fails at a load far below what the rivets themselves could handle. The fastener is not the weak point. The material around the fastener is.
A quick check for edge distance can be done with a pair of calipers and a few seconds of attention. Measure from the center of the hole to the nearest edge in several places around the joint. If any measurement falls below the two-diameter rule, the hole needs to move or the edge needs to be relieved. This is the kind of inspection that takes less time than setting a single bad rivet and saves the embarrassment of a joint that fails in front of a customer.
Corrosion Protection Is a Joint Decision
Dissimilar metals in a riveted joint create a galvanic cell, which is a polite way of saying the joint will corrode itself apart over time. Aluminum rivets in a steel structure, or steel rivets in an aluminum panel, set up a slow electrical current that eats away at the less noble metal. The classic fix is to use a rivet made of the same material as the less noble side of the joint, or to isolate the metals with a primer or a sealant applied before the joint is closed.
The practical approach is to apply a thin layer of zinc chromate primer, or a modern equivalent, to the faying surfaces before clamping. This does more than prevent corrosion. It also fills microscopic surface irregularities and increases the friction between the layers, which makes the joint stiffer and less prone to movement under vibration. A joint that does not move does not wear, and a joint that does not corrode does not lose its clamp load over time.
For outdoor applications or anything exposed to salt, the rivet itself needs protection too. Standard aluminum rivets in a marine environment will pit and corrode within a season. A rivet with a painted or anodized head, or one made from a corrosion-resistant alloy, will hold up far longer. The difference in cost is small. The difference in service life is measured in years.
The sealant question comes up for anyone who has ever had a leak develop through a riveted joint. A properly set rivet creates a tight joint, but it is not a waterproof one. Water will find its way between the layers and through the tiny annular space around the rivet body. For assemblies that need to keep water out, a bead of sealant applied to the faying surface before assembly is the only reliable solution. The rivets then become the clamp that holds the sealant under pressure, which is exactly the right way to think about it.
Backing Up the Blind Side
The blind side of a riveted joint is where the quality of the work actually shows. A rivet set into a hole with a cracked or distorted edge on the blind side will fail no matter how clean the visible side looks. The blind side cannot be seen during installation, which means the operator has to develop a feel for what is happening on the other side of the material.
For thin materials, a backing plate or a washer placed on the blind side can spread the clamp force and prevent the rivet from pulling through. This is common practice for attaching brackets to thin sheet metal panels. The backing plate converts the point load of the rivet head into a distributed load that the thin material can survive. Without it, the rivet will eventually tear through the panel at the point of maximum flex.
The mandrel stem that falls away after the set is debris, and it needs to be dealt with. In an enclosed assembly, a loose mandrel can rattle around for the life of the product. A mandrel that breaks off with a sharp edge can cut adjacent wiring or abrade other components. Collecting the mandrels as they fall and sweeping the work area at the end of the job is the kind of small habit that marks a professional shop.
The blind side also reveals the truth about hole alignment. A joint where the holes were drilled separately in each layer will show a characteristic off-center bulb on the blind side. The rivet body expands more on one side because the misalignment left more material to fill. This is not necessarily a failure, but it is a sign that the layers moved during drilling. A joint with perfect hole alignment produces a perfectly concentric bulb on the blind side, and that is the sign of a joint that was clamped, drilled, and riveted in the correct sequence.
Riveting rewards patience and punishes shortcuts with a consistency that is almost mathematical. The hole, the clamp, the rivet selection, and the gun technique each contribute their share to the final result. A person who respects all four will produce joints that hold for decades. A person who skips any one of them will produce a joint that holds just long enough to be trusted, and that is the worst kind of joint to put into service.