
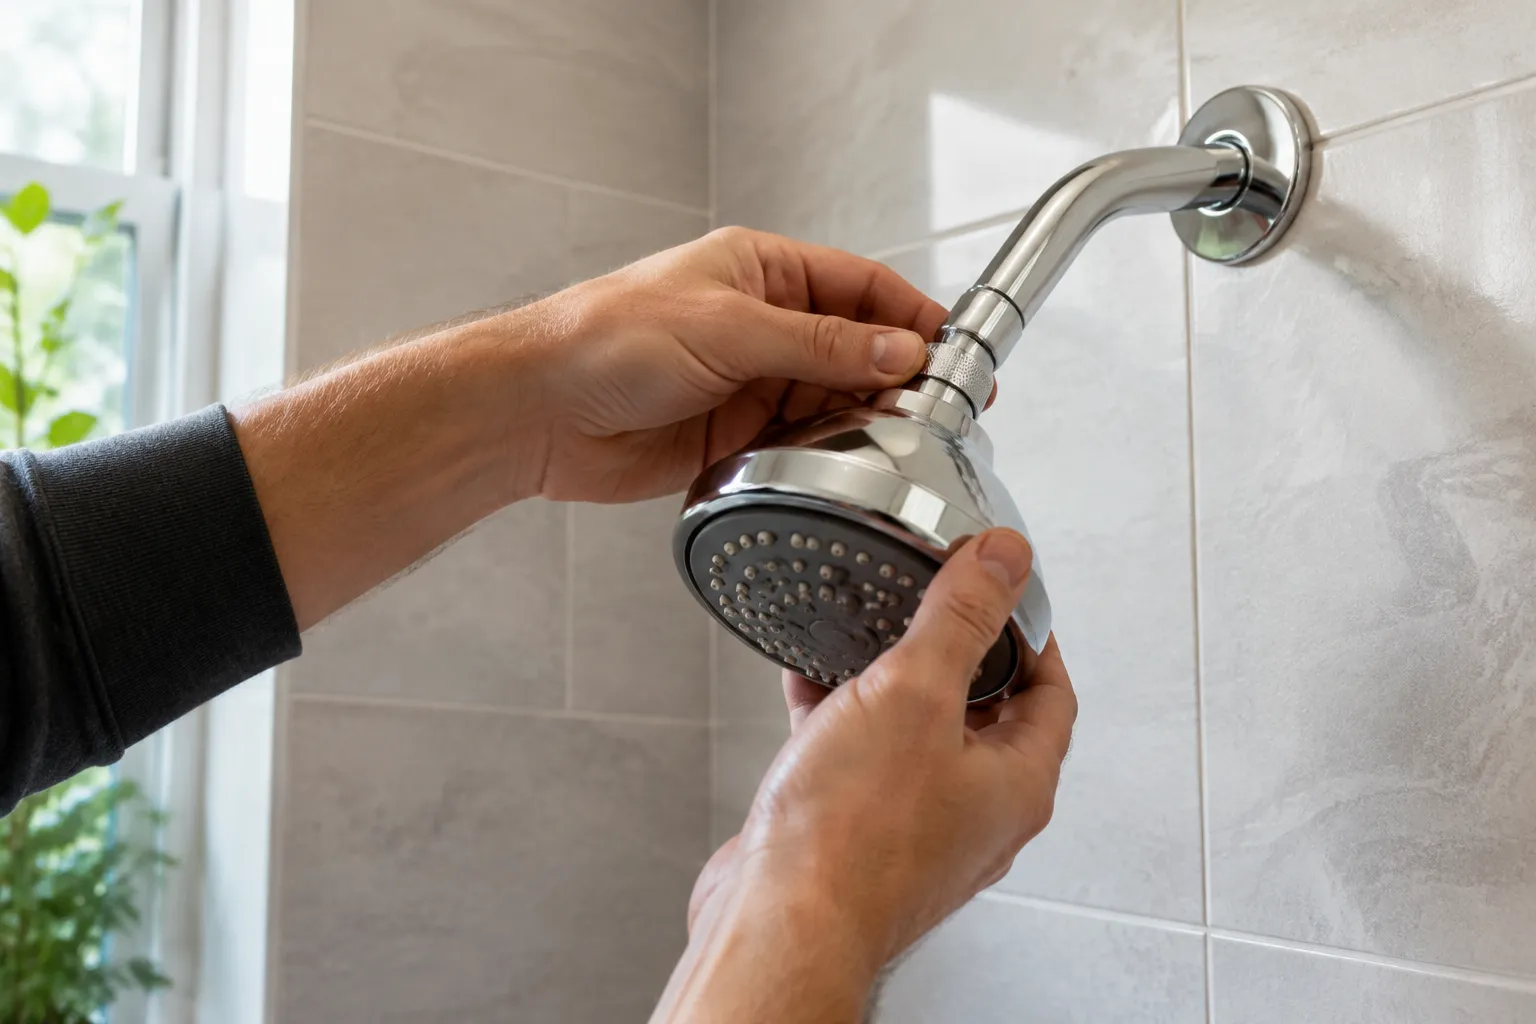
The plumbing aisle at any hardware store sells a tool called a shower wrench, and it is one of the most dishonest products in the building. It is a plastic or aluminum sleeve with teeth on one end and a hole you stick a screwdriver through on the other. The packaging shows a smiling person in a bathrobe removing a showerhead with one hand. Anyone who buys it expecting that experience is in for a fight. The truth is that the shower wrench exists to solve a problem that most people do not have. The problem it solves is a rusted, corroded, or outright seized connection between the old showerhead and the shower arm. A person with a normal, reasonably maintained shower does not need it. A person with a stubborn one will find the wrench utterly inadequate, because the teeth are too soft to grip, the leverage is too short, and the whole thing spins uselessly once the corrosion lets go.
Replacing a showerhead is a ten-minute job that requires exactly two tools: a pair of channel-lock pliers and a roll of plumber's tape. That is the entire list. The pliers handle every connection on a standard shower. The tape handles the only part of the job that can go wrong. Everything else is a matter of buying the right head, turning off the water, and not stripping the threads. Calling a plumber for this task is like calling a mechanic to change a windshield wiper. It is not a matter of skill. It is a matter of being willing to get a little water on the floor.
The first decision is which head to buy, and this is where most people make the mistake that turns a simple job into a headache. The mistake is buying a head with a flow rate higher than the home's water pressure can support. A showerhead is rated in gallons per minute, and the rating assumes a certain incoming pressure. Older homes, especially those with galvanized pipes or a water heater that has not been flushed in a decade, often deliver less than that. The result is a head that produces a weak, sputtering spray no matter how well it is installed. The fix is to buy a head rated at 1.5 gallons per minute or lower. The 2.5-gallon-per-minute heads are for homes with strong municipal pressure and wide pipes. Most homes are not that. A low-flow head on average pressure produces a better shower than a high-flow head on low pressure, because the smaller orifice creates a faster, more focused stream.
The Water Off Step That Nobody Skips Twice
Before touching anything, the water to the shower must be shut off. The valve is almost always in the basement or crawl space, on the pipe that feeds the bathroom. It looks like a small wheel or a lever on a vertical or horizontal run of pipe. Turning it clockwise closes it. The person who skips this step learns the hard way: the moment the old head loosens, a column of water from the ceiling pours out. The water in the pipe above the showerhead drains out by gravity, and it is not a polite trickle. It is a full-bore flow that soaks the person, the floor, and anything within three feet. A bucket does not catch it. A towel does not stop it. The only defense is closing the valve, then opening the shower handle briefly to relieve pressure and drain the line. A minute of work prevents a mess that takes an hour to clean.
One caveat: some older homes have no shut-off valve on the shower line at all. In that case, the main water valve for the house must be closed. This is a bigger operation, but still not a plumber-level one. The main valve is usually near the water meter or where the supply line enters the house. Closing it kills water to the whole building, which means flushing the toilet or running the kitchen sink afterward to drain the lines. It is a minor inconvenience, not a reason to call for help.
Removing the Old Head Without Damaging the Arm
The old head unscrews counterclockwise from the shower arm, which is the curved metal pipe protruding from the wall. The person doing this for the first time should grip the shower arm itself with the channel-locks, not the head. The arm is sturdier and provides a fixed point to twist against. Gripping the head alone risks spinning the whole arm inside the wall, which can crack the fitting behind the tile. That is a genuine plumbing emergency. A cracked fitting behind the wall means cutting open the drywall and replacing the elbow, and that is a job for a professional. Gripping the arm with the pliers prevents this entirely.
If the head is hand-tight, a firm twist will break it free. If it has been on for years, it will resist. A few drops of penetrating oil, the kind sold in any auto parts store, applied to the threads where the head meets the arm, will loosen it within minutes. The oil is not a magic wand. It needs time to creep into the threads. Spray it, wait five minutes, then try again. If it still will not budge, wrap the head in a rag to protect the finish and give it a sharp, short jerk with the pliers. The jerk matters more than raw force. A steady pull just torques the arm; a sudden twist breaks the corrosion bond.
Once the head is off, inspect the threads on the shower arm. They are the only thing that matters now. If they look clean and sharp, the job proceeds. If they are worn, cross-threaded, or covered in crusty white mineral deposits, the arm itself may need replacing. That is a more involved job, requiring the wall to be opened. For the vast majority of showers, the threads are fine. The deposits that look alarming are usually just calcium and lime, and they can be scrubbed off with a wire brush or a piece of sandpaper. A clean thread is a working thread.
Plumber's Tape, Applied One Way Only
Plumber's tape, also called Teflon tape or thread seal tape, is the thin white film that wraps around pipe threads to create a watertight seal. It is cheap, it is easy to find, and it is the single most commonly misused material in home repair. The mistake is wrapping it in the wrong direction. The tape must be applied clockwise when looking at the end of the arm, because that is the direction the new head will turn as it tightens. Wrapping it counterclockwise means the threads pull the tape off as the head screws on. The tape bunches up, the seal fails, and the shower drips from the connection.
The correct amount is three to four wraps, pulled snug but not stretched to the breaking point. The tape should cover the threads completely, but not so thickly that the head cannot start. A person who has never done this will likely under-apply the first time, use two wraps, and get a slow drip. That is fine. It is a two-minute fix: unscrew, add another wrap, retighten. Over-application is worse, because it can prevent the head from seating fully and cause the connection to leak from a different angle. Three wraps is the sweet spot. Four if the threads are rough.
The tape is not a lubricant. It does not make the connection easier to turn. It is a sealant, and it works by filling the microscopic gaps between the male and female threads. A person who tightens the head with brute force and skips the tape will get a dry connection most of the time, because the threads are machined well enough to seat. But the first time the water pressure fluctuates, or the temperature swings, the metal expands and contracts differently, and the gap opens. A pinhole drip appears. The tape costs a dollar and takes thirty seconds. There is no excuse for skipping it.
Hand Tightening, Then a Quarter Turn
The new head goes on by hand. This is non-negotiable. The person should thread it on until it stops, then back it off and re-thread it once to ensure the tape is seated evenly. Then tighten it hand-tight. That is usually enough. A showerhead does not need to be torqued down like a lug nut. The rubber gasket inside the head, where it meets the arm, does the sealing work. The metal threads are just holding it in place.
If there is a leak after the water is turned back on, tighten the head another quarter turn with the channel-locks, using a rag to protect the finish. A quarter turn is the maximum. More than that risks crushing the gasket or cracking a plastic head. A person who has tightened it a full half turn and still sees a drip has a different problem: either the tape is insufficient, the threads are damaged, or the head itself is defective. Most heads come from the factory with a rubber washer already installed. Sometimes that washer falls out during shipping or installation. The person who removes the head to check the washer, instead of reaching for the wrench, will find the problem instantly.
The Spray Test and the Angle Adjustment
With everything tightened, the water can be turned back on. The shower handle should be set to the cold position first, to avoid a blast of scalding water. The water should run for a minute to clear any debris that fell into the pipe during the swap. A few flakes of rust or scale coming out of the head is normal. A steady stream of debris is a sign of a corroding pipe, and that is a separate issue.
The head will likely need an angle adjustment. Most heads have a ball joint at the base that allows the spray to be pointed. The person should aim it at the shower wall, not at the person standing in the shower, and tighten the joint. The joint is often a plastic collar that twists to lock the angle. It should be snug but not overtightened. An overtightened joint strips the plastic and makes the head droop permanently.
The last step is the one everyone forgets: run the water hot for five minutes, then feel the connection between the head and the arm. If it is wet, it is leaking. If it is dry, the job is done. That is the entire test. A person who passes it can confidently tell anyone that they replaced their own showerhead in the time it takes to watch a sitcom.
Why the Plumber Was Never Needed
The plumber's hourly rate, in most cities, is well over a hundred dollars, with a minimum call-out fee that covers travel time. The plumber will arrive, spend four minutes unscrewing the old head, spend another two minutes installing the new one, and hand over a bill that could have bought three showerheads. The plumber is not dishonest. The plumber is running a business where the truck payment, the insurance, and the drive time are all built into the price. The person who calls a plumber for a showerhead is not paying for labor. They are paying for the plumber's overhead.
The tools for this job, the channel-locks and the tape, cost less than twenty dollars together. They will last for decades. The channel-locks will tighten a garbage disposal, loosen a stuck drain plug, and grip a frozen valve. The tape will seal any threaded connection in the house. A person who buys these tools is not just fixing a shower. They are acquiring the basic kit for a lifetime of small plumbing repairs. The next time a faucet drips or a supply line leaks, the tools are already there.
The confidence gained from a successful showerhead swap is real and it compounds. It changes the way a person looks at the other small problems in the house. A squeaky hinge, a loose toilet handle, a dripping kitchen faucet. None of these are mysteries. They are all the same shape of job: a specific part, held in place by a specific fastener, requiring a specific tool. The showerhead is the perfect first one because it is genuinely simple, genuinely forgiving, and genuinely satisfying. The water comes out exactly where it did before, but the person knows something they did not know an hour earlier. They know that the wall between them and the plumbing is thinner than they thought. It was never a wall at all. It was just a few threads and a strip of tape.