
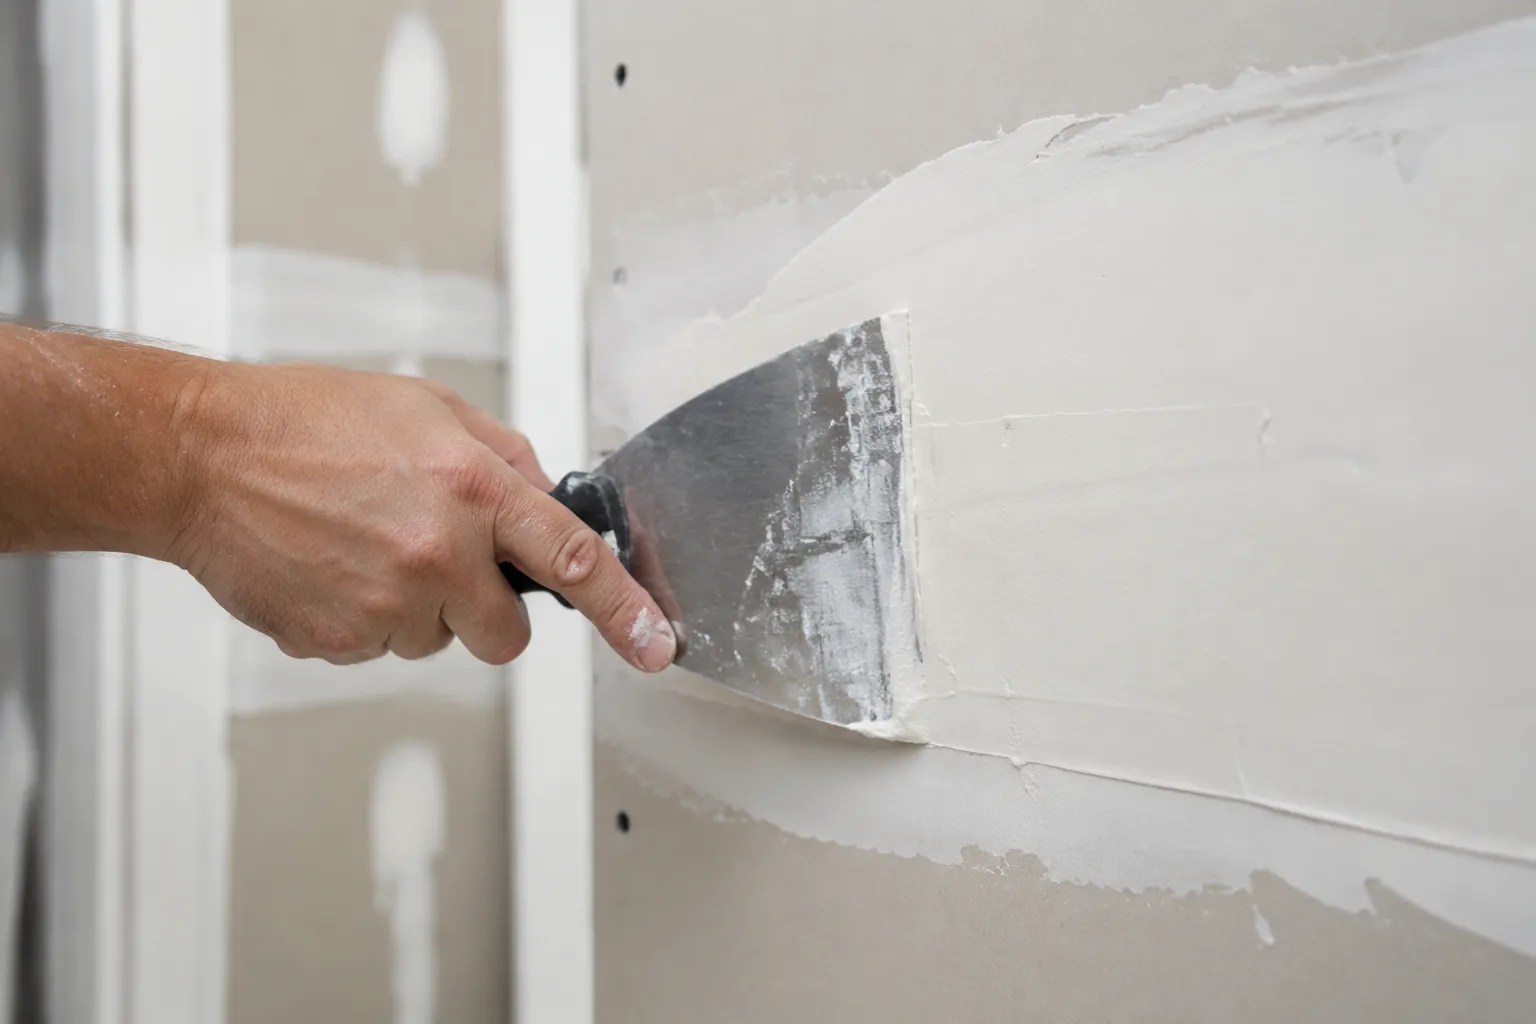
The humble putty knife gets blamed for a lot of bad drywall work, and almost none of it is the tool's fault. Most of the blame belongs to the person holding it, and specifically to the way they use the knife as if it were a shovel, a squeegee, or a butter knife. A putty knife is a burnishing tool, a spreading tool, and occasionally a scraping tool, and knowing which one is needed at any given moment is the entire game. The surface of a finished drywall joint is a direct record of every decision made with the blade, and most of those decisions happen in the first few seconds of a pass.
The first thing to understand is that the knife does not push mud onto the wall. It pulls and presses a thin film that was already there. A person who scoops a blob of joint compound onto the blade and then shoves it at the seam is fighting the material and the wall at the same time. The mud will fold, wrinkle, and leave thick ridges that dry into hard, un-sandable lines. The correct approach is to load the knife with a modest amount of material, press the blade against the wall at a shallow angle, and drag it across the joint with the handle leading the way. The mud flows out from under the blade like water under a squeegee, not like frosting under a spatula.
Mud consistency matters more than blade angle, and it matters first. A bucket of joint compound straight from the store is often too stiff for anything except the initial bedding coat. For the second and third coats, the mud needs to be loosened to the point where it almost slumps off the knife when held flat. A person can test this by dipping the blade into the bucket and letting it drip. If the mud holds its shape for more than a second before slowly sliding off, add a little water and stir. If it runs off like milk, add fresh mud from the bucket. The goal is a texture like thick mayonnaise, something that spreads under pressure but does not run on its own.
Stirring is a separate chore that many skip. A drill with a paddle mixer is the right tool, and it takes about two minutes. The mud in the bottom of a bucket is always stiffer than the mud at the top, and pulling from anywhere without mixing guarantees inconsistent thickness across the joint. A person who stirs properly will find the mud becomes more uniform and also slightly more aerated, which changes how it behaves. It spreads easier and dries a bit faster. That is fine. The smoothness of the finish coat depends on uniform material, not on the brand of the bucket.
The Angle of the Blade Changes Everything
Blade angle is the single most misunderstood variable in drywall finishing. Most novices hold the knife nearly vertical, at a steep angle to the wall, because it feels like they are controlling the mud. The result is a thick deposit that leaves heavy ridges on both edges of the pass. Steep angles do not smooth mud; they scrape it off and pile it up. The opposite end of the spectrum is a blade nearly flat against the wall, which deposits almost nothing and burns the surface, dragging the compound into a rough, gritty texture that will not sand clean.
The useful range sits between those two extremes. For the first coat, the bedding coat that presses paper tape into the corner, the blade should sit at roughly 45 degrees to the wall. This pushes enough compound to fully embed the tape while squeezing out the excess from underneath. For the second coat, a wider angle of about 30 degrees lays down a thin, even layer over the tape. For the final coat, the blade barely angles off the wall, maybe 15 degrees, and the goal is to deposit the thinnest possible film of mud that still covers the entire recess. Each coat uses a flatter angle than the one before it, and a person who starts flat will never get the tape covered.
A common mistake is to change the angle mid-stroke. The blade starts steep to catch the mud, then flattens out as it travels across the joint. This creates a tapered thickness across the pass, thicker at the start and thinner at the end, which dries into a visible hump that ruins the flatness of the wall. The angle should be set before the blade touches the mud, and it should stay locked through the entire stroke. This requires a firm wrist and a steady arm, and it is the reason professional finishers are so deliberate with their movements. The knife is not being waved; it is being dragged.
Pressure Is a Variable, Not a Constant
Pressure is the least discussed part of knife technique, and it is where the finish coat lives or dies. The same blade angle can produce two completely different results depending on how hard the handle is pressed toward the wall. Hard pressure flattens the blade, squeezes out more mud, and leaves a thinner film. Light pressure lets the blade flex and leaves a thicker deposit. The trick is that the pressure must change during the stroke, and it must change in a specific direction.
The standard technique is to start the stroke with moderate pressure and decrease it gradually as the blade moves across the joint. This deposits slightly more mud at the beginning of the pass and less at the end, which feathers the edge of the coat so it blends into the surrounding wall. If the pressure stays constant, the edge of the coat is a hard line that will show through paint. If the pressure increases, the edge gets a heavy buildup that needs aggressive sanding. The decrease should be almost imperceptible, a continuous relaxation of the hand, not a step change halfway across the joint.
This pressure change is why short strokes are easier to control than long ones. A 12-inch knife pulled across a 4-foot joint requires a long, sustained relaxation of pressure, which is difficult to do smoothly. A 6-inch knife across the same joint takes two or three passes, each one shorter and easier to control. Professional finishers use wide knives because they are fast, not because they are easier. A homeowner with a 6-inch knife and a patient arm will get a better result than a careless worker with a 12-inch knife and a deadline.
The Two-Direction Crosshatch for Flat Spots
One technique that solves the most common flatness problem is the crosshatch, which is simply two passes at right angles to each other over the same area. The first pass spreads mud in one direction, say left to right. The second pass, done immediately while the mud is still wet, spreads it top to bottom. The second pass fills the low spots left by the first pass and knocks down the high spots. The result is a surface that is flat in both directions, rather than flat in one direction and wavy in the other.
This works because a single pass always leaves tiny ridges parallel to the direction of travel. Those ridges are invisible to the eye but become visible under raking light, the kind of light that comes from a low window or a hallway lamp. A second pass at 90 degrees to the first cuts those ridges down and leaves a crosshatch of microscopic texture that is far less visible. The mud dries with a slightly different surface profile, and the wall looks flatter, even though the thickness is the same.
The crosshatch is especially useful on butt joints, the flat seams where two pieces of drywall meet without a tapered edge. Butt joints are inherently thicker than tapered joints because neither edge is recessed. A person who tapes a butt joint and then applies a single coat of mud will have a noticeable bump. The crosshatch technique, applied to the second coat, feathers the edges of the bump more aggressively and spreads the transition over a wider area. This is the difference between a joint that looks like a seam and a joint that looks like a smooth wall.
Feathering the Edges Without Sanding
Sanding is the most hated part of drywall work, and most of it is unnecessary if the feathering is done right. The edge of each coat should be so thin that it is nearly invisible to the touch, and that only happens when the blade is lifted off the wall in the correct way. Lifting the blade straight up at the end of the stroke leaves a ridge. Sliding the blade off to the side leaves a smear. The correct move is to reduce pressure gradually until the blade is barely touching the wall, then pull the blade away in a smooth, horizontal motion, like a hand pulling away from a tabletop.
This lift is a skill that takes practice, and it is the difference between a joint that needs sanding and a joint that needs only a light skim. A person who masters the lift can finish a joint with almost no sanding dust in the air. The mud dries, a quick pass with a fine sanding sponge knocks down any tiny nibs, and the wall is ready for primer. The sanding that remains is for removing the occasional missed ridge or a bit of dried mud that fell onto the wall, not for reshaping the entire joint.
The width of the blade also affects feathering. A narrow blade, 4 or 6 inches, feathers a tight edge that is easy to manage but leaves a visible transition if the wall is smooth. A wide blade, 10 or 12 inches, feathers a long, gradual edge that disappears into the wall texture. The solution is to use both: a narrow blade for the first two coats over the tape, then a wide blade for the final coat that spans the entire recess plus a few inches on each side. The wide blade spreads the final layer over a broad area, and the feathering happens over a distance of 6 to 8 inches, which is invisible to the eye.
Cleaning the Blade Between Passes Is Not Optional
Dried mud on the blade is the enemy of a smooth finish. A dried lump on the edge of the blade will scrape a groove through the fresh mud on the next pass, and that groove will dry into a hard ridge that requires sanding. The solution is to wipe the blade clean between every single pass. A damp rag, kept within arm's reach, is the standard tool. The blade is wiped, the rag is flipped, and the blade is wiped again. This takes five seconds and saves ten minutes of sanding later.
The edge of the blade also needs inspection. A dull or nicked edge will not spread mud evenly; it will leave stripes and skips. The edge should be checked by running a finger along it, feeling for burrs or chips. A small burr can be removed with a fine file or a sharpening stone. A heavily nicked blade should be replaced, because no amount of technique can compensate for a damaged edge. A 10-dollar blade is cheaper than the time spent fighting it.
Some finishers swear by a blade with a slight flex, and some prefer a stiff blade. The difference matters in the final coat. A flexible blade, usually 0.015 inch thick, conforms to slight irregularities in the wall surface and is easier to feather. A stiff blade, 0.025 inch thick, is better for scraping and for the first coat over tape. Most professionals own both and switch between them. A person with only one blade should buy a flexible one for finishing, because it is more forgiving and produces a smoother final surface.
The Drying Time Trap Between Coats
The greatest enemy of a smooth finish is impatience between coats. Joint compound dries from the outside in, which means the surface can feel dry while the interior is still soft. A person who sands too soon will gum up the sandpaper and gouge the surface. A person who applies the next coat too soon will trap moisture and cause the mud to crack as it dries. The standard rule is to wait until the mud is completely dry, which can take 12 to 24 hours in a normal room, depending on humidity and the thickness of the coat.
The color of the mud is the best indicator. Wet mud is gray or beige. Dry mud is white or a much lighter shade of the original color. A person who checks the color and sees any gray or beige should wait. It is also possible to test by pressing a finger gently against the edge of the coat. If it feels cool and slightly damp, it is not dry. If it feels room temperature and dry, it is ready for the next step. Rushing this process is the single most common cause of a joint that looks fine on the second day and cracks on the tenth day.
The drying time also affects the technique for the next coat. A fully dry coat is hard and slightly porous, which means it grabs the next coat of mud and holds it in place. A partially dry coat is soft and slick, which means the next coat slides and skids, creating uneven thickness. The wall should feel like a dry sponge, not like a wet one. This is why professional finishers often work on several rooms at once, rotating between them as coats dry, rather than trying to rush a single joint.
The Finish Coat Is a Different Animal
The final coat deserves special mention because it is the one that decides whether the wall looks painted or handcrafted. The mud for the finish coat should be diluted more than the earlier coats, almost to the consistency of a thick soup. This thin mud is applied with a wide blade and pulled as flat as possible, leaving a film that is barely thicker than a sheet of paper. The goal is not to add thickness but to fill the microscopic pores and tiny ridges left by the previous coat.
Many professionals add a small amount of water and mix the mud for three full minutes before the finish coat. This is not laziness; it is the way to get the mud to a uniform, silky texture that spreads like cold butter. The finish coat should be applied in one continuous stroke, not in overlapping patches, because overlapping patches create subtle thickness variations that show up as darker and lighter areas under paint. A single stroke from one end of the joint to the other, with a steady hand and a gradually decreasing pressure, is the entire secret.
The finish coat dries to a slightly different color than the earlier coats, usually a brighter white. This is normal and useful. A person who sees a bright white surface with no gray patches knows the coat is dry. At this point, the wall should be inspected in raking light, with a flashlight held low and parallel to the wall. Any shadow or highlight is a defect that needs a tiny touch-up. The touch-up is the same technique as the finish coat: a thin film of diluted mud, spread with a wide blade, feathered into the surrounding surface, and left to dry.
The last pass of the finish coat is where the putty knife earns its name. A person who has done everything right will look at the wall and see a flat, seamless surface that needs no sanding and no further attention. That moment is rare, and it is the reason drywall finishing is a craft rather than a chore. The knife is just a piece of steel with a handle, but in the right hand, with the right angle, the right pressure, and the right patience, it produces something that looks like the wall was always there and never had a seam at all.