
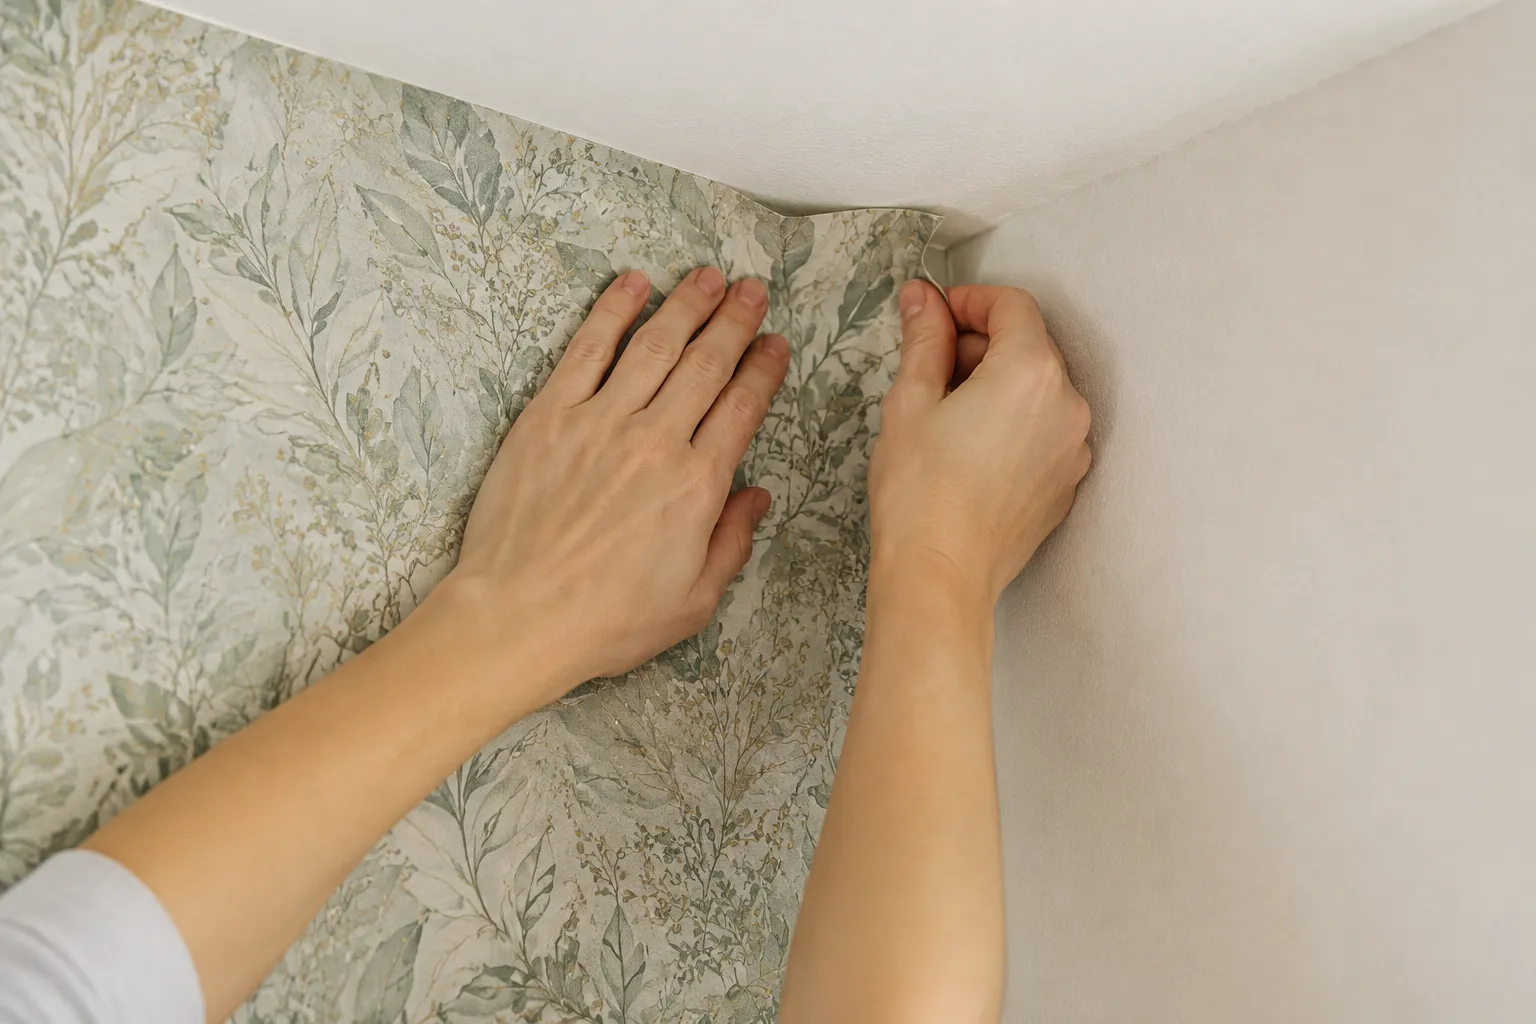
Every rental deposit in history has been lost to a single errant air pocket under a sheet of self-adhesive vinyl. The material itself is forgiving in ways that old-school wheat paste never was, but it has one weakness that no amount of manufacturer marketing can spin away: corners. A flat wall is almost impossible to screw up. The moment a wall turns a 90-degree angle, the physics change, and most people respond by pressing harder, which makes everything worse. The pressure traps the air, the air forms a bubble, and the bubble sits there for the next four years, catching the light every time someone walks past the hallway.
Peel-and-stick wallpaper does not actually stick to corners. It bridges them. That distinction is the entire game. A corner is not a surface; it is a transition between two surfaces, and the vinyl wants to stay flat. Forcing it to bend around a sharp edge means fighting the material's natural memory, and the material always wins eventually. The trick is to stop treating the corner as something to be wrapped and start treating it as something to be cut.
The Physics of the Bubble
A bubble forms when the adhesive meets the wall before the vinyl has a chance to lay flat. The air gets trapped between the glue and the drywall, and once that seal closes, the air has nowhere to go. On a flat surface, a person can work the bubble out with a squeegee, pushing it toward the nearest edge. On a corner, there is no nearest edge. The bubble is trapped on two sides by the wall and on the third side by the fold itself. Pressing it from the outside just stretches the vinyl thinner and thinner until it either tears or refuses to relax back into place.
The other failure mode is the wrinkle. When a strip of vinyl is forced around a corner without any relief cuts, the excess material has to go somewhere. It bunches. It puckers. It forms those diagonal creases that look like the wallpaper is trying to fold itself into origami. The creases are permanent. Once the adhesive sets, the vinyl will never smooth out on its own, and trying to lift the edge to re-lay it usually stretches the material past its elastic limit.
The solution starts with accepting that the corner should never see a single continuous piece of vinyl. The material needs to be cut. Not scored, not creased, but actually cut, so that two separate pieces meet at the corner line with a small overlap that hides the seam.
Cut the Sheet Before It Touches the Wall
The most common advice floating around the internet says to hang the sheet, press it into the corner, and then run a knife along the crease to trim the excess. That method works for professional installers with decades of muscle memory and a fresh blade in their utility knife. For everyone else, it produces a jagged edge, a scored wall underneath, and at least one moment where the knife slips and drags a line through the printed pattern.
The better approach is to measure and cut the sheet on the table, before any adhesive touches the wall. The process takes thirty seconds longer and eliminates ninety percent of the risk. Lay the sheet pattern-side up on a clean surface. Measure the distance from the edge of the previous sheet to the corner, then add half an inch. Mark that point, draw a straight line, and cut. The half-inch excess is the overlap that will wrap around the corner and hide the seam on the adjacent wall.
This pre-cutting method works because it lets the vinyl hang naturally on the first wall, with the half-inch flap extending past the corner and floating in the air. There is no tension on the flap. There is no adhesive fighting against the bend. The material just hangs there, waiting.
The Half-Inch Wrap Is the Whole Secret
The half-inch overlap is not arbitrary. It is the minimum amount of material needed to wrap around an interior corner and still have enough surface area to hold. Any less, and the flap will peel back within a week. Any more, and the overlap on the next sheet becomes visible, a raised ridge that catches light and announces the seam.
Here is the specific move that makes the wrap work. Before pressing the flap onto the second wall, take a pair of scissors and make a single vertical cut in the flap, right at the corner line, from the edge of the material down to the point where the flap meets the wall. This relief cut lets the vinyl fold around the corner without puckering. The cut splits the flap into two smaller pieces, each of which can lay flat independently against the second wall. Without the cut, the flap behaves like a sheet of paper folding around a book spine: it wrinkles at the top and bottom edges.
Press the flap down slowly, starting at the corner and working outward. The relief cut should close up neatly, leaving a seam that is barely visible. Do not pull the flap tight. Let it lay where it wants to lay. The adhesive will hold it in place.
The Second Sheet Overlaps, It Does Not Butt
Now comes the part where most tutorials go wrong. The next sheet should not be hung flush against the corner, starting exactly where the previous sheet ended. It should overlap the wrapped flap by about an eighth of an inch. This overlap is what keeps the corner sealed. A butt joint, where two sheets meet edge to edge, leaves a tiny gap that the vinyl will eventually shrink away from. The overlap hides any shrinkage and ensures that no bare wall ever shows through.
The eighth-inch overlap is nearly invisible on most patterns. It becomes a thin shadow line that reads as a natural seam. On solid colors, it is slightly more noticeable, but it is still far less objectionable than a bubble the size of a silver dollar. When hanging the second sheet, line it up so that its edge sits just past the corner, covering the wrapped flap. Press it down, then use a squeegee to work from the center of the sheet outward toward the overlap. The squeegee should push any trapped air toward the seam, where it will escape through the tiny gap between the two layers.
Exterior Corners Are a Different Animal
Interior corners, where two walls meet to form a concave angle, are the easy ones. Exterior corners, the protruding edges around door frames and window reveals, behave differently. The vinyl has to bend around an outside edge, which means it has to stretch on the outside of the bend and compress on the inside. Neither is natural for the material.
For exterior corners, the relief cut technique still applies, but the cut needs to be made on the opposite side. Instead of cutting the flap that wraps around the corner, the cut goes into the main body of the sheet, right at the corner line. This creates a small notch that lets the vinyl fold around the protrusion without pulling the edges tight.
The overlap on an exterior corner should be slightly larger, about three-quarters of an inch, because the vinyl has a tendency to pull away from the edge over time. The extra material gives the adhesive more surface area to grip, which helps the corner stay flat through seasonal humidity changes.
The Hair Dryer Trick That Actually Works
Despite all the careful cutting and overlapping, some corners will still develop a stubborn bubble a few hours after installation. The adhesive sets slowly, and the vinyl can creep as it relaxes. A small pocket of air can appear overnight, even on a corner that was laid perfectly flat the day before.
This is where a hair dryer earns its keep. Warm the bubble for about ten seconds on medium heat, holding the nozzle six inches away from the wall. The heat softens the vinyl and makes it slightly pliable. While the material is warm, press the bubble flat with a squeegee, working from the center outward. The air will push out through the edge of the sheet or through the relief cut. Let the vinyl cool completely before letting go. The material will re-harden in its new, flat shape.
Do not use a heat gun. A heat gun gets too hot, too fast, and it will melt the vinyl or scorch the pattern. A hair dryer on medium heat is sufficient. If a person does not own a hair dryer, a warm iron held an inch away from the surface can work, but the risk of scorching is higher, and the iron should never touch the vinyl directly.
Corners That Are Not Square
New construction walls are rarely perfectly square. The corner bead on an exterior corner may be slightly rounded, or the drywall on an interior corner may have a gentle curve instead of a crisp angle. These imperfections are invisible to the eye but deadly to wallpaper. The vinyl follows the wall surface exactly, including every bump and deviation.
When working with a rounded or irregular corner, the pre-cutting method needs an adjustment. Instead of measuring from the edge of the previous sheet to the corner, measure to the deepest point of the curve. Add an extra quarter inch to the overlap. The relief cut should be made directly over the center of the curve, not at the visual corner line. This allows the vinyl to conform to the gentle arc without stretching.
For severely out-of-square corners, the best move is to abandon the overlap approach entirely and instead use a straight edge and a fresh razor blade to trim both sheets flush at the corner after hanging. This creates a true butt joint, which is less ideal but better than fighting a corner that refuses to be square. The seam will be visible up close, but it will be straight and clean, which reads as intentional.
The Squeegee Technique That Prevents the Bubble
The way a squeegee is held matters more than the squeegee itself. Most people hold it at a 45-degree angle, which digs the edge into the vinyl and creates a crease that never comes out. The correct angle is nearly flat, almost parallel to the wall, so that the squeegee's full face presses the vinyl down evenly. The stroke should be slow and deliberate, starting from the center of the sheet and moving outward in long, overlapping passes.
At the corner, the squeegee should never be dragged across the corner line. That motion pushes air from one wall into the fold, where it becomes trapped. Instead, the squeegee should stop at the corner line, and the flap should be pressed down separately with a soft cloth or a felt-covered squeegee. The hand can feel air pockets better than a rigid tool. Run fingers along the flap, pressing gently, and the air will escape through the relief cut.
The One Tool Worth Buying
Most peel-and-stick kits come with a small plastic squeegee that works about as well as a credit card. It is too small, too stiff, and it leaves marks on the vinyl surface. The one tool worth buying is a felt-covered squeegee, the kind used for vinyl wrap installation on cars. The felt face glides over the wallpaper without scratching, and the rigid core provides enough pressure to work out air bubbles without stretching the material.
A felt squeegee costs about twelve dollars and transforms the installation experience. The difference is immediate. The felt distributes pressure evenly across the full face of the tool, so there are no pressure points, no creases, and no accidental gouges. It is the single best investment for anyone planning to wallpaper more than one wall in their lifetime.
A Room With Almost No Square Corners
The living room in a 1920s row house has eight interior corners, three exterior corners, and not a single one of them is true. The walls have settled over a century, the plaster has bulged in places, and the corner bead on the window reveal has been patched so many times that it now has a visible hump in the middle. This is the room that teaches everyone the limits of peel-and-stick wallpaper.
The installation took two weekends instead of one. Every corner required a different approach. The interior corners with the bulging plaster got the relief cut and a stubborn refusal to lay flat. The exterior corner with the hump needed three separate cuts, each one made after testing the vinyl's behavior with a dry fitting. The final corner, the one where the hallway meets the living room, was so far out of square that the overlap method failed entirely, and the butt joint had to be trimmed with a straight edge.
The wallpaper went up anyway. It stayed flat for the three years the owner lived there, and the only bubble that ever appeared was a small one at the top of the hallway corner, caused by a draft that blew through a gap in the baseboard. The lesson was not that difficult corners require special tools or professional skill. The lesson was that patience, measured cuts, and a willingness to redo a single corner rather than live with a mistake are the real requirements.
The corners are the only part of a wallpaper job that people actually look at. A flat wall covered in vinyl is just a surface. A corner that meets cleanly, with no bubble and no wrinkle, is the detail that separates a quick rental flip from a room that feels finished. The material does the easy work. The installer does the corners.