
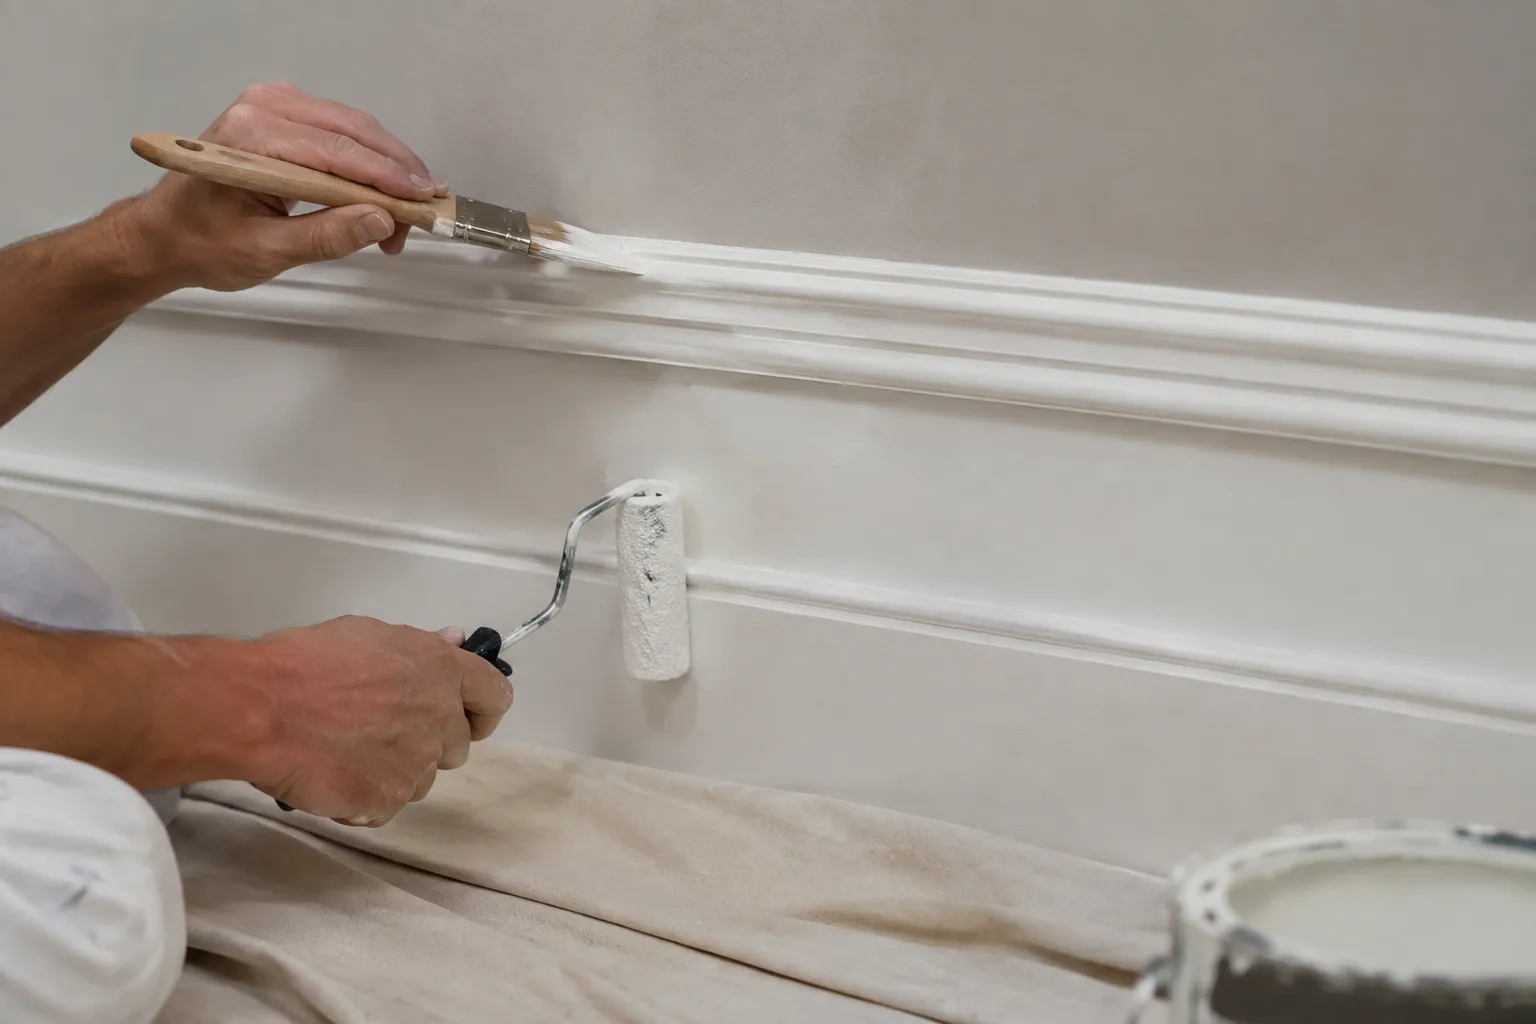
The last time a painter said the words "cut in the trim" and meant it, the room went quiet. Everyone at the table knew what was coming: a brush, a steady hand, and forty minutes of leaning over a windowsill with a rag tucked under the wrist. That is still the standard for a reason. But the roller has muscled its way into the conversation over the last decade, and the advice floating around is often lazy. Some people say rollers are for walls and brushes are for anything narrower than a hand. That is wrong. Trim work has its own logic, and it starts with understanding what each tool actually does to a surface.
Trim is not one thing. Baseboards, door casings, window sills, crown molding, chair rails, and the little blocks of wood that hold a handrail to a wall all get lumped together, but they ask different things from the applicator. A wide, flat baseboard is a different animal from a skinny piece of quarter round. A modern flat-panel door casing differs from a Victorian profile with three distinct ridges. The tool has to match that geometry, and neither a brush nor a roller wins across the board.
What a brush actually does to wood and MDF
A brush is a precision instrument that happens to look like a janitorial tool. The bristles hold paint in a way that lets a person lay down a bead of color exactly where the eye wants it. On a door casing, that means running a line along the inside edge where the wood meets the wall, then another line along the outer edge, then filling the middle. The paint goes on in a controlled layer that follows the profile of the wood. Where the casing has a groove, the bristles push into the recess. Where it has a raised bead, the brush rides over the top and leaves a thin coat that dries smooth.
The key advantage is control over the film thickness. A brush can lay down a very thin coat or a heavier one, depending on how much paint is loaded and how much pressure is applied. That matters on trim because trim gets scuffed, bumped, and wiped. A thin coat dries fast but wears through quickly. A heavy coat collects drips and sags on vertical surfaces. A skilled hand finds the middle, and the brush is the only tool that allows that kind of adjustment mid-stroke.
There is also the matter of working into corners. A brush, especially one with a chiseled tip, can reach into the angle where two pieces of trim meet or where trim meets the wall. It can lay paint right up to a line without crossing it. This is the "cutting in" that professionals spend years practicing. It is a skill, not a trick. The brush does not do the work by itself, but no roller can even attempt it.
The roller's real advantage is speed, not quality
Rollers exist to cover square footage fast. A 4-inch roller on a frame can skim across a wide baseboard in three passes. On a long hallway, that saves serious time. The paint goes on evenly, the nap leaves a slight stipple texture that many people actually prefer on flat surfaces, and there is no risk of brush marks drying into the finish.
But the roller has a ceiling. It cannot reach into a corner. It cannot follow a curved profile. It will ride over a raised bead and leave the sides of the bead bare. On a flat, wide baseboard, a roller is genuinely good. On anything with detail, it leaves patches of unpainted shadow that are obvious the second the light hits them at an angle.
Mini rollers with a 2-inch or 3-inch width exist specifically for trim, and they are better than their full-size cousins. The smaller nap and tighter diameter get closer to edges, and some have a beveled end that reaches into corners better than a full roller can. Still, even the best mini roller struggles with the junction between two pieces of trim at a 45-degree miter. The seam needs paint in the V-shaped gap, and a roller's cylindrical shape cannot deposit paint into a concave valley.
The texture issue is worth dwelling on. When a roller with a standard 3/8-inch nap passes over a baseboard, it leaves a pebbled surface. This is fine on walls, where the texture hides imperfections and creates a uniform matte or eggshell finish. On trim, it is a different story. Trim is often painted in a higher-gloss sheen than walls, and gloss amplifies texture. Every little bump from the roller nap becomes visible in raking light. A brush leaves a smooth surface because the bristles level the paint as they drag across it. This is the single biggest visual difference between the two tools, and it is the reason many people can tell from across the room whether a baseboard was rolled or brushed.
The case for rolling flat baseboards and casing
This might sound like a brush evangelist's column, so let the record show that there are places where a roller is the better choice. A plain, flat baseboard, the kind found in most homes built after 1980, has no profile to speak of. It is a rectangular board, usually 3 to 5 inches tall, with a rounded top edge and nothing else. A 4-inch mini roller covers this surface in two strokes. The paint goes on evenly, the stipple texture is barely visible at that size, and the time saved is substantial.
Door casings that are flat, with no routed grooves, are also good candidates. The trick is to roll the wide faces and then use a brush only for the corners and the seam where the casing meets the door frame. This hybrid approach, roller for the field, brush for the edges, is the fastest way to get a good result on simple trim. It is also the approach recommended by most professional painters who work on production homes, because it balances speed with quality.
One more scenario favors the roller: large quantities of trim in a single room. A room with 100 linear feet of baseboard, a door, and a window takes about half the time to paint with a roller than with a brush. For a person doing a whole house, that time adds up. The texture difference is negligible on low-sheen paint, and the finish is more even because a roller distributes paint more uniformly than a brush ever will.
Where a roller simply cannot go
Any trim with a profile that creates shadows demands a brush. This includes the classic colonial baseboard with a top bead and a bottom cove, window sills with a stool and apron, and any piece of crown molding. A roller will paint the high points and miss the valleys. The result is a striped effect that is visible from across the room and impossible to fix without going back with a brush anyway.
Mitered corners are the clearest test. Where two pieces of baseboard meet at an inside corner, there is a vertical line that needs paint on both faces. A brush lays a bead right into that seam. A roller, even a mini one, cannot contact both faces at once. It leaves a thin strip of bare wood or old paint that shows up as a light line. This is the most common failure mode of rolled trim, and it is why so many DIY jobs look "almost right" but not quite.
Narrow trim is another no-go for the roller. Quarter round, shoe molding, and lattice strips are often under an inch wide. A roller wider than the trim will paint the wall or the floor alongside it. A brush, even a 1.5-inch sash brush, can ride right down the middle and cover the piece in one pass. Trying to roll a piece of quarter round is a recipe for a mess, and anyone who has tried knows the paint ends up everywhere except where it belongs.
The prep work changes the answer
The condition of the trim matters more than the tool. Smooth, previously painted trim is the ideal surface for either applicator. Bare wood, especially pine or poplar, drinks paint unevenly. It needs a primer coat, and that primer coat goes on best with a brush because the bristles work the liquid into the grain. A roller will bridge the surface and leave dry spots in the low grain, which will telegraph through the final coat.
Glossy existing paint is the opposite problem. It needs sanding before anything goes on, and after sanding, a roller actually has an advantage. The mechanical action of the nap helps the paint grip a slick surface. A brush skates over glossy trim and can leave thin patches. So the rule is not "brush for everything" or "roller for everything." It is about matching the tool to the surface prep and the geometry.
The paint itself changes the rules
Water-based alkyd enamels, the modern replacement for oil-based paints, level out beautifully when brushed. They were designed to self-smooth, which means brush marks disappear within minutes. This is the paint to use if the plan is to brush trim. A person who wants the speed of a roller can use a high-solids acrylic that flows out well, and the stipple texture will be less pronounced.
Flat paint behaves differently. It dries with a chalky, absorbent surface that shows every bit of texture from the applicator. On trim, flat paint is a poor choice to begin with, but if someone insists on it, a roller leaves a uniform matte that hides the nap marks better than a brush hides its own strokes. The opposite is true with semi-gloss or gloss. A brush leaves a smooth, level surface that reflects light evenly. A roller leaves a slight orange-peel texture that breaks up the reflection and looks dull by comparison.
There is also the question of paint temperature. Cold paint is thick and does not level well, regardless of the tool. Warm paint, around 70 degrees, flows out smoother. This matters more for brushing than rolling, because a brush relies on the paint's ability to flow together after each stroke. Rolling forces the paint on mechanically, so temperature matters less. A person brushing trim in a cold garage in November will fight the paint the whole way.
The hybrid method that most pros actually use
Watch a professional painter do a room of trim, and the pattern is almost always the same. They roll the wide, flat sections with a 4-inch mini roller. They brush the corners, the miters, and any profiled edges. They do the rolling first, then go back with a brush to pick up the spots the roller missed. The brush work takes maybe a quarter of the total time, but it is what makes the job look finished.
This is the answer to the title question. It is not a choice between one tool and the other. It is a division of labor. The roller handles square footage. The brush handles edges, corners, and detail. A person who forces everything through one tool ends up with either slow, brush-marked trim or fast, patchy trim with bare seams at every corner.
The one exception is small projects. Painting a single door casing or a short run of baseboard in a closet is faster with just a brush, because the setup and cleanup of a roller rig takes longer than the actual painting. The roller frame has to be assembled, the tray filled, the nap loaded, and then the whole thing cleaned or thrown away. A brush, a small can of paint, and a rag handle the job in minutes. For a project under about 20 linear feet, skip the roller entirely.
A final note on brush and roller quality
The cheap polyester brush from the hardware store is the reason many people hate brushing trim. The bristles are stiff, they do not hold paint, and they leave streaks. A good brush, one with a blend of natural and synthetic bristles and a chiseled tip, makes a difference that is immediately visible. The paint flows off the brush in an even ribbon. The strokes blend together. The tool pays for itself by the end of the first window casing.
The same logic applies to rollers. A 99-cent roller cover sheds fibers into the paint and leaves lint in the finish. A quality microfiber or woven cover holds more paint and releases it evenly. The difference shows up in the stipple texture, which is finer and more uniform with a good cover. For trim work, a 4-inch cover with a 1/4-inch nap is the right choice. Anything thicker leaves too much texture.
The tools are not interchangeable. They are complementary. The brush is for the parts of the job that require a hand and an eye. The roller is for the parts that require coverage. A person who respects that division gets trim that looks clean from a foot away and from across the room. A person who does not, ends up repainting. Or living with it. Most people live with it.