
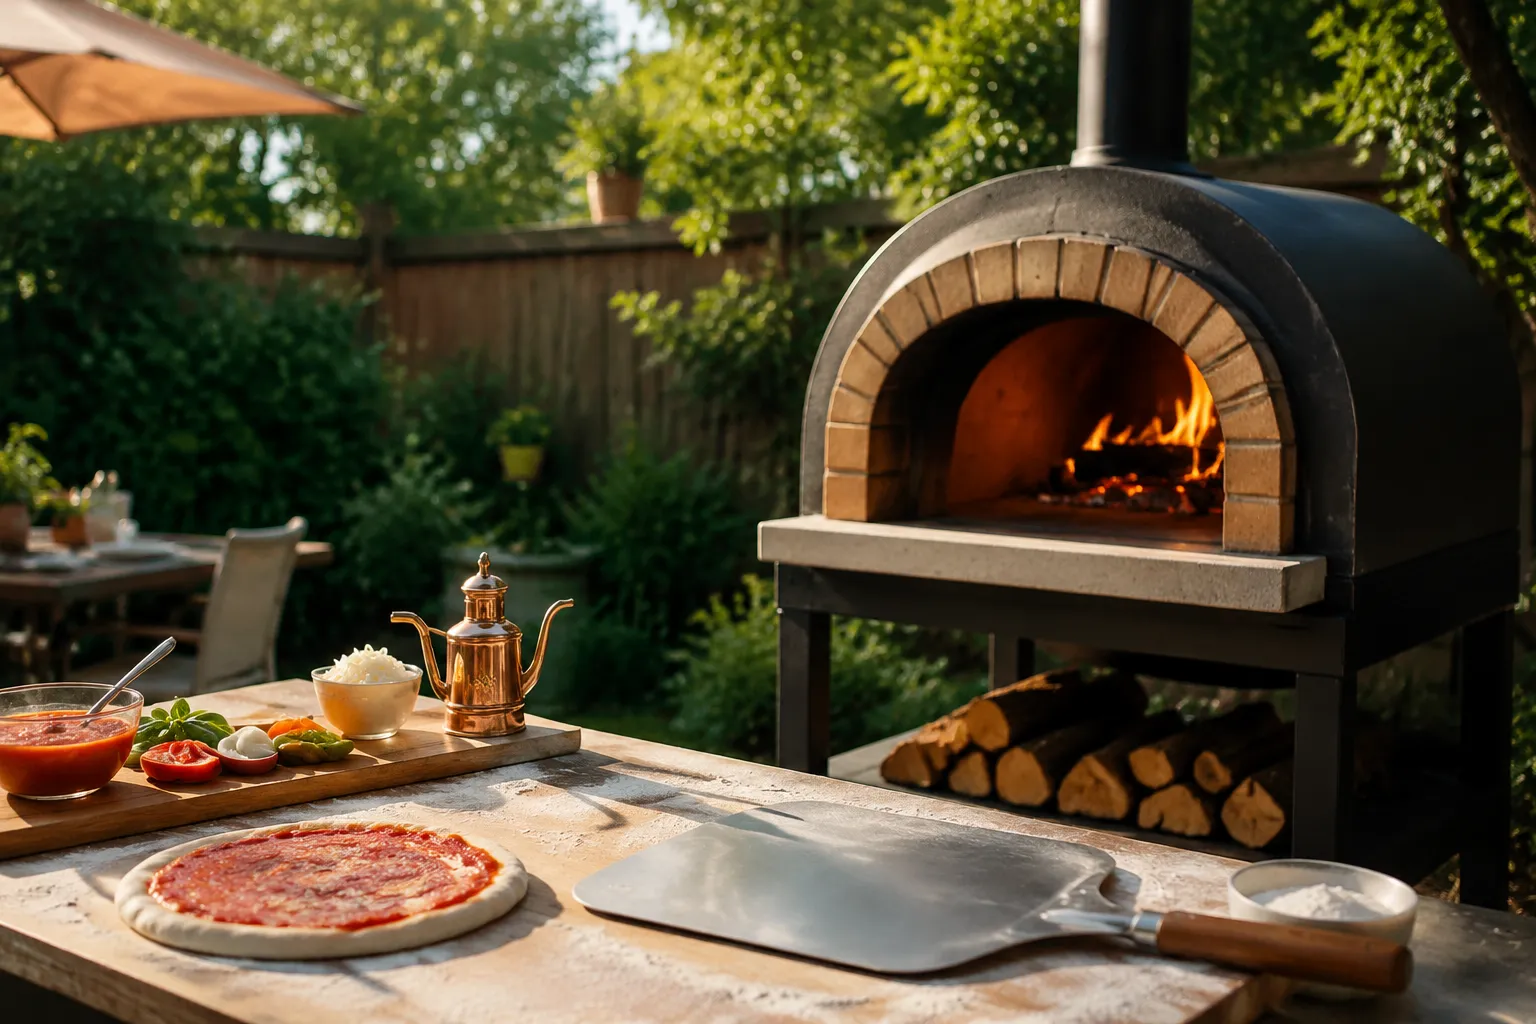
The backyard pizza oven has become the most popular piece of outdoor cooking equipment that almost nobody knows how to set up properly. Hundreds of first-time hosts buy a stainless steel dome, bolt it to a cart, and immediately start worrying about the wrong things: the dough recipe, the sauce ratio, the specific brand of mozzarella. Those matter later. What sinks the first pizza night is almost always the setup, the physics of heat and airflow that turns a backyard appliance into either a proper oven or an overpriced outdoor decoration.
Setting up an outdoor pizza oven correctly means thinking backward from the finished pie. A Neapolitan-style pizza needs 700 to 900 degrees Fahrenheit at the dome, a floor hot enough to char the bottom in ninety seconds, and a fire that produces an even flame across the rear wall. That does not happen by accident. It happens because the oven sits on a stable, level surface, the fuel is arranged with intent, and the cook understands that an outdoor oven is really a chimney with a refractory floor attached.
The Surface Problem Nobody Mentions
Most first-time hosts place the oven on a wooden deck, a plastic patio table, or a rolling cart that wobbles when the wind picks up. All three are mistakes with different consequences. A wooden deck is combustible, and while modern ovens have decent insulation, the underside of the oven body can still radiate enough heat to darken or char deck boards over an evening of continuous firing. The plastic table is worse: it can warp, and a cheap folding model can collapse mid-bake, sending a 700-degree oven and a half-cooked pizza onto the ground.
The right surface is concrete, stone, or tile, with a heat-resistant mat or a few fire bricks under the oven feet as an extra layer of protection. The surface also needs to be dead level. An oven tilted by even a few degrees will produce a lopsided flame, which means one side of the pie scorches while the other side stays pale and doughy. A carpenter's level, placed across the oven floor and then side to side, should read perfectly flat before the first piece of kindling is lit.
Wind is the second hidden variable. A steady breeze across the oven mouth will push the flame toward one side, create cold spots, and make temperature control a constant fight. The fix is simple: orient the oven opening perpendicular to the prevailing wind, or set up a temporary windbreak with a folding screen. Experienced hosts often position the oven so their own body shields the opening while they work the peel, which is why the oven should be placed at a height where the cook's forearms are roughly parallel to the ground.
Fuel Layout Decides the First Hour
For wood-fired ovens, the single most common beginner error is building a small, timid fire in the center of the oven floor. That does nothing useful. The fire needs to be built against the rear wall or in a dedicated firebox off to one side, depending on the oven design, and it needs to be substantial. A proper pizza fire is not a campfire. It is a dense, aggressive burn with logs arranged to produce a rolling flame that licks across the dome.
For a typical backyard oven, the starting layout is a kindling base with two or three small logs arranged in a teepee or a crisscross pattern, set against the back wall. The goal is a hot, fast fire that reaches cooking temperature within thirty to forty-five minutes. Adding a single large log and waiting for it to catch is a slow, frustrating process that leaves the oven floor unevenly heated. Small logs, added incrementally, build a coal bed that radiates steady heat while the flames provide the top heat.
Once the fire is established, the cook should push the coals and remaining logs to one side of the oven, usually the left or right rear corner, to create a two-zone setup. One side of the oven floor becomes the hot zone for charring the crust, the other side becomes a slightly cooler zone for rotating the pie and letting the toppings finish without burning. This asymmetry is the whole trick. A pizza oven with a fire spread evenly across the entire rear is harder to manage because there is no cool zone to retreat to when the crust darkens too fast.
The Dome Temperature Is the Wrong Number to Chase
Every beginner stares at the infrared thermometer reading on the dome and tries to hit 800 degrees, then launches a pizza the moment the number appears. The dome can read 800 while the floor is still at 450, and the result is a pie with a scorched top and a raw, floppy bottom. The floor temperature is the number that matters, and it lags behind the dome by a significant margin, often by fifteen to twenty minutes of extra firing time.
The floor needs to reach at least 600 degrees for a proper char, and ideally 700 to 750 for the leopard-spotted crust that pizza enthusiasts chase. The way to check is not with an infrared gun pointed at the center of the floor, which reads the reflective surface poorly. The reliable method is to scatter a handful of flour on the oven floor and watch what happens. If the flour browns quickly but does not burn, the floor is ready. If it goes black in seconds, the oven is too hot, and the first pizza will come out with a burnt underside. If it just sits there pale, the cook needs to wait and add another small log.
Even more important than the floor temperature is the thermal mass behind it. A thin steel or ceramic floor that reads 700 degrees on the surface can drop to 500 degrees the moment a cold, wet pizza dough hits it. The oven needs to be fired long enough that the entire floor structure, not just the top surface, is saturated with heat. This is why a thirty-minute fire is rarely enough. A well-fired oven holds its temperature through multiple pizzas because the floor material itself has become a heat battery. First-time hosts who rush the warm-up will find that pizza number one comes out acceptable, but pizzas three and four turn pale and sad because the floor has cooled down and cannot recover.
The Launch Is a Setup Problem, Not a Skill Problem
Many beginners blame their pizza peel technique for a stuck dough that folds in half and deposits half its toppings onto the oven floor. The real culprit is often the dough itself, which is too wet, too cold, or both. A properly hydrated pizza dough that has been refrigerated needs to come out and sit at room temperature for at least an hour before shaping. Cold dough is stiff and tears easily, and a tearing dough will always stick to the peel no matter how much flour is used.
The fix is a combination of dough temperature, peel preparation, and speed. The dough should be stretched on a floured surface, then placed on a peel that has been dusted with a mix of flour and semolina. The semolina acts like tiny ball bearings, letting the dough slide freely. The host should also test the launch with a quick shake of the peel before committing. If the dough does not slide easily with a gentle shake, it is not ready, and the cook needs to lift a corner and dust underneath with more flour. Trying to launch a stuck pizza is a losing battle, and the oven will win every time.
The other launch factor is speed. A pizza should sit on the peel for as little time as possible before it goes into the oven. Every extra minute on the peel gives the dough time to absorb moisture and stick to the surface. Stretch the dough, top it quickly, launch it immediately. The assembly station should be set up within arm's reach of the oven, with the sauce, cheese, and toppings already prepped and the peel already dusted. A first-time host who tries to prepare a pizza while the oven is screaming hot will feel the pressure, and the pizza will feel it too.
Heat Management During the Cook
Once the first pizza is in the oven, the clock starts, and the beginner's instinct to stand there watching the cheese bubble is wrong. The pizza needs to be rotated, usually every twenty to thirty seconds, to ensure even browning. A wood-fired oven has hotspots, and the side of the pizza closest to the fire will char faster. A standard rotation pattern is a quarter turn, then a half turn, then another quarter turn, all within the span of ninety seconds to two minutes. A pizza peel with a long handle makes this rotation possible without sticking hands into the heat, and a quick lift of the pizza to check the bottom char is a skill worth developing early.
The fire also needs attention during the cook. Many first-time hosts build a big fire, launch a pizza, and then let the fire die down while they eat. By the time they are ready for pizza number two, the oven has dropped below cooking temperature, and the floor has cooled to the point where the next pie will not char properly. The solution is to add a small piece of wood before taking the first pizza out, so the fire is already building back up while the host eats the first pie. This keeps the oven in a steady state rather than a series of peaks and valleys.
The First Firing Is a Practice Run
The best piece of advice for a first-time host is to plan a practice firing a few days before the actual pizza night. This is not a dress rehearsal with real guests. It is a solo session where the host learns the oven's specific personality: how long it takes to reach temperature, where the hotspots are, how the fire behaves in a light wind, and how the oven responds to different wood sizes. Every oven is slightly different, and the only way to learn the quirks is to run it.
During the practice run, the host should make dough, stretch it, launch it, and eat the results, even if the first few are ugly. A burned crust is not a failure. It is data. The practice run is also the time to test the oven's fuel consumption. A typical backyard oven will burn through a surprising amount of wood over a three-hour session, and the host needs to know whether two armloads of logs are enough or whether a full cord is necessary for a party. Running out of fuel halfway through a pizza night is a particular kind of disappointment.
The practice run also reveals the oven's cleanup demands. After the fire dies, the ash needs to be swept out, and the floor should be scraped clean of burnt flour and cheese drips. Some ovens have a removable ash tray, others require a brush and a scoop. Learning this on a quiet evening, rather than at midnight after guests leave, is worth the extra hour of preparation.
The Right Extras and the Wrong Extras
A first-time host does not need a full arsenal of pizza tools, but a few specific items make the difference between a frustrating and a smooth session. A good infrared thermometer is essential, not for the dome but for checking the floor surface across multiple zones. A metal pizza peel for launching and a smaller metal peel for turning and retrieving are non-negotiable. Wooden peels are fine for assembling, but they warp and char if left near the oven mouth. A heat-resistant glove that covers the forearm is worth buying, especially for hosts who like to rotate the pizza with their hand on the peel rather than using the peel's handle exclusively.
The wrong extras are the gadgets that promise perfection: rotating pizza stones, electric dough mixers with special attachments, and elaborate temperature probes that wirelessly transmit to a phone. None of these fix a bad setup. A host with a level surface, a good fire, and a practiced launch technique will make better pizza with a $20 peel than a gadget-heavy host who skipped the basics. The oven is a simple machine. The setup is where the skill lives.
The evening of the first real pizza night, after the practice run is done and the guests are on their way, the host should light the fire early, build it patient and steady, and let the oven breath. The first pizza goes in, the crust puffs, the cheese blisters, and the whole thing comes out on a wooden board, cut into uneven slices. That moment is the payoff. It does not come from a secret recipe or an expensive accessory. It comes from knowing the oven is level, the fire is right, and the floor is hot enough to do its job.