
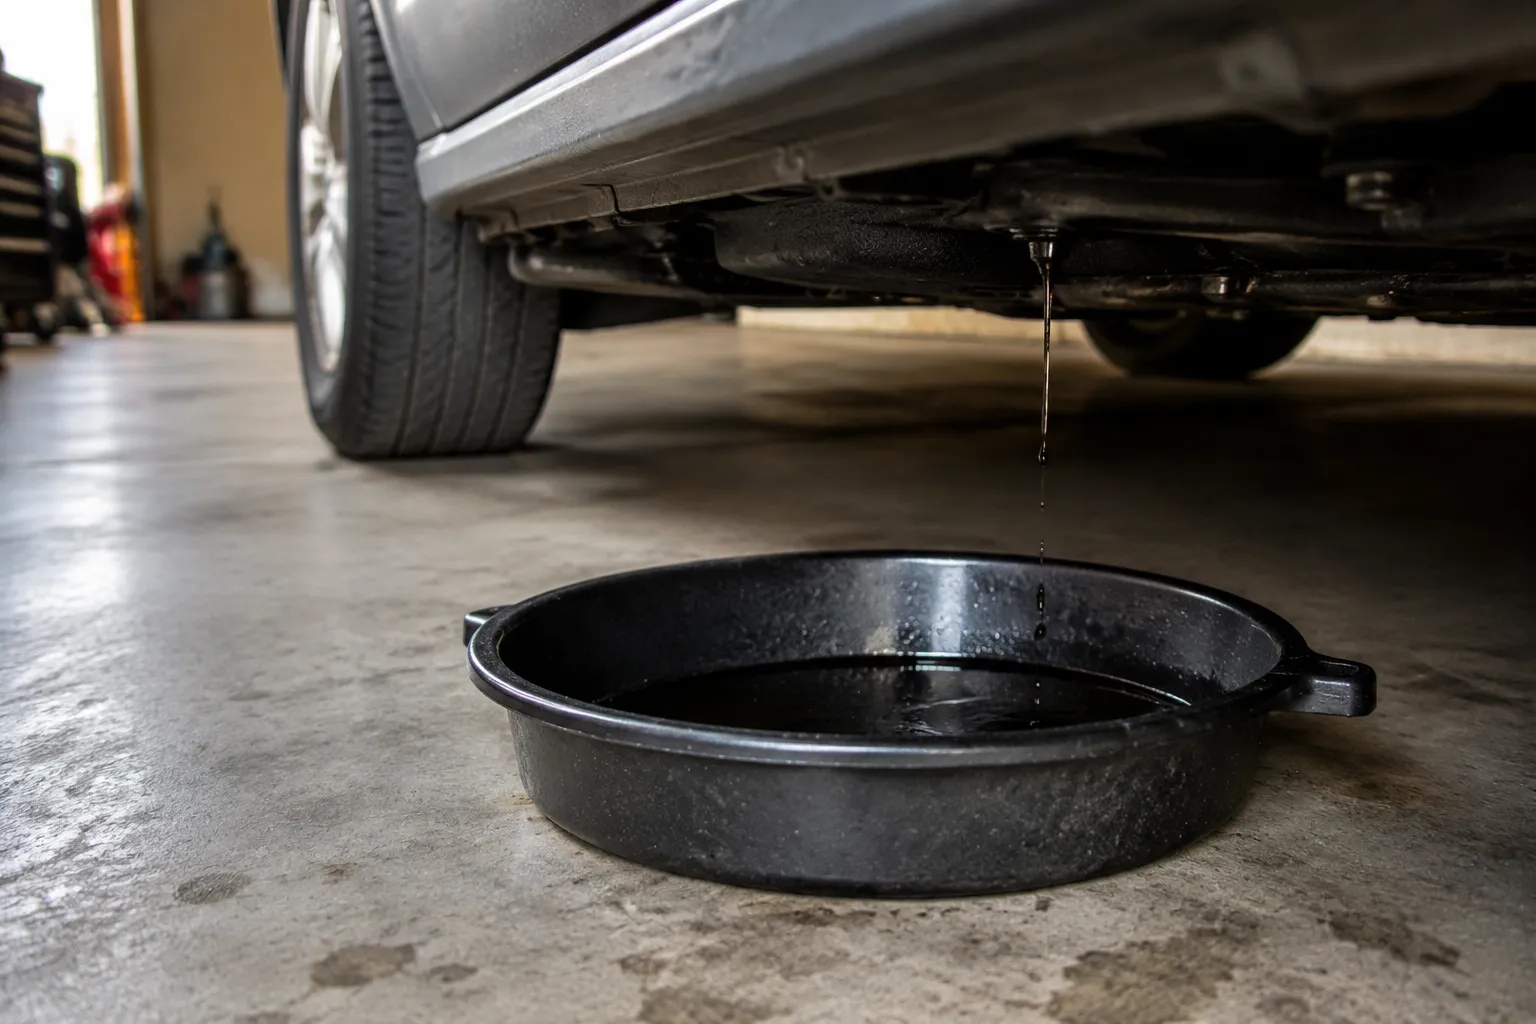
An oil drip pan is a five-dollar piece of stamped steel or molded plastic that most people buy once, slide under a car, and forget about until the day it saves a garage floor from a quart of used oil. That forgettable object has more to do with how a workspace ages than almost anything else in the shop. The difference between a floor that looks ten years old and one that looks thirty is not the brand of the pan. It is the habits around it.
The problem is that a drip pan only works when it is positioned before the mess happens. Every oil change starts with a plan for the wrench work and almost no plan for the liquid. The pan gets shoved under the drain plug as an afterthought, and if the car sits a few inches off center, the oil misses the pan by a finger width and lands on the concrete. A pan is not a net. It is a target, and targets need to be aimed.
Start with the surface under the pan. A drip pan on bare concrete is a pan that will move. Concrete always has a slight film of dust, even when it looks clean, and the first few drops of oil make that film slick. The pan slides sideways as the oil flows, and the stream that was centered over the reservoir starts to run down the outside edge. A piece of cardboard under the pan fixes this in one move. The cardboard grips the concrete and the pan grips the cardboard, and the whole assembly stays put for the duration of the job. It also catches the splatter that a pan alone cannot, the small drips that skip off the edge when the drain plug comes out with a sideways flick.
Cardboard has a second function that matters more than grip. It tells the truth about the job. A person can look at a pan and believe it caught everything. The cardboard underneath, stained and spotted, shows the actual trajectory of the oil. It reveals which direction the stream wanted to go, how much made it over the edge, and whether the drain plug was pointing at the pan or at the gap beside it. That information is the diagnostic the next oil change needs. Read the cardboard and adjust the pan position accordingly.
The Drain Plug Tells You Where to Aim
The drain plug does not point straight down. Almost every car built in the last thirty years has a plug that angles toward the rear of the oil pan, which means the oil exits at an angle and travels in a slight arc before it drops. The arc is short, maybe three or four inches, but it is enough to miss a pan placed directly under the plug. The correct position for the pan is not directly beneath the plug. It is offset by the angle of the stream, with the far edge of the pan sitting under the point where the oil actually lands.
There is a trick for finding that point without lying on your back and guessing. Before pulling the plug, run a finger along the bottom of the oil pan, from the plug toward the rear. The oil film on the pan surface shows the path the oil has already taken on its way out. The stream follows the same line every time. Place the pan so that line crosses the center of the reservoir, not so the plug is centered over it. This takes ten seconds of looking and saves the entire cleanup.
The plug itself should come out in two stages. Loosen it with the wrench until it turns freely, then switch to fingers and unscrew it slowly while pressing upward against the pan. The upward pressure holds the plug against the threads until the last quarter turn, which means the oil starts to seep around the threads before the plug releases. That seep is gentle and predictable. The violent dump happens when the plug is removed while the oil has a head of pressure behind it. Slow removal lets the pan catch the first trickle, so the whole stream stays inside the reservoir instead of splashing off the plug threads and running down the side of the pan.
Draining Hot Oil Makes Every Habit Easier
Oil flows better when it is warm, and a thin, fast-moving stream is easier to aim than a thick, glugging one. Cold oil comes out in a slow pulse, filling the pan in one spot and overflowing the edge before the level rises evenly. Warm oil spreads across the bottom of the pan and hits the side walls with less force. The practical rule is to change the oil after a drive of at least ten minutes, long enough for the oil to reach operating temperature but short enough that the exhaust and manifold have not had time to radiate serious heat into the work area.
There is a safety line here worth respecting. Hot oil at 200 degrees will cause a burn in under a second, and it clings to skin in a way that water does not. Gloves rated for chemical resistance do nothing against heat. A pair of mechanics gloves with a heat rating, or a clean rag folded several layers thick, protects the hand that holds the plug. The other hand, the one guiding the pan, should stay well away from the stream until the flow slows to a trickle. Let the first rush of oil pass before moving the pan even an inch.
The drain time matters more than most people think. A pan that sits under the car for two minutes catches the bulk of the oil. Five minutes catches the rest. Pulling the pan early to start the filter change leaves a quarter cup of old oil in the engine, which means the fresh oil is contaminated from the moment it goes in. The last quarter cup is the dirtiest oil in the system, the part that has been carrying suspended particles around the engine, and dumping it down the drain instead of into the pan is a small mechanical sin with a long tail.
The Filter Is Where a Pan Earns Its Keep
Oil filters are the second source of mess, and they are the reason a drip pan needs to be wider than the oil pan itself. An oil filter holds several ounces of oil, and when it is unscrewed, that oil comes out of the mounting face in a gush that runs down the side of the engine block and onto whatever is below. A narrow drip pan positioned for the drain plug will miss the filter entirely. The filter sits off to one side on most engines, and its oil takes a different path to the ground.
The habit that saves the floor is simple: position the pan for the filter before unscrewing it. Loosen the filter by hand or with a wrench, then place the pan directly beneath the filter mounting face. Let the filter sit loose for thirty seconds. The oil drains out of the filter and down the block during that pause, and most of it lands in the pan. Then finish removing the filter, tip it upside down into the pan to drain the last few ounces, and set it aside. This sequence keeps the mess contained before a single drop touches concrete.
A filter that is over-tightened, one that requires a strap wrench and a lot of swearing, will leak oil past the pan no matter how well it is positioned. The filter gasket seizes against the adapter plate, and the twisting motion walks the filter sideways as it releases. The fix is preventive. Tighten the new filter by hand, three-quarter turn after the gasket makes contact, and it will come off by hand next time. A filter that needs tools to install will need tools to remove, and tools mean torque, and torque means the filter moves off its centerline during removal.
The Overfill Spill That Happens at Eye Level
It is common to spill oil not under the car but at the top of the engine, while pouring from a bottle into the fill cap. The bottle is heavy, the funnel is small, and the pour goes sideways for a split second. The oil runs down the valve cover, drips onto the exhaust manifold, and burns off as a thin smoke that smells like a garage fire. The drip pan under the car cannot help with this. The habit that protects the floor here happens before the bottle is opened.
Use a funnel with a wide mouth and a long neck. The long neck gets the mouth of the funnel down into the valve cover opening, so the oil has a shorter distance to travel and less chance of skipping off the rim. Hold the bottle with two hands, one on the bottom and one steadying the neck, and pour in a slow, controlled stream. A bottle that is tipped too far pours in a broad sheet that aerates and splashes. A bottle poured at a shallow angle produces a narrow, even stream that hits the funnel and nothing else.
Keep a rag in one hand the entire time the bottle is open. The rag catches the drip off the bottle mouth between pours, and it wipes the fill cap area before the hood closes. That last wipe is the difference between a clean engine bay and one that collects dust into a greasy film. The rag also catches the oil that weeps from the fill cap threads if the cap is not seated perfectly, which happens more often than anyone admits.
Pan Placement for the Jobs That Are Not Oil Changes
Transmission fluid, brake fluid, and coolant all end up dripping at some point, and the same pan serves all of them if it is clean. The habit that protects the floor here is to keep the pan dry between uses. A pan with a quarter inch of old oil in the bottom will slosh when it is carried, and that slosh runs over the edge and down the handle onto the floor. Empty the pan after every job, wipe it out with a rag, and store it dry. A dry pan is a pan that can be carried without creating a trail.
Differential fluid and manual transmission fluid come out with surprising force when the fill plug is removed, because the fluid level is above the opening. A person pulling a differential plug with the car level will get a flow that travels sideways for six inches before it drops. The pan needs to be positioned for that lateral path, not directly below the plug. The same rule applies to the transfer case and the power steering reservoir. Whenever fluid can exit at an angle, the pan must be placed where the fluid lands, not where the plug points.
When changing a fuel filter, the pan belongs under the fuel line connection, because the line will dump a few ounces of fuel the moment it is disconnected. Fuel evaporates quickly, so the mess is less visible than oil, but it is also flammable, and the habit of catching it in the pan instead of letting it soak into the garage floor is the difference between a shop that smells like fuel and one that does not.
Cleaning the Pan Before It Becomes a Liability
A drip pan that is never cleaned develops a crust of dried oil along its bottom edges. That crust traps water and makes the pan rust from the inside out, and a rusted pan develops pinholes that leak slowly. The leak is invisible while the pan sits under the car, because the oil seeps out and spreads on the concrete underneath. The cardboard trick catches this too, which is another reason to use it every time. The cardboard will show a thin brown stain growing outward from under the pan, and that stain is the warning that the pan has worn through.
The cleaning habit that works best is immediate. Wipe the pan out with a paper towel or rag while the oil is still warm, when it is thin enough to absorb. Then use a second rag with a little brake cleaner or solvent to remove the film. The pan dries in minutes and is ready for storage. Letting the oil cool and harden turns a two-minute wipe into a twenty-minute scraping session, and the scraping usually does not happen until the pan is needed, at which point it is rushed and incomplete.
A drip pan has a lifespan, and it is shorter than most people assume. A stamped steel pan, the thin kind sold at auto parts stores for a few dollars, will rust through in three or four years of regular use in a garage that sees temperature swings and humidity. The plastic pans last longer but crack if they are stepped on or dropped in cold weather. Replacing a pan before it fails is the habit that protects the floor. A pan with a visible rust line or a stress crack in the plastic is not a pan anymore. It is a bucket with a pinhole, and it belongs in the recycling bin.
The Drain-and-Dispose Routine That Keeps the Floor Clean
The moment after the pan is full is the moment the floor is most at risk. The pan has four or five quarts of oil in it, it is heavy, and it has to travel from under the car to a disposal container. The trip is short, but a full pan carried by one edge will flex and slosh. The habit that prevents the slosh is to move the pan in stages. Slide it out from under the car on a flat, level path. Stop. Set it down. Wipe the outside lip with a rag to catch the film of oil that ran over the edge during the drain. Then lift it straight up and pour it into a sealed container, using both hands and keeping the pour vertical until the flow slows.
An old oil bottle with a funnel makes a fine disposal container, but the funnel needs to be wiped between uses. A funnel with a dry film of oil on its outside will drip when it is handled, and that drip lands on the floor. The wider the funnel mouth, the less chance of spillage during the pour. A 4-inch funnel is easier to hit than a 2-inch one, and the extra inch of margin is worth the storage space it takes up.
Used oil can go to any auto parts store that sells oil, and most of them take it for free. The habit of disposing of the oil the same day, or at least the same week, keeps the full pan from sitting in the garage where it can be knocked over or stepped around. A full drip pan on the floor is a hazard no matter how careful the positioning. It is a single bump away from spreading five quarts across the concrete.
The Cardboard That Becomes the Floor's First Defense
The flat cardboard sheets that come with appliance deliveries, the large pieces that most people break down and throw away, are the best garage floor protection available at zero cost. A single sheet of appliance cardboard, laid under the entire work area before a job starts, catches the oil that the pan misses, the drips that come off tools, and the splatter that lands on the floor when a filter is dropped. The cardboard takes the abuse and gets thrown away after the job. The concrete underneath stays clean.
The habit is to lay the cardboard first, before the car is raised or the tools are gathered. The cardboard does not need to cover the whole garage. It needs to cover the area under the engine, a roughly four-by-five-foot rectangle that includes the drain plug, the filter, and the path between them. That rectangle is where every drop of this job will land. Cover it, and the floor is protected by a layer that costs nothing and takes thirty seconds to set down.
Cardboard has one limitation: it absorbs oil. A sheet that soaks up a quart of oil is a fire risk if it is stored near a pilot light or a spark source, and it cannot be recycled once it is saturated. The proper disposal is to let it dry, then fold it oil-side-in and put it in the trash. In a garage that sees regular work, a single appliance box yields enough cardboard for three or four oil changes, and the habit of replacing the cardboard after each job keeps the floor protected without any cleanup at all.
The pan and the cardboard work as a team. The pan catches the stream, the cardboard catches the splatter, and the floor never sees a drop of oil. That division of labor is the whole trick. A person who positions the pan with care, drains the filter over it, and keeps a sheet of cardboard underneath will have a garage floor that looks the same in a decade as it does today. The people who skip these steps are the ones who start measuring their garage floor in permanent dark stains, then wonder where they came from. The stains come from the five-dollar pan that was never aimed, never backed by cardboard, and never cleaned until it was too late.