
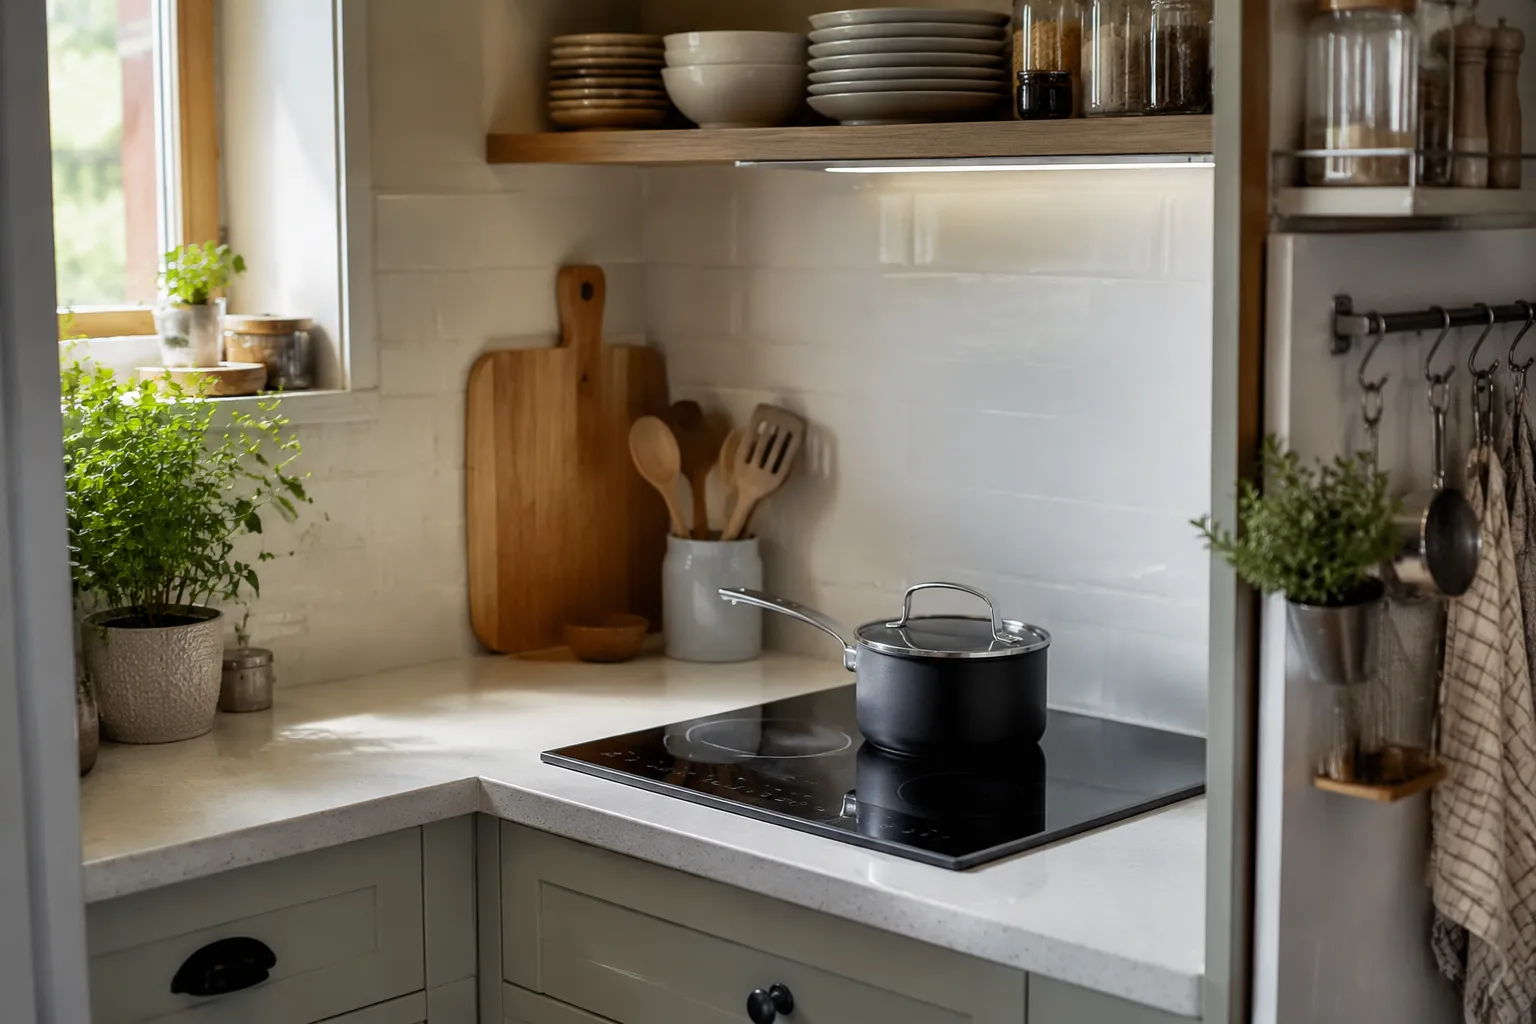
The first thing a small kitchen does to an induction cooktop is make it look bigger than it is. A 30-inch model with four burners and a control panel that spans the full depth of the counter will eat the entire landing space, leaving no room for a cutting board or a plate of sliced vegetables. The second thing a small kitchen does is force a person to rethink what they actually need from a cooktop, which is where the real advice begins.
Induction is a strong fit for tight quarters because it does not dump heat into the room. A gas burner running for twenty minutes pushes a surprising amount of combustion heat and moisture into the air, and an electric coil does the same from the other direction. Induction heats the pan and almost nothing else. In a kitchen where the dining table is three feet from the stove, that difference matters on every single meal, not just in August.
The catch is that induction brings its own set of spatial demands, and most of the standard advice about cooktops assumes a person has counter space to spare. This piece is about the specific workarounds, the honest trade-offs, and the few things that genuinely make a difference when the cooktop sits in a cramped galley or a narrow L-shape.
Measure the landing space before anything else
Most people shop for a cooktop by counting burners and comparing wattage. In a small kitchen, the correct first step is to measure the flat surface next to the cooktop. A 30-inch induction unit with four burners usually requires a cabinet base of 30 inches, and the control panel sits on the front of the unit, which means the cooktop itself is roughly 28 to 29 inches deep from front to back. On a standard 24-inch-deep counter, that leaves almost nothing behind the unit, and the space to the side becomes the only real working area.
The practical rule is that a person needs at least 15 inches of clear counter on one side of the cooktop to set down a pan coming off the heat. Less than that, and every transfer becomes a juggling act. A 24-inch induction cooktop with two burners frees up six inches of cabinet width and, more importantly, opens the option to install it sideways or in a corner where a larger unit would never fit. Two burners are plenty for most households; the second zone on a four-burner unit rarely gets used at the same time anyway.
The quiet truth is that a 24-inch two-burner induction cooktop in a small kitchen outperforms a 30-inch four-burner gas cooktop in almost every daily scenario. The smaller unit heats faster, takes up less visual space, and forces a person to think about sequencing. A meal with three components becomes a quick sauté followed by a simmer, not a simultaneous four-pan operation. That is a constraint, and in a small kitchen, constraints are the design.
The countertop material changes everything
Induction cooktops generate a magnetic field that excites the atoms in a ferrous pan, and that field passes through the glass surface without heating it directly. The glass does get warm from contact with the hot pan bottom, but it never reaches the temperature of a radiant electric coil. That sounds like a detail about safety, and it is, but it is also a detail about counters.
In a small kitchen, the counter next to the cooktop is not just a landing zone; it is often the only horizontal surface in the room. Laminated counters and solid-surface materials handle the modest heat from an induction cooktop without issue. The real problem is the wall behind the cooktop. A backsplash made of thin tile or painted drywall can discolor over time if the cooktop sits close to it, because the pan handles radiate heat sideways. A deep countertop that leaves a few inches of gap between the cooktop and the backsplash solves this, but most small kitchens do not have that luxury.
A simple workaround is to install a stainless steel backsplash panel behind the cooktop, or to choose a cooktop with a rear-mounted control panel. Rear controls mean the cooktop can sit flush against the backsplash without the risk of a person reaching over a hot pan to adjust the heat. Front controls, which most budget models have, require a small gap so the control panel does not touch the wall. That gap is wasted space in a room where every inch counts.
Portable units are a legit option, not a compromise
The single-burner portable induction cooktop, the kind that plugs into a wall outlet and sits on the counter, gets dismissed as a dorm-room appliance. In a small kitchen, it deserves a second look. These units cost a fraction of a built-in model, and they can be stored in a cabinet or on a shelf when not in use. A person with a 10-foot counter can pull out the portable unit, cook a stir-fry, and put it away, leaving the counter clear for everything else.
The biggest advantage of a portable unit is that it does not require a dedicated circuit. Built-in induction cooktops typically need a 240-volt line, which often means hiring an electrician to run new wiring. A portable unit runs on a standard 120-volt outlet, though it draws a heavy load, so it should have the outlet to itself. In an older apartment or a rental, this is the difference between having induction and not having it at all.
The trade-off is power. Most portable units top out around 1,800 watts, and the highest setting will cycle on and off to prevent the outlet from overheating. That means boiling a large pot of water takes noticeably longer than on a built-in unit. For a person cooking for one or two, this is rarely a problem. For someone who regularly boils pasta for a family, the wait becomes a real annoyance. Know which category applies before buying.
One more detail about portable units: the pan size matters more than the wattage. A portable induction cooktop has a small coil, and it will only heat the portion of the pan directly above that coil. A 12-inch skillet on an 8-inch coil heats unevenly, with a hot spot in the center and cool edges. Matching the pan diameter to the coil diameter is the single most important tip for getting good results from a portable unit.
Pan selection is the hidden bottleneck
Induction requires a pan with a magnetic bottom. Cast iron, carbon steel, and most stainless steel with a magnetic grade work. Aluminum and copper do not, unless they have a magnetic layer bonded to the base. In a small kitchen, where cabinet space is precious, a person might already own a few favorite pans that simply will not work on induction. The magnet test, where a fridge magnet sticks to the pan bottom, settles the question in seconds.
Beyond the magnet test, the geometry of the pan matters in a way that is unique to induction. The cooktop detects a pan by sensing the magnetic field, and it only activates the area where the pan touches. A pan with a rounded or warped bottom will wobble and make poor contact, which causes the cooktop to cycle on and off. A pan with a concave bottom, common on cheap stainless steel, will only heat in a thin ring. Flat-bottomed pans are not a nicety; they are a requirement.
In a small kitchen, the ideal setup is one good 10-inch skillet, one 3-quart saucier, and one 5-quart Dutch oven. That trio covers nearly everything, and each piece earns its cabinet space. Avoid the 12-inch skillet if the cooktop is a 24-inch model, because the pan will hang over the edge of the cooking surface, and the overhang will not heat. A 10-inch skillet is the sweet spot for most induction burners.
The simmer problem and the power cycling quirk
Induction cooks brutally fast on the high settings. Boiling water that takes four minutes on a gas stove takes under two on a good induction unit. The low settings are where the technology shows its character. A cheap or poorly designed induction cooktop will cycle its power on and off in a jarring way, causing a pot of rice to boil over one second and sit dead the next. The control algorithm matters more than the wattage rating.
Look for a unit with a dedicated simmer setting that holds the heat at a low, steady level. Some models express this as a specific wattage, others as a temperature in degrees. A unit with fine-grained control, say 10 levels between 80 and 200 degrees on the simmer range, will make a real difference for sauces and grains. A unit with only a few broad settings will frustrate a person who likes precise control.
A related quirk is that induction cooktops make a faint buzzing sound at certain power levels. This is the inverter switching frequency, and it is more noticeable at low to medium settings. Some people never hear it; others find it irritating. The only way to know is to listen to the unit before buying, which is rarely possible when shopping online. Reading reviews that mention noise can help, but the honest answer is that it is a lottery.
Cleaning is faster, and that is a real win
The smooth glass surface of an induction cooktop wipes clean with a damp cloth. No grates to lift, no drip pans to soak, no burnt-on food baked into a burner. In a small kitchen where the cooktop also serves as extra counter space when not in use, this matters more than it might seem. A person can wipe down the surface in thirty seconds and set a bowl of fruit on it.
The catch is that the glass shows every fingerprint, every water spot, and every tiny scratch. A dark or black glass surface looks smudged almost immediately after cleaning. A person with a small kitchen and limited counter space will likely use the cooktop as a landing zone, which means it will need wiping more often. Keep a microfiber cloth and a spray bottle of plain water near the cooktop, and use a dedicated glass cleaner once a week to cut the haze.
One cleaning mistake ruins induction cooktops more than any other: using the glass surface as a cutting board. A knife sliding across the surface leaves micro-scratches that catch light and collect grime. Always place a cutting board on top of the cooktop when using it as counter space, and never slide a cast iron pan across the glass; lift it instead. The surface is tough, but it is not invincible.
The ventilation question nobody mentions
A small kitchen usually has weak ventilation, and induction does not fix that. It eliminates the combustion gases and the excess heat, but it does nothing about the steam, the smoke, and the smells from cooking. A seared steak still produces a haze of smoke that hangs in the air. A pot of boiling water still fills a small room with humidity.
The practical solution is a plug-in range hood, not a ducted one. A ducted range hood in a small kitchen requires running a vent pipe through a wall or ceiling, which often means a contractor. A plug-in range hood with a recirculating charcoal filter sits under a cabinet and vents the air back into the room, and it can be installed in an afternoon. The filter needs replacing every few months, but it beats cooking in a fog.
A ceiling fan is the backup option, though it does little for smoke. The best approach is to crack a window near the cooktop and use the hood at the same time. This is not elegant advice, but it is honest. Induction changes how the food is heated, not how the room smells afterward.
Power management in an old apartment
The biggest hidden cost of a built-in induction cooktop is often the electrical work. A 240-volt circuit requires a dedicated breaker and a wire run from the panel to the kitchen. In a house with a modern panel, this is a straightforward job. In an apartment or an older home with a 100-amp service, adding a 40-amp circuit for a cooktop can be tight, and the electrician might need to upgrade the panel entirely.
A person who rents has even less flexibility. Portable induction units sidestep this, but they are limited to 1,800 watts on a 15-amp circuit. That is enough for most cooking, but it means the cooktop cannot run at full power while the microwave, a toaster, or a kettle is also running on the same circuit. The breaker will trip, and the cooktop is usually the thing that gets blamed.
Before buying any induction cooktop, check the breaker panel and know which outlets share circuits. A simple fix is to plug the portable unit into the outlet that nothing else uses, and to run the kettle and the cooktop on different circuits. In a small kitchen, this often means the counter outlets are split across two or three circuits, and a bit of planning prevents the annoyance of a tripped breaker in the middle of a sear.
A two-zone layout with a hidden trick
For the truly cramped kitchen, the best setup is a 24-inch built-in induction cooktop with two burners, one large and one small, installed at the end of a counter run. The large burner handles the skillet and the Dutch oven, and the small burner keeps a saucepan at a simmer. This layout leaves the adjacent counter entirely clear for prep, which is a luxury in a small kitchen.
The trick is to choose a unit with a flexible zone, where the cooktop can combine both burners into one large rectangle for a griddle or a long pan. This feature costs more, but it effectively turns a two-burner cooktop into a three-position tool. A person can cook a batch of pancakes on the full griddle surface, then switch back to two separate zones for a main dish and a side.
This layout is not for everyone. A household that regularly cooks for four or more will find two burners limiting. But for a single person or a couple, it is the difference between having a cramped kitchen that works and having a cramped kitchen that fights back. The extra six inches of counter space is not just convenience; it changes how the room feels.
In the end, a small kitchen rewards the person who thinks in terms of sequence and space, not the person who buys the biggest tool. Induction offers speed and cleanliness, but the real advantages come from matching the cooktop size to the room, choosing pans that fit the burner, and accepting that two burners, used well, beat four burners that crowd the counter. The best cooktop in a small kitchen is the one that leaves enough room to set down a plate.