
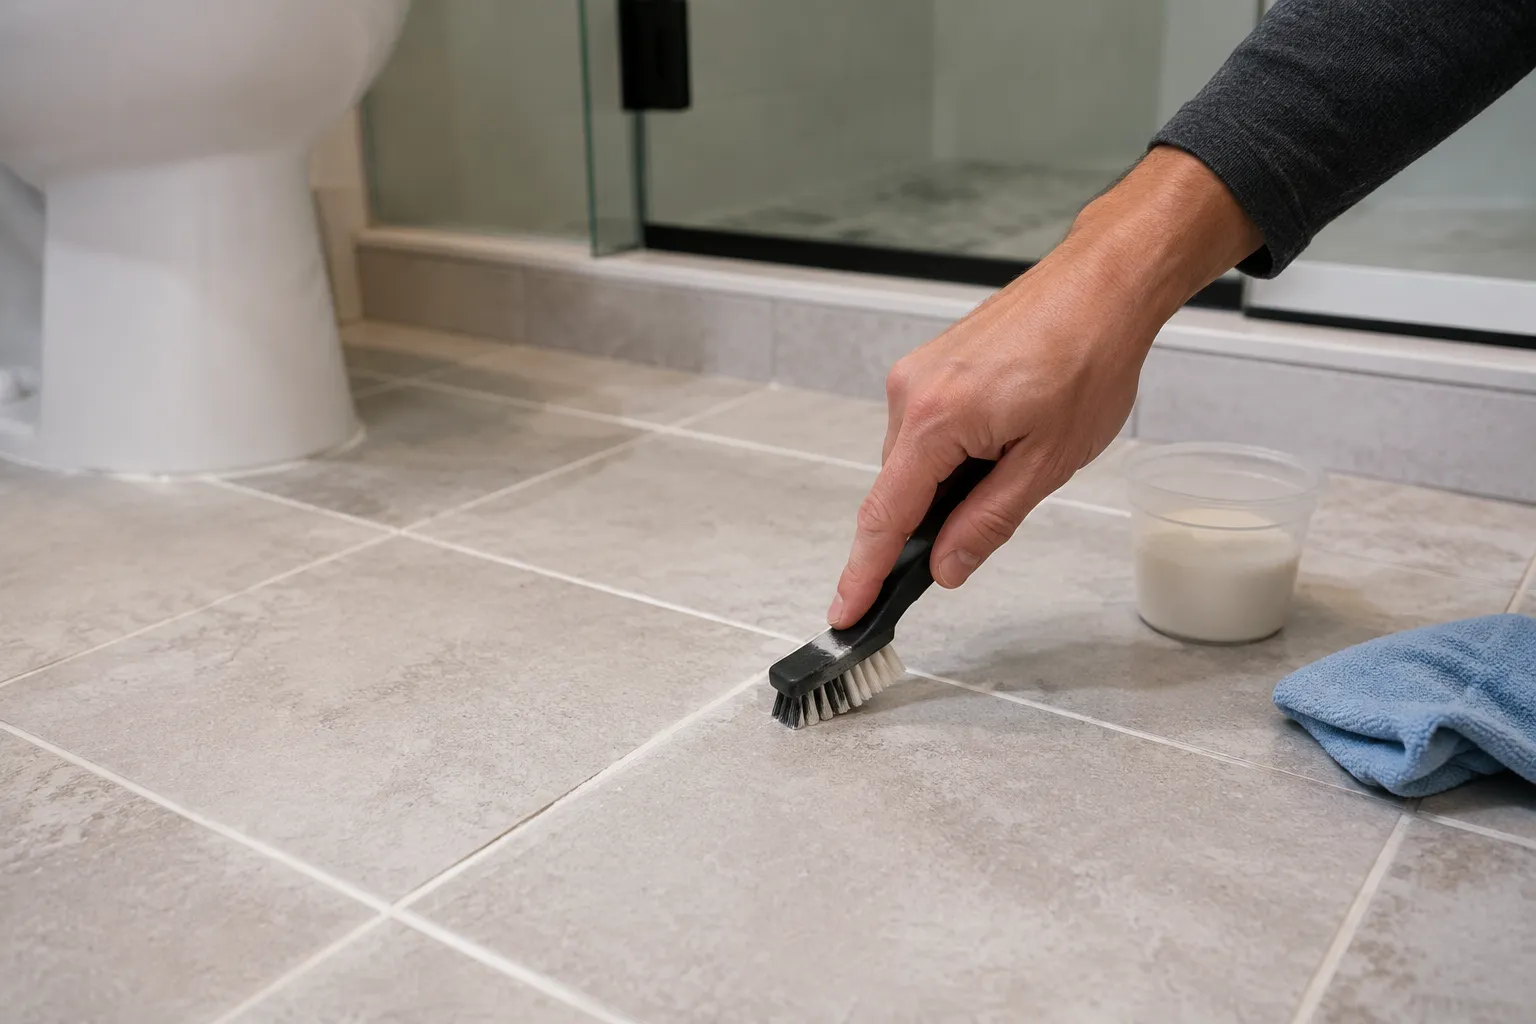
The grout lines in a bathroom floor are the last thing anyone notices when they walk in, and the first thing that makes the whole room feel old when they look down. Bathroom grout takes a beating that no other grout in the house has to deal with: constant moisture, soap scum, dropped shampoo bottles, and the slow accumulation of whatever gets tracked in on bare feet. By the time the tiles themselves look fine, the grout has usually turned a shade of gray-brown that no amount of scrubbing will fix. The good news is that refreshing grout does not require tearing out the floor. It requires a few honest hours of work, the right cleaning agents, and a decision about whether to recolor, reseal, or just clean properly.
Why bathroom grout ages faster than the tile around it
Grout is porous by design. It is a mixture of cement, sand, and water that gets pressed into the joints between tiles, and its whole job is to hold tiles in place while absorbing the minor shifts and vibrations of the floor underneath. That porosity is what makes it work. It is also what makes it vulnerable. Water sits on the surface, gets pulled into the pores, and carries along whatever is dissolved in it: soap residue, body oils, mineral deposits from hard water, and the occasional splash of cleaning solution that was never rinsed away.
Tile, especially ceramic and porcelain, is essentially waterproof. Grout is not. So over a span of years, the joints darken unevenly, develop little pits where the surface has eroded, and sometimes grow the faint dark speckles that signal mildew taking hold below the surface. A floor can be wiped down every week and still have grout that looks filthy, because the discoloration is not on the surface anymore. It is inside the material.
The other factor is the sand. Sanded grout, the standard choice for floor joints wider than an eighth of an inch, has a rough texture that grabs onto dirt. Unsanded grout, used for tight wall joints, is smoother but softer. Most bathroom floors use sanded grout, which means the surface is essentially very fine sandpaper. Every footstep grinds microscopic particles into the pores. That is why a bathroom floor that gets heavy use for five years looks drastically older than a guest bathroom floor that barely sees anyone.
The cleaning step everyone skips: stripping before scrubbing
Most people go at dirty grout with a brush and a spray cleaner, scrub until their arm hurts, and then wonder why the grout still looks dingy. The problem is that spray cleaners, even good ones, are designed to clean the surface. They are not designed to break through the layers of soap scum and hard water mineral buildup that have sealed the dirt into the grout over the years. Scrubbing on top of that film just moves the dirt around.
The step that actually matters is stripping the floor first. A heavy-duty alkaline cleaner, the kind meant for tile and grout, breaks down the soap scum and oils that have bonded to the grout surface. The cleaner needs time to sit, usually ten to fifteen minutes, and it needs to be applied generously so it can penetrate the pores. After that first pass, the grout often looks worse before it looks better, because the cleaner has loosened all the gunk and pulled it to the surface. That is the moment to scrub, not to give up.
For floors with serious hard water buildup, a second pass with an acidic cleaner is sometimes necessary. Acids dissolve mineral deposits that alkaline cleaners cannot touch. The rule is simple: never mix the two, and never use acid on natural stone tile, because it will etch the surface. On ceramic or porcelain, a diluted acidic cleaner after the alkaline strip can lift the last of the white crusty buildup that makes grout look permanently stained. Rinse thoroughly between passes, and then scrub the grout lines with a stiff brush and plain water. The water will turn gray. That gray is the dirt that was trapped below the surface.
This two-step process takes an afternoon, but it is the difference between grout that looks clean and grout that actually is clean. Skipping the strip phase and going straight to scrubbing is the most common mistake in the entire grout refresh process. It is also why so many people conclude that their grout is permanently stained when it was just carrying a layer of film on top.
When cleaning is not enough: recolor or re-grout
There comes a point in every bathroom floor's life where cleaning stops mattering. The grout is physically eroded, or the discoloration is so deep that no amount of stripping will pull it out, or the original color was a light beige that has darkened so thoroughly that the floor now looks like it has dark veins running through it. At that point, the options are re-grouting or recoloring.
Re-grouting means digging out the old grout and laying new. It is the thorough solution, and it is also the messy one. The old grout needs to be scraped out with a grout saw or an oscillating multi-tool fitted with a grout removal blade. This is dusty, slow work, and on a large floor it can take an entire day just to remove the old joints. The risk of chipping adjacent tiles is real, especially with hand tools. But the result is a genuinely new surface: fresh grout, clean color, full depth, and a sealed joint that will last for years.
Recoloring, sometimes called grout painting, is the middle path. A grout colorant is a paint-like product that is applied directly over the existing grout lines. It bonds to the grout surface, fills in small pits and porosity, and completely changes the color. A person can take a floor with dark, stained grout and make the lines bright white, or match the grout to the tile, or choose a contrasting color that turns the grout into a design feature.
The colorant approach has a few honest limitations. It only works if the grout is structurally sound; crumbling or cracked grout needs to be repaired first. It also sits on the surface rather than soaking in completely, which means that heavy traffic areas may need a touch-up coat after a year or two. But for a floor where the grout is intact and simply ugly, recoloring is dramatically less destructive than re-grouting. The application is tedious, a small brush and a steady hand along every joint, but it is also forgiving. Mistakes can be wiped off the tile surface with a damp cloth before they dry.
Bleach is not the answer, and neither is vinegar
The internet is full of advice to use bleach on grout, or to mix baking soda and vinegar into a fizzy paste. Both approaches are popular because they are cheap and the ingredients are in every pantry. Both approaches are also wrong for most bathroom grout.
Bleach kills mold and mildew on the surface, and it can lighten some stains. But bleach is also alkaline and caustic. Applied repeatedly, it degrades the structure of the grout itself, slowly eating away the cement binder that holds the sand together. Grout that has been bleached for years becomes soft and crumbly, and crumbling grout cannot be cleaned or recolored. It has to be replaced. Bleach also leaves a residue that actually attracts more dirt over time, which is why a floor that gets bleached every month still looks dingy by week two.
Vinegar is the opposite problem. It is acidic enough to dissolve mineral deposits, which sounds useful, but it is also acidic enough to eat the surface of cement-based grout. A diluted vinegar rinse now and then will not destroy a floor, but using vinegar as the regular cleaning method will slowly erode the grout lines, making them pitted and rough. Pitted grout holds dirt even better than smooth grout. The floor becomes a cycle of cleaning, eroding, and re-soiling that never ends.
The right approach is a pH-neutral cleaner for regular maintenance, a heavy-duty alkaline cleaner for the occasional deep strip, and a dedicated grout colorant or repair product when the grout itself needs help. The products exist. They are not expensive. They just require a trip to the tile supply store rather than a grab from under the kitchen sink.
Sealing after refresh: necessary, but not a miracle
Once the grout is clean, or recolored, or freshly re-grouted, the next question is always about sealing. A good penetrating sealer fills the pores of the grout and makes it much harder for water and dirt to get in. It is the difference between a grout line that wipes clean and one that absorbs everything. For a bathroom floor, sealing is not optional. It is the step that determines whether the refresh lasts six months or six years.
But a sealer is not a force field. It wears away over time, especially in high-traffic areas, and it needs to be reapplied every one to three years depending on how much use the floor gets. A sealer also does nothing to stop mildew from growing on the surface, and it will not fix grout that is already eroding. Sealing is a protective measure, not a restorative one. Applying sealer over dirty or damaged grout just seals the problem in.
The application itself is simple. The grout must be completely dry, which means waiting at least 24 hours after the last rinse. The sealer is painted onto the grout lines with a small brush or a squirt bottle, allowed to soak in for ten to fifteen minutes, and then the excess is wiped off the tile surface. Two thin coats are better than one thick coat. A sealer that pools on the surface and dries leaves a hazy film on the tile that is a nightmare to remove.
One common mistake is sealing the entire floor, tile and all, with the idea that some sealer on the tile is harmless. It is not harmless on textured or matte tile, where it dries visibly. The sealer should go only on the grout lines. That takes patience, but it is the difference between a professional-looking result and a floor that has cloudy streaks on every tile.
A simple maintenance routine that actually works
The most effective grout refresh is the one that keeps the grout from getting bad in the first place. A bathroom floor needs about five minutes of attention per week to stay in good shape. After a shower, a quick wipe of the floor with a squeegee or a dry towel removes the standing water that would otherwise sit in the grout pores. That one habit does more for grout longevity than any deep cleaning product on the market.
Once a month, a pass with a pH-neutral tile cleaner and a soft brush is enough to keep soap scum from building up. The brush does not need to be aggressive; a stiff nylon brush works, and the goal is to loosen surface film before it bonds. The floor needs to be rinsed well afterward, because cleaner residue is itself a magnet for dirt.
The deep strip and reseal cycle, the full afternoon of work, needs to happen maybe once a year. That is the rhythm that keeps a bathroom floor looking new: daily drying, monthly cleaning, annual deep refresh. It is not glamorous. It is just a floor, and grout is just a joint. But a bathroom that looks clean and fresh starts at the ground, and the ground is always the grout.