
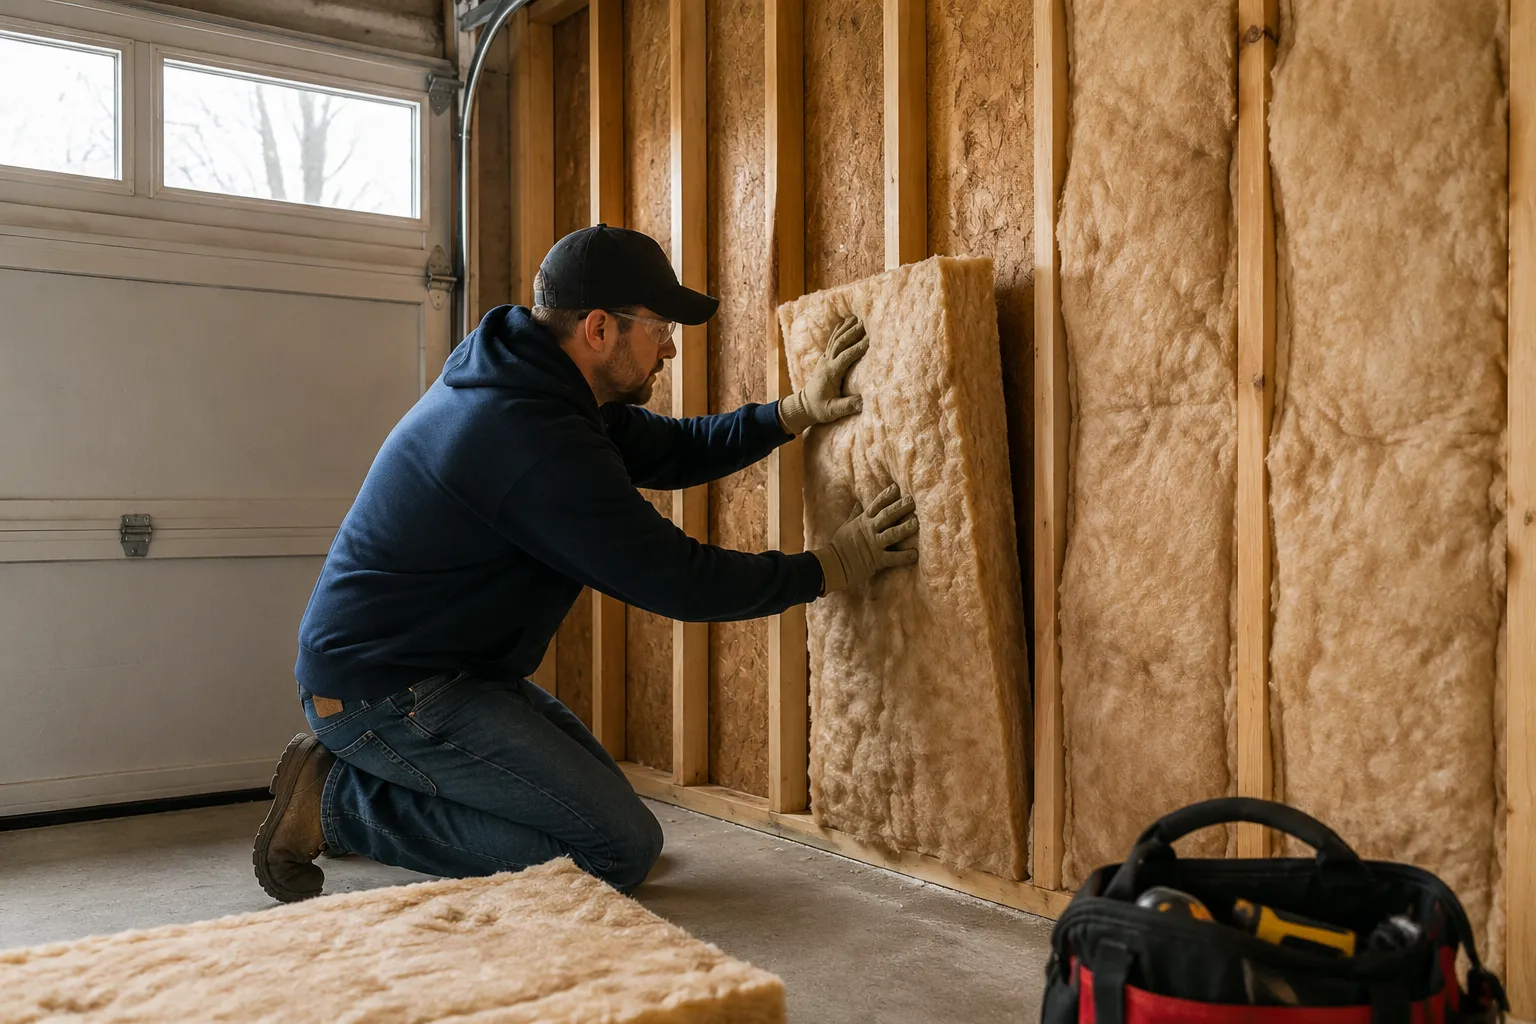
Garage insulation has a reputation problem, and most of the blame belongs to the people who sell it. Walk into any big-box hardware store in October and the seasonal display is a wall of fluffy pink rolls and foil-faced bubble wrap, all promising to stop the cold that seeps through an attached garage wall. The truth is more complicated and more forgiving. A garage does not need to be conditioned like a living room to be useful, and the difference between a drafty garage and one that stays tolerable through January often comes down to a few hours of work and less than a hundred dollars in materials. The trick is knowing where the drafts actually come from, because they are rarely where a person first thinks to look.
Most garages lose heat through the same five places: the overhead door, the wall between the garage and the house, the rim joist where the floor meets the wall, the windows if there are any, and the gaps around the man-door. The order of importance shifts depending on the garage, but the overhead door wins in almost every case. A typical steel sectional door has a thin skin of foam or hollow panels, and the weatherstripping along the bottom and sides is often years old, cracked, and barely touching the concrete. Even a new door with decent seals lets cold air pour in along the bottom edge. The door is also the largest single surface in the room, so it radiates cold through the entire assembly whenever the temperature drops.
The cheapest effective move is not insulation at all. It is a bottom seal replacement. The rubber or vinyl bulb at the bottom of the door wears out, gets chewed by the concrete, and loses its springiness. A new seal costs around twenty dollars and takes a socket wrench and fifteen minutes to swap. The difference is immediate and physical. Stand inside the garage with the door closed and run a hand along the bottom edge before replacing the seal, and there is a stream of cold air moving against the palm. After the swap, that stream disappears. This single repair does more for actual draft reduction than adding R-value to the walls, and it is usually ignored because it is not glamorous enough to sell.
The Wall That Actually Matters
The wall between the garage and the living space is the second priority, and it deserves attention for a different reason. That wall is not just keeping the garage warm. It is keeping the house warm. Heat flows from the warmer side to the colder side, and in winter the house is the warm side. A poorly insulated garage-to-house wall means the heating system runs longer and the rooms above and beside the garage feel cold. This is the wall a person never sees, because it is covered in drywall and painted, and the cavities behind it are usually empty or stuffed with a sad layer of fiberglass from the original construction.
The honest assessment is that most garage-to-house walls are under-insulated. Building codes have improved over the years, but an attached garage built in the 1980s or 1990s often has R-11 batts in a wall that should carry R-19 or better. The fix is not ripping open the drywall. The first step is checking what is actually in the wall, and the way to do that is to pull a single outlet cover on the garage side and look into the cavity with a flashlight. If there is fiberglass, note the thickness. If there is nothing, that is the problem. The second step is a tube of expanding foam and a handful of electrical outlet gaskets, because the outlets and switches on that wall are the single largest air leak in the whole structure.
Electrical boxes are not sealed. The holes where wires enter the box, the gap between the box and the drywall, the tiny spaces around the device itself, all of it adds up to a constant, invisible draft. One outlet on an exterior or garage wall leaks about as much air as leaving a small window cracked. A garage-to-house wall with four outlets and a switch is leaking like a window left open all winter. The fix is almost insultingly simple. Foam gaskets that fit behind the cover plate cost a dollar each. A small can of fire-rated expanding foam for the gaps around the box costs eight dollars. An hour of work with a screwdriver and a putty knife closes the vast majority of that leak.
The rim joist is the third target, and it is the one most people never find. The rim joist is the horizontal band of wood where the floor framing sits on the foundation wall. In an attached garage, it is usually exposed in the ceiling or behind a small soffit, and it is a gap-riddled mess. The space between the floor joists where they meet the rim board is often open to the outside air, a direct channel from the crawl space or the foundation vent to the inside of the garage. Stuffing those openings with fiberglass batts and sealing the edges with spray foam is a classic insulating move that pays off immediately. It is also the kind of work that requires crawling around with a headlamp and getting itchy, which is why so few people do it.
The Door Itself Deserves a Second Look
The overhead door is the big thermal hole, but the fix for the door is not always a new door. A garage door with uninsulated steel panels is a radiator of cold, and the cheap aftermarket solution is a foam panel kit. These kits are sold as insulation, and they do add a visible layer of rigid foam to the inside of the door panels. The catch is that the kits do almost nothing for drafts, because they do not address the air movement around the door edges. A person who installs a foam kit and expects the garage to feel warmer will be disappointed. A person who installs the foam kit and also fixes the perimeter seals will notice a real change.
The side weatherstripping on an overhead door is a strip of vinyl that runs along the vertical tracks. It wears out, goes brittle, and pulls away from the door. Replacing it is a job for a helper and a pair of pliers, because the old strip is usually nailed or stapled into the wood frame behind the track. The new strip slides into a channel or gets held in place with trim screws. The bottom seal replacement was already mentioned, but the side seals are equally important, and they are the part that gets forgotten because they are harder to reach and less obvious when they fail.
There is also the matter of the door's top seal, the rubber strip along the header where the door closes against the frame. It is usually a simple piece of vinyl that sits behind the tracks, and it can be adjusted by loosening the brackets and shifting the door slightly, or by adding a new strip of weatherstripping. The top gap is a classic place for cold air to pour in because it is completely out of sight. Standing inside a dark garage and looking up at the door header is not something most people do, so the leak goes unnoticed for years.
The R-Value Trap
The insulation aisle is full of products that look impressive and underdeliver, and the most seductive is the reflective foil bubble wrap. It is sold in rolls, shiny on both sides, and it claims to block radiant heat. It does, in a specific condition. Radiant barriers only work when there is an air gap on the reflective side and the reflective surface faces the heat source. In a garage wall, stapled directly to the studs and covered with drywall, it has no air gap and does almost nothing. It is a product that works beautifully in an attic with the right setup and nearly useless in a wall cavity. The people selling it rarely mention the distinction.
Fiberglass batts are the old standby, and they work, but only when they are installed correctly. The batt must fill the entire cavity without being compressed, and it must be cut to fit around wires, pipes, and outlet boxes. A batt that is squished into a 3.5-inch wall when it is rated for 6 inches has less R-value than a correctly sized batt. A batt with a gap at the top or bottom is a bypass for air movement. The people who install their own fiberglass in a garage wall often make these mistakes, because the cavities are full of obstacles and the work is tedious and uncomfortable.
A better approach for the do-it-yourselfer is rigid foam board. It comes in 4x8 sheets, cuts with a utility knife, and can be friction-fit into wall cavities before drywall goes up. It has a higher R-value per inch than fiberglass, it does not sag or settle, and it is not itchy to handle. The downside is that it is not very forgiving. Irregular cavities, odd stud spacing, and the need to cut around electrical boxes make it a puzzle. The reward is a wall with no voids and no air movement through the insulation itself. For a garage wall that is already open, rigid foam is the honest best choice.
Air Sealing Beats Insulating, Almost Always
The word insulation implies a material, but the biggest wins in a garage are about air movement. Insulation slows heat transfer through a solid surface. Air sealing stops the flow of cold air through gaps, cracks, and penetrations. A garage can have R-30 in the walls and still feel drafty if the bottom of the man-door has a quarter-inch gap and the window is drafty. The opposite is also true. A garage with modest insulation and no air leaks can feel surprisingly comfortable, because the drafts are what make a room feel cold.
The man-door, the regular hinged door that leads from the garage to the outdoors, is a prime suspect. Its weatherstripping wears out faster than a person expects, because the door gets slammed, baked in the sun, and hit by rain. The bottom sweep, the metal and rubber strip along the bottom edge, is often bent or missing. The fix is a new sweep and a new strip of weatherstripping around the frame, all available for under thirty dollars. The door closer, if there is one, should also be checked, because a door that does not close fully is a door that leaks all winter.
The window, if the garage has one, is a smaller version of the same problem. A single-pane sliding window in an older garage is a cold spot, and the track is a source of air leakage. The cheap fix is a plastic window insulation kit, the shrink-film kind that goes on with a hair dryer. It is not beautiful, but it is effective, and in a garage nobody cares about the appearance. The better fix, if the window is beyond saving, is to replace the glass with a piece of rigid foam cut to size and painted to match the frame. It removes the window entirely, which is a loss of light but a gain in warmth.
The Ceiling and the Attic Above
A garage with a room above it has a different problem than a garage with open trusses. The room above means the garage ceiling is the floor of a living space, and the heat loss goes straight up into someone's feet. The fix is on the living space side, not the garage side, and it usually involves pulling up carpet or flooring and adding insulation between the joists. That is a big job. For the garage owner who just wants a less drafty space, the ceiling is less important than the walls and the door, but it still deserves a check. Any gaps around pipes, ducts, or wires that pass through the ceiling into the space above are direct air leaks.
For a garage with open trusses, the roof is the main thermal surface, and it is a massive one. Insulating a sloped roof with fiberglass or rigid foam is a substantial project, but it is also the difference between a garage that is barely warmer than outside and one that holds some heat. The venting situation matters. A roof needs ventilation at the soffit and the ridge to prevent moisture buildup, and blocking that ventilation with insulation causes rot. The safe approach is to install baffles at the soffit, then place insulation against the baffles, leaving the air channel open. This is not a beginner job. It is the kind of work that requires a ladder, a staple gun, and a tolerance for working overhead. The payoff is real, but it is the last thing to tackle, not the first.
There is also the simple matter of the garage floor. Concrete is a cold surface, and it pulls heat out of the air above it. A roll of rubber garage flooring or a few interlocking foam tiles makes a surprising difference in how the room feels, because a person standing on cold concrete loses body heat fast. The tiles are not insulation in any meaningful sense, but they break the direct contact with the cold slab, and that changes the comfort level dramatically. For a garage that is used as a workshop or a gym, this is the highest-impact comfort upgrade available.
The Sequence That Works
The order of operations matters more than the products. Start with the bottom seal on the overhead door, then the man-door sweep and weatherstripping, then the outlet gaskets and foam on the garage-to-house wall. These are the cheap, fast, high-impact fixes. They address the actual drafts, the moving air that makes a garage feel like a wind tunnel. They can all be done in a single weekend, with ordinary tools, for well under a hundred dollars.
After that, the choices get bigger. The foam panel kit on the door is a reasonable next step for a garage that gets used for hobbies or workouts, because it raises the surface temperature of the door panels and reduces radiant cold. The rigid foam in the exposed wall cavities is the right move if the drywall is already off or being replaced. The rim joist stuffing is a job for anyone with a crawl space and a headlamp. The roof insulation is the big project, the one that turns a garage from a shed into a real room, and it should be the last thing attempted, after the drafts are already dead.
The garage will never be as warm as the house, and it should not be. Trying to make it so is a waste of money and energy. The goal is a space that is dry, draft-free, and a few degrees warmer than the outside, a place where a person can work on a project without a coat on. That goal is reachable with a Saturday of work and a willingness to look at the parts of the garage that never get any attention. The cold air has been coming through the same cracks for years. Closing them is more satisfying than any insulation purchase, because the result is immediate and measurable. Stand in the middle of the garage after the seals are replaced and the foam is in place, and the air is still. That stillness is the whole point.
One last detail, and it is the one that makes everything else work better. A garage that is sealed up tight needs ventilation for combustion appliances. A water heater or a furnace in the garage draws air from the room, and a well-sealed garage can starve it of oxygen. Check the appliance's air intake and make sure there is a source of make-up air before turning the garage into a sealed box. Carbon monoxide is not a joke, and a drafty garage is safer than a silent one. Seal the walls, fix the door, and then make sure the water heater can still breathe. That is the whole sequence, and it is the right one.