
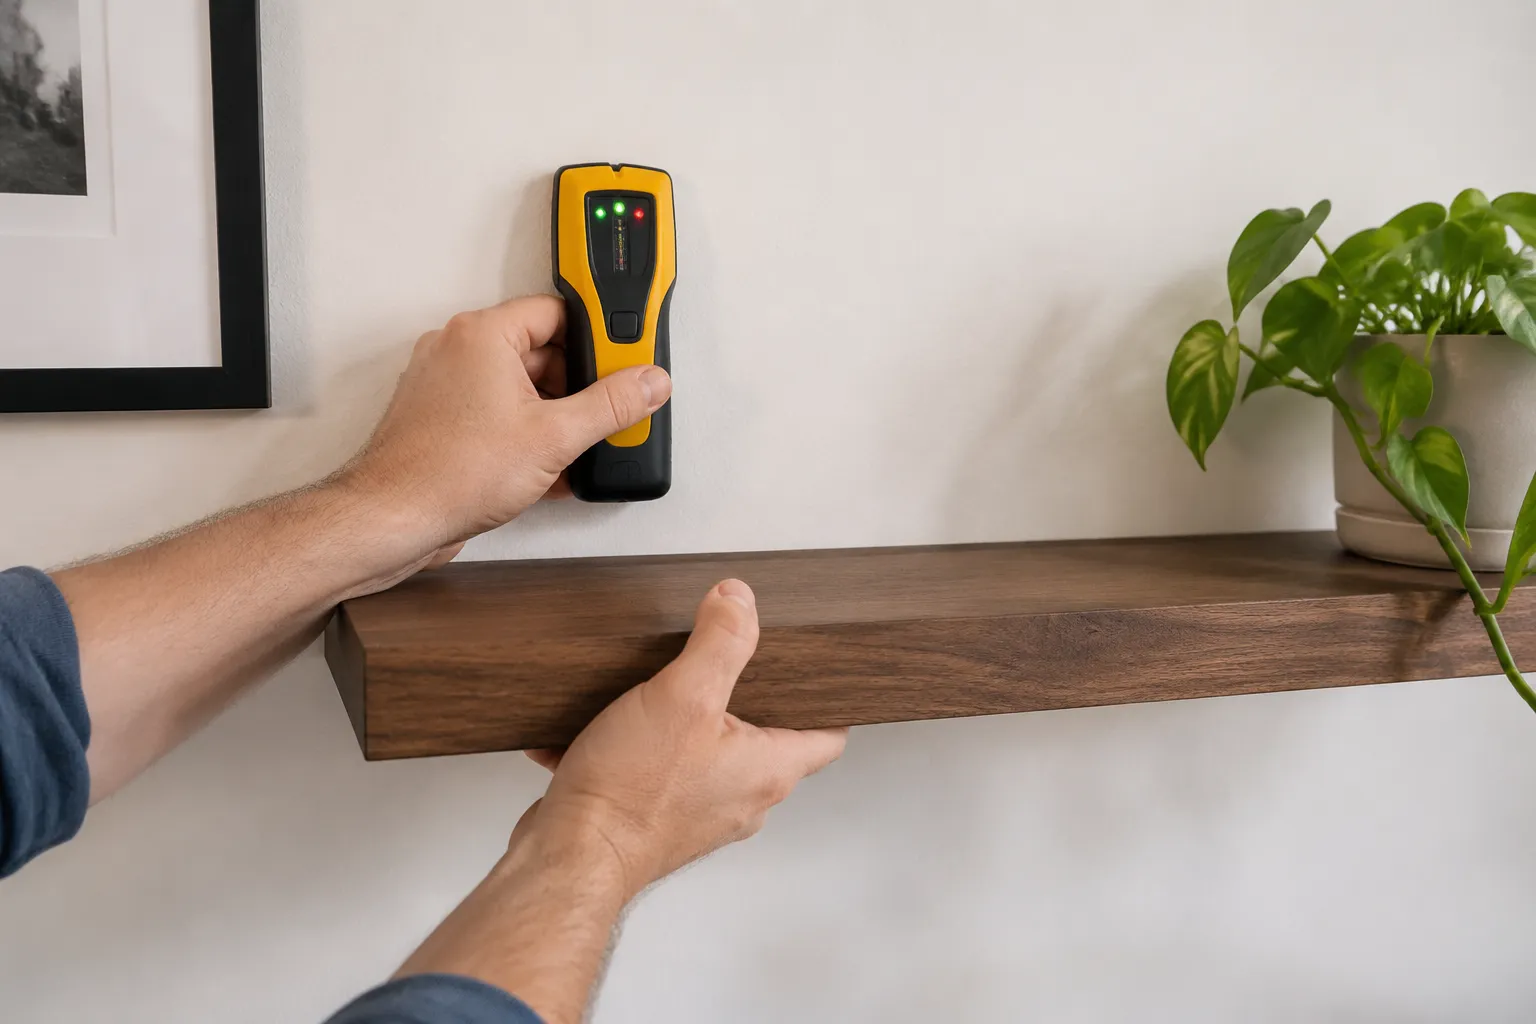
Stud finders have become a reliable joke in the DIY world, and the punchline is usually a fist-sized hole in the drywall. The devices beep, they blink, they claim to detect live wires, and then they point a person toward a spot that turns out to be nothing but hollow air and regret. The truth is that most stud finders fail because the person holding them expects the tool to do the thinking. A stud finder is a sensor, not a guide. It reads a change in density behind the wall, and the person holding it has to interpret that signal with a little skepticism and a lot of patience. When the floating shelf project ends with a bracket that refuses to catch, the problem is rarely the hardware. It is the hunt.
Floating shelves deserve better than a lucky guess. A shelf that bolts straight into a stud with two substantial screws will hold a small library of hardcovers without complaint. A shelf that catches only drywall will end up on the floor at 2 a.m., taking a row of glasses with it. The physics are simple, but the locating work is where most installations fall apart. This is a piece about finding the studs correctly, which means it is also a piece about reading a wall, ignoring a gadget's theatrics, and doing one bit of math that most people skip.
Why the Stud Finder Lies
The standard electronic stud finder works by measuring changes in capacitance as it slides across the wall. Drywall has a fairly consistent density, and the wooden stud behind it changes that density just enough for the sensor to register a shift. That is the theory. In practice, the sensor picks up on paint texture, an uneven drywall seam, an old patch job, or the subtle difference in moisture content between two sheets of drywall. The device beeps for all of it.
The bigger problem is the way people use the tool. They slap it against the wall, watch the lights go green, and immediately mark the spot. That spot is usually the edge of the sensor's detection range, not the center of the stud. The tool indicates "something is here," not "this exact line is the middle of a 2x4." Treating the first beep as a precise location is the fastest way to drill a hole that misses the wood entirely.
A person should slow the process down. Move the finder slowly, in one direction, and watch for the moment the signal starts. Then keep moving past it and note where the signal stops. The stud sits somewhere between those two points, and its center is roughly in the middle of them. That single habit, tracking the start and end of the signal instead of the first beep, improves accuracy more than buying a fancier unit.
Even that method has limits. A stud finder with a weak battery gives unreliable readings, so the first step is always a fresh set of batteries. A person should also test the finder on a known surface, like the edge of a door frame, to confirm it responds consistently. These checks take thirty seconds and prevent an entire afternoon of frustration.
The Magnet Method and the Drywall Screw Trick
For a person who distrusts electronics, a rare-earth magnet offers a quieter approach. Drywall is fastened to studs with screws, and those screws sit just below a thin layer of paint and joint compound. A strong neodymium magnet, the kind used to hold up shop signs, will stick to the screw heads through the drywall. Slide the magnet across the wall in a grid pattern, and it will catch on each screw with a satisfying snap.
This method has two advantages. First, it finds the screws, which are dead center in the stud because that is where the drywall crew drove them. Second, it reveals the spacing between studs. Most residential walls have studs spaced 16 inches on center, though 24 inches appears in some newer construction and older homes with irregular framing. Finding two screws in a vertical line tells a person the stud runs straight, and finding the next screw over confirms the spacing.
The magnet method has a weakness. Some drywall crews use nails instead of screws, and nails are not magnetic enough for a handheld magnet to catch. Others over-sand the joint compound until the screw heads are buried deep, weakening the pull. In those cases, the magnet slides over the wall without a single catch, and a person has to fall back on the electronic finder or a different technique.
That backup technique involves a tiny drill bit and a willingness to make a small, hidden hole. Take a 1/16-inch bit and drill through the drywall at the suspected stud location. If the bit hits wood, the spot is confirmed. If it punches through into empty air, pull it out, move over a quarter inch, and try again. A series of these tiny holes, hidden behind the shelf bracket, causes no real damage and gives a precise map of the wall's structure. The holes are small enough to fill with a dab of spackle, and the shelf covers them completely once installed.
Checking the Wall for Clues Before Drilling
Before any tool touches the wall, a person should look at the room. Baseboards are nailed to studs, and the nail heads are often visible as small dimples or filled holes along the top edge. Door and window casings are also fastened to studs, so the framing is usually tight around those openings. An electrical outlet is mounted to a stud on one side, which gives a reference point. Measure 16 inches from the side of an outlet box, and the next stud is likely right there.
Light switches and outlets are the most reliable anchors in any room. A person can remove the outlet cover plate and look inside with a flashlight. The electrical box is nailed or screwed to a stud, and that stud is visible from the opening. This is the only way to see the actual framing with zero guesswork. From that visible stud, measure the spacing to find every other one in the wall.
None of these clues replace a stud finder entirely. They confirm its readings and give a person a mental map of the wall before the gadget starts beeping. A person who already suspects where the studs sit will interpret the finder's signal far more accurately than a person who starts with no information.
The 16-Inch Rhythm and the Half-Stud Problem
Standard framing places studs at 16 inches on center. This measurement refers to the distance between the centers of two studs, not the gap between their edges. A person who finds one stud can estimate the positions of the others by measuring from its center. But corners, door openings, and intersecting walls break that rhythm. The wall near a corner often has extra studs packed closer together, and the last stud before a door frame might sit at an odd distance.
This is where the floating shelf plan matters. A shelf that spans three feet needs two brackets, and both brackets need to land on studs. If the studs fall at 16 and 32 inches from a corner, the brackets need to sit at those exact spots, even if that means the shelf does not look perfectly centered on the wall. A person can install one bracket into a stud and the other into a drywall anchor, but the shelf will never be as solid as one anchored on both ends.
The half-stud situation appears more often than expected. Some walls have studs that are not full 2x4s at every location. Fire blocking, horizontal pieces of wood between studs, runs across the middle of many walls, and a person might drill into a block instead of a stud. The block holds a screw well, but it does not provide the same vertical support. A shelf mounted to fire blocking might feel solid on the day of installation, then sag slowly as weight is added. The magnet method helps here because it finds the vertical line of screws, which marks the stud, not the horizontal block.
Drilling the Pilot Hole and Reading the Dust
Once a person has confidence in a stud location, the drill bit tells the final truth. Use a bit slightly smaller than the screw that will hold the bracket, and drill slowly. If the bit bites into wood after passing through the drywall, the location is confirmed. If the bit slides through with no resistance, the mark was wrong, and the hole is just another data point.
The dust from the drill tells a story. Light, tan, fibrous dust means pine framing. Darker, softer dust with a crumbly texture means the bit hit drywall only. A bit that suddenly moves faster after a few turns has punched through the stud into the cavity beyond, which means the pilot hole is deeper than the screw needs. None of this requires expertise. It just requires paying attention to what the bit feels like.
A person should also consider the screw itself. A lag screw or a heavy-duty wood screw, at least 3 inches long, gives the best grip in a stud. A drywall screw, with its brittle shank and smooth threads, is the wrong choice for a shelf bracket. The threads need to bite into the wood aggressively, and the head needs to sit flush against the bracket. The difference between these screws is visible at a glance, but many people grab whatever is in the drawer and wonder why the shelf pulls loose.
When the Stud Is Not Where It Should Be
Old houses are the exception to every rule. Lath and plaster walls hide studs behind a thick, uneven surface that confuses electronic finders and defies magnets. Plaster is denser than drywall, and the wooden lath strips behind it create a confusing pattern of density changes. A person might get a solid reading from the finder, drill a pilot hole, and hit nothing but the gap between two lath strips.
For plaster walls, the drill-and-probe method is the most reliable. Drill a small hole and bend a piece of wire, like a coat hanger, into an L shape. Insert the wire into the hole and rotate it. The wire catches on the backside of the plaster, and sliding it left and right reveals where the stud interrupts its path. This takes patience, but it works without any expensive equipment.
Metal studs in commercial buildings or renovated apartments require yet another approach. A standard wood screw will not bite into a metal stud. Self-tapping sheet metal screws work, but they need to hit the center of the stud's face, which is narrow, often just 1-1/4 inches wide. The magnet method works well here because the screws are steel and hold the magnet firmly. A person who finds one screw and then moves vertically to find another has located the stud's exact center line.
Bracket Position Against the Shelf Design
The stud location dictates where the bracket goes, which means the shelf design should accommodate that reality before the holes are drilled. A floating shelf bracket, the kind that slides into a routed slot on the shelf's underside, needs to be positioned so the shelf looks balanced. If the studs sit at 16 and 32 inches, a 36-inch shelf will have 4 inches of overhang on one side. That is fine. A shelf with uneven overhang looks intentional when the shelf itself is substantial.
The bracket must be level. A bubble level across the bracket, not across the shelf, ensures the shelf sits flat. A bracket tilted by a few degrees means a shelf that looks crooked no matter how carefully the shelf is pushed onto it. Many installers check the shelf level after mounting and ignore the bracket level, which is backwards. The bracket is the foundation. The shelf just follows it.
Some floating shelf brackets use a single heavy-duty steel rod that inserts into a wall-mounted plate. These require the plate to be bolted to a stud or a pair of studs, and the rod carries the entire load. For a shelf that will hold 50 pounds or more, a rod that threads into a stud with a 5/16-inch lag screw holds far better than a rod that mounts to drywall with a toggle bolt. The weight rating on the bracket assumes the fastener is in wood, not in hollow drywall.
The Finished Installation and the Weight Test
After the bracket is bolted into the studs and the shelf slides into place, the installation is not done. A person should load the shelf with the heaviest items it will hold, then give it a firm downward tug at the front edge. If the bracket flexes or the screws creak, something is wrong. The shelf might stay up for weeks before the hidden problem surfaces.
A properly anchored floating shelf does not move when loaded. It feels like a block of wood growing out of the wall. That solidity comes entirely from the screws biting into the stud, and the screws only bite if the pilot hole hit its center. The stud finder, the magnet, the tiny probe holes, all of it leads to this single point of contact. Get that right, and the shelf becomes furniture. Get it wrong, and it becomes a falling hazard.
The quiet satisfaction of a floating shelf that holds a stack of cast-iron cookware without a shudder comes from a particular kind of knowledge. It is the knowledge of what is inside the wall, mapped out with patience and a few simple tools. A person who has done it once understands why the stud finder is just the beginning of the process, and why a shelf installed by a careful amateur will outlast one installed by a confident guesser.