
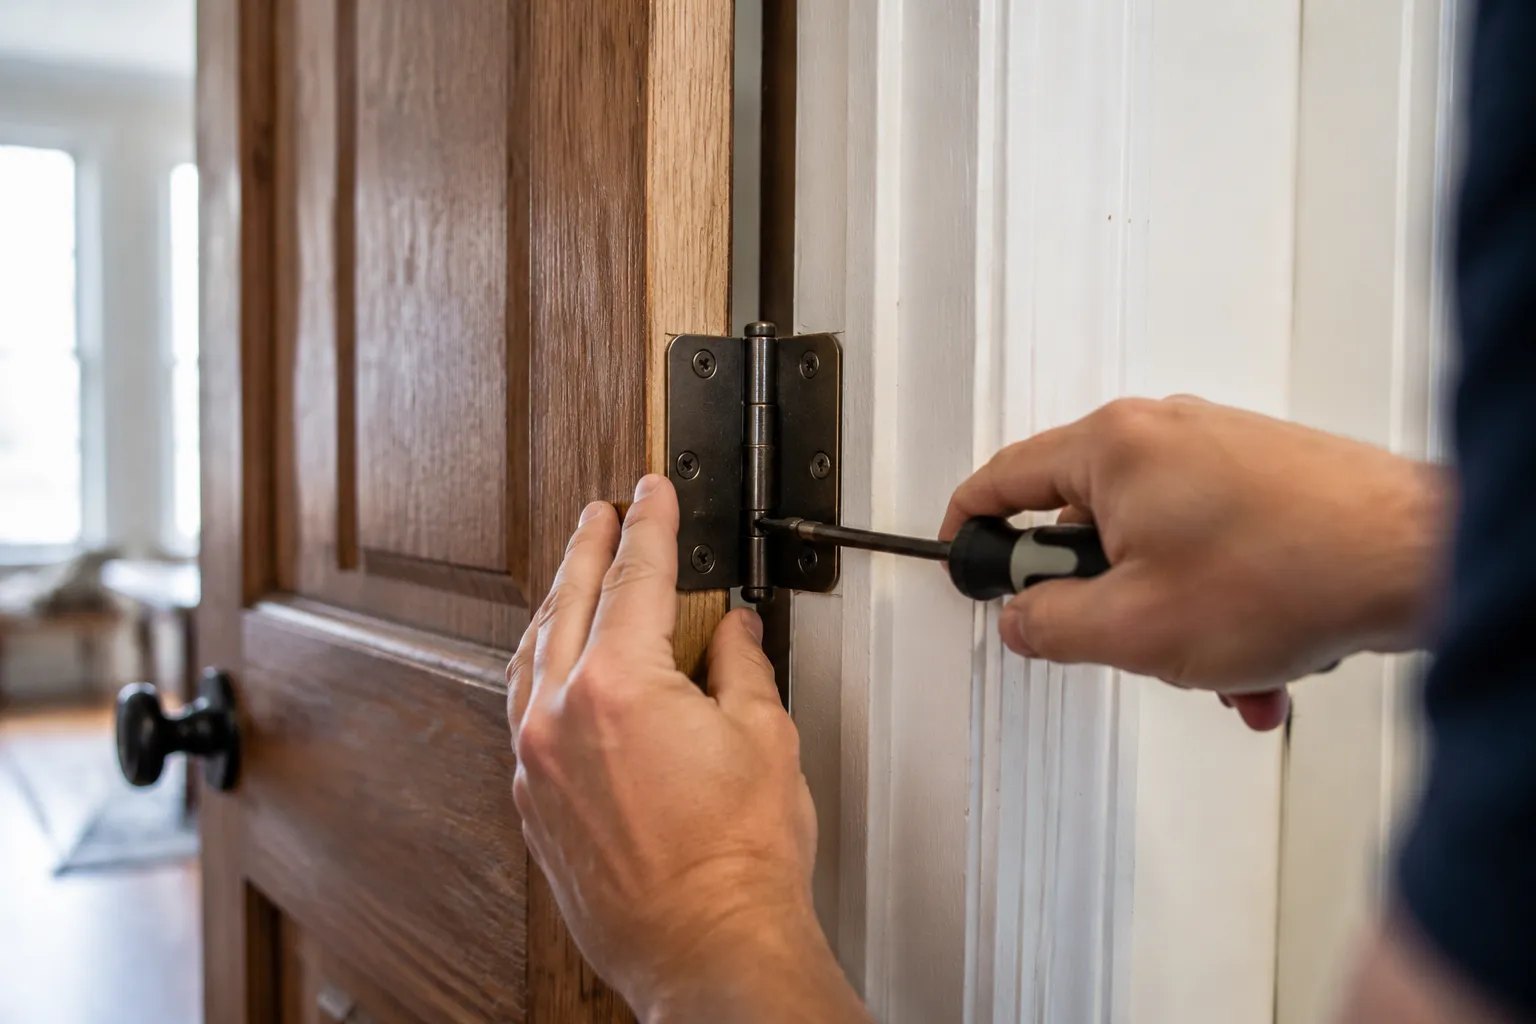
The common diagnosis for a sticky door is wrong more often than people think. Most homeowners grab a plane or a belt sander and start shaving material off the edge of the door, convinced the wood has swollen or warped into the frame. Sometimes that is true. But a large share of sticky doors have nothing wrong with the door itself. The hinges are sitting in recesses that were cut too deep, or the frame has settled a quarter of an inch, or the screws holding the hinge to the jamb have stripped out and the whole leaf is drooping. Sanding the edge of the door is permanent. Adjusting the hinges is reversible. That alone should decide the order of operations.
The first step is figuring out where the door is actually binding. Run a hand down the gap between the door and the frame on the hinge side and the latch side. If the gap on the hinge side is tight at the top but wide at the bottom, the door is hanging crooked, which points straight at the hinges. If the gap looks even but the door scrapes along the latch edge or the floor, the problem might be the strike plate or the floor itself. A piece of paper or a thin credit card dragged through the gap can map the tight spots. Mark them with a pencil. The location of the friction tells a person whether to bend a hinge, shim a hinge, or walk away from the hinges entirely.
Reading the hinge-side gap first
The hinge-side gap is the most informative line on the whole door. On a properly hung door, that gap should be roughly even from top to bottom, usually around an eighth of an inch. When the gap pinches at the top and flares at the bottom, the door is leaning away from the latch, and the latch edge will drag on the floor or the strike plate. When the gap pinches at the bottom, the door is leaning toward the latch, and the top corner of the latch edge will hit the stop molding. In both cases, the remedy is to change the angle of the door relative to the jamb, and the hinges are the only lever available.
For a door that binds at the top of the latch edge, which is the more common failure, the fix is to pull the top hinge slightly away from the jamb. This tilts the door so the top moves toward the latch side and the bottom moves away. A thin shim, even a piece of cardboard cut from a cereal box, placed behind the hinge leaf on the jamb side will do it. The cardboard compresses a little when the screws go back in, so a person may need two layers. Loosen the top hinge screws, tuck the shim behind the leaf, and retighten. Test the door. The adjustment is small, measurable in fractions of a millimeter, but it changes the geometry enough to stop the scrape.
The reverse problem, a door that binds at the bottom of the latch edge, gets the same treatment on the bottom hinge. Shimming the bottom hinge pushes the bottom of the door toward the latch side and pulls the top away. A person might be tempted to shim both hinges, but that just moves the whole door sideways without changing its tilt, and it usually makes the latch misalign. The goal is rotation, not translation. Shim one hinge, the one at the opposite end from the binding corner, and test before touching anything else.
Bending the hinge knuckles for a tighter fit
Shims handle tilt, but they do nothing for a door that is simply too tight against the jamb along the hinge edge. When the door scrapes the frame on the hinge side, the hinges may be mounted too deep in the jamb, meaning the mortise was cut a hair too deep when the door was hung. The door sits closer to the jamb than it should, and the hinge knuckles bind against the edge of the door.
The elegant fix here is to bend the hinge knuckles slightly. A hinge pin barrel that is gently curved, thicker in the middle than at the ends, pushes the door away from the jamb in the middle of the hinge. This is not a crude hammer job. The method involves removing the hinge pins, laying each leaf flat on a hard surface, and tapping the knuckles with a hammer to close the gap between the barrel and the leaf. Each tap compresses the barrel a few thousandths of an inch. Reinstall the pins and check the gap. This technique takes patience, but it preserves the door and the frame, which sanding does not.
Bending works best on loose-pin hinges, the kind with a removable pin running through the knuckles. Many interior doors use these, and the pins pull straight out with a pair of pliers or a screwdriver. A person should never attempt this on a fixed-pin hinge, which is usually welded or swaged together and will crack under the force. For those, the shim approach or a slight deepening of the mortise on the opposite side is the safer route.
Stripped screws and the drooping door
A door that sags at the latch side, where the latch drops out of alignment with the strike plate and the door scrapes the floor near the latch, is frequently a screw problem. The screws holding the hinge leaf to the jamb have pulled out of the wood, often because the original installer used screws that were too short. The weight of the door, day after day, works the screws loose until the hinge leaf moves under load.
The immediate fix is to remove the hinge leaf and inspect the screw holes. If they are stripped and oversized, the old trick of jamming wooden golf tees or matchsticks into the holes works, but it is a temporary patch. The stronger repair is to drill out the holes and glue in dowels, then drill fresh pilot holes and use longer screws. A 2.5-inch or 3-inch screw will reach past the jamb and bite into the wall stud behind it, which is far more solid than the jamb wood alone. This is the one place where longer screws are not optional; they are the entire point.
A person should be careful with the screw length, though. A 3-inch screw driven into a door frame that sits over electrical wiring or plumbing can punch through and cause a worse problem than a sagging door. Most interior walls with doors are not carrying wires in the immediate jamb area, but it is worth a quick check of the wall on the other side before sending a long screw home. If there is any doubt, stick with 2-inch screws and the dowel repair.
The strike plate and the latch alignment
When the door closes but the latch does not catch, or the latch catches only when the person pushes hard on the door, the strike plate is usually out of alignment with the latch bolt. This is a different failure from the hinge-side gap. The door might hang perfectly straight, the gaps even, the swing smooth, but the latch bolt hits the edge of the strike plate instead of sliding into the hole.
The classic fix is to file the strike plate hole slightly larger in the direction the latch needs to move. A metal file or a rotary tool with a grinding bit can open the hole a millimeter or two. This works well when the misalignment is small. When the misalignment is large, filing the hole leaves an ugly, oversized opening, and the better move is to remove the strike plate, chisel the mortise a little deeper in the needed direction, and reinstall it. The plate sits flush, the hole lines up, and the door closes like it should.
One detail often overlooked is the lip of the strike plate. The curved lip is there to guide the latch bolt into the hole. If the lip is worn or bent, the latch will hang up even when the hole is perfectly aligned. A file can reshape the lip, but a damaged strike plate is a five-dollar part. Replacing it beats fiddling with it.
Weather stripping and the seasonal false alarm
Exterior doors develop a sticky feel as the seasons change, and the cause is often not the hinges at all. The weather stripping compresses and expands with temperature and humidity. In summer, when the frame swells and the door swells, the gap closes. The door rubs the weather stripping on every swing. A person can adjust hinges until the cows come home, and the door will still drag because the problem is the gasket, not the geometry.
The test is to close the door and look at the compression line on the weather stripping. If the stripping is flattened against the door along the full perimeter, it is doing its job, but it may be too thick or too new. Some weather stripping is meant to be replaced every few years, and old stripping hardens and bulges in a way that grabs the door. A quick check involves sliding a dollar bill between the door and the stripping. If the bill pulls out with moderate resistance, the seal is good. If it slides freely, the stripping is too loose. If it will not slide at all, the stripping is too tight and is the real source of the stick.
Adjusting the hinges to fix a weather stripping problem is a mistake. The hinges are the wrong lever. The stripping needs to be replaced or trimmed, and the hinge adjustment will only make the door sit crooked in the frame, which creates drafts and noise later.
When the door itself is the problem
After all the hinge work, a door can still bind because the door is genuinely warped or swollen. Moisture gets into the bottom edge of a door, especially an exterior door, and the wood swells unevenly. The bottom corner expands and drags on the threshold. Hinge adjustment cannot fix a door that has grown larger than its frame.
The honest fix here is to plane or sand the door edge, but only after confirming the hinge geometry is correct. A person who skips the hinge check and goes straight to planing risks removing material from one side of the door while the door hangs crooked, making the problem worse. Plane the door only after the gaps are even and the screws are tight. And when planing, take off a thin pass, check the fit, and take off another. A plane removes material fast, and a door that was too tight in one spot can become a door with a visible gap in the same afternoon.
For hollow-core interior doors, planing is riskier because the outer skin is thin. A plane can cut through the skin and expose the honeycomb or cardboard core inside. For these, sanding with a coarse grit on a block is safer, and even then, the removal should be measured in light passes. A hollow-core door that swells badly is often not worth the repair effort. Replacement is cheaper than the frustration of a door that never quite works.
Tools that make the job tolerable
The right tools make hinge work feel surgical rather than brutal. A cordless drill with a clutch set to the lowest torque setting avoids stripping screw heads. A center punch marks the screw holes before drilling, keeping the drill bit from wandering on the angled surface of a hinge leaf. A sharp chisel, not a dull one, makes clean mortises when the strike plate or hinge needs to be recessed deeper. A dull chisel crushes the wood fibers and leaves a ragged edge that looks terrible and holds poorly.
A hinge pin punch, which is a narrow metal rod with a flat tip, is worth owning. It drives out stubborn hinge pins without bending them. A person who uses a regular screwdriver to pop hinge pins will eventually bend a pin, and a bent pin makes the hinge bind internally, which is a new problem on top of the old one. Shim stock, the thin brass or plastic strips sold for this purpose, is a better investment than a roll of cardboard, because the material is uniform and does not compress unpredictably.
One tool that gets skipped too often is the simple carpenter's pencil. Marking the hinge outline before removing the screws, drawing the direction of the needed adjustment, and writing the screw length on the hinge leaf after removal all save time and prevent confusion. A person who works on a door in the middle of a renovation, then comes back to it two days later, will not remember which hinge needed the shim. The pencil remembers.
The patience test and the reassembly order
Reassembly is where most people ruin a hinge adjustment. The natural instinct is to tighten every screw fully and then test the door. That is the wrong order. The right order is to install the hinge pins first, with the screws snug but not torqued, then close the door and test the swing. If the door binds, the screws come out partially, the shim or bend is adjusted, and the test repeats. Only when the door swings freely does the final tightening happen. Tightening all the screws first locks in a geometry that might be wrong, and loosening them again disturbs the shims and the fresh pilot holes.
There is also the matter of the hinge pin seating. A hinge pin that does not sit fully flush, with the head sticking up a quarter inch, means the knuckles are not aligned. This happens when the two leaves are mounted at slightly different heights or angles. The pin should slide in with light taps from a hammer, and the head should sit flush with the top knuckle. If it does not, forcing it with a heavier hammer just bends the pin. The hinge leaves need to be loosened and nudged until the knuckles line up.
A sticky door is rarely a single problem. It is a stack of small problems, each contributing a few millimeters of friction. The hinge gap is off by a hair, the screws are loose, the strike plate is a touch low, and the weather stripping has swollen. Fixing one without checking the others leaves a door that opens better but still catches somewhere. The patient approach is to work through the checks in order, make the smallest adjustment that produces a visible change, and resist the urge to overcorrect. A door that swings freely with a gentle push is the reward, and it takes less time than a trip to the hardware store for a new door. The tools are simple, the adjustments are tiny, and the satisfaction of a hinge job done right lasts longer than the afternoon it takes to finish.