
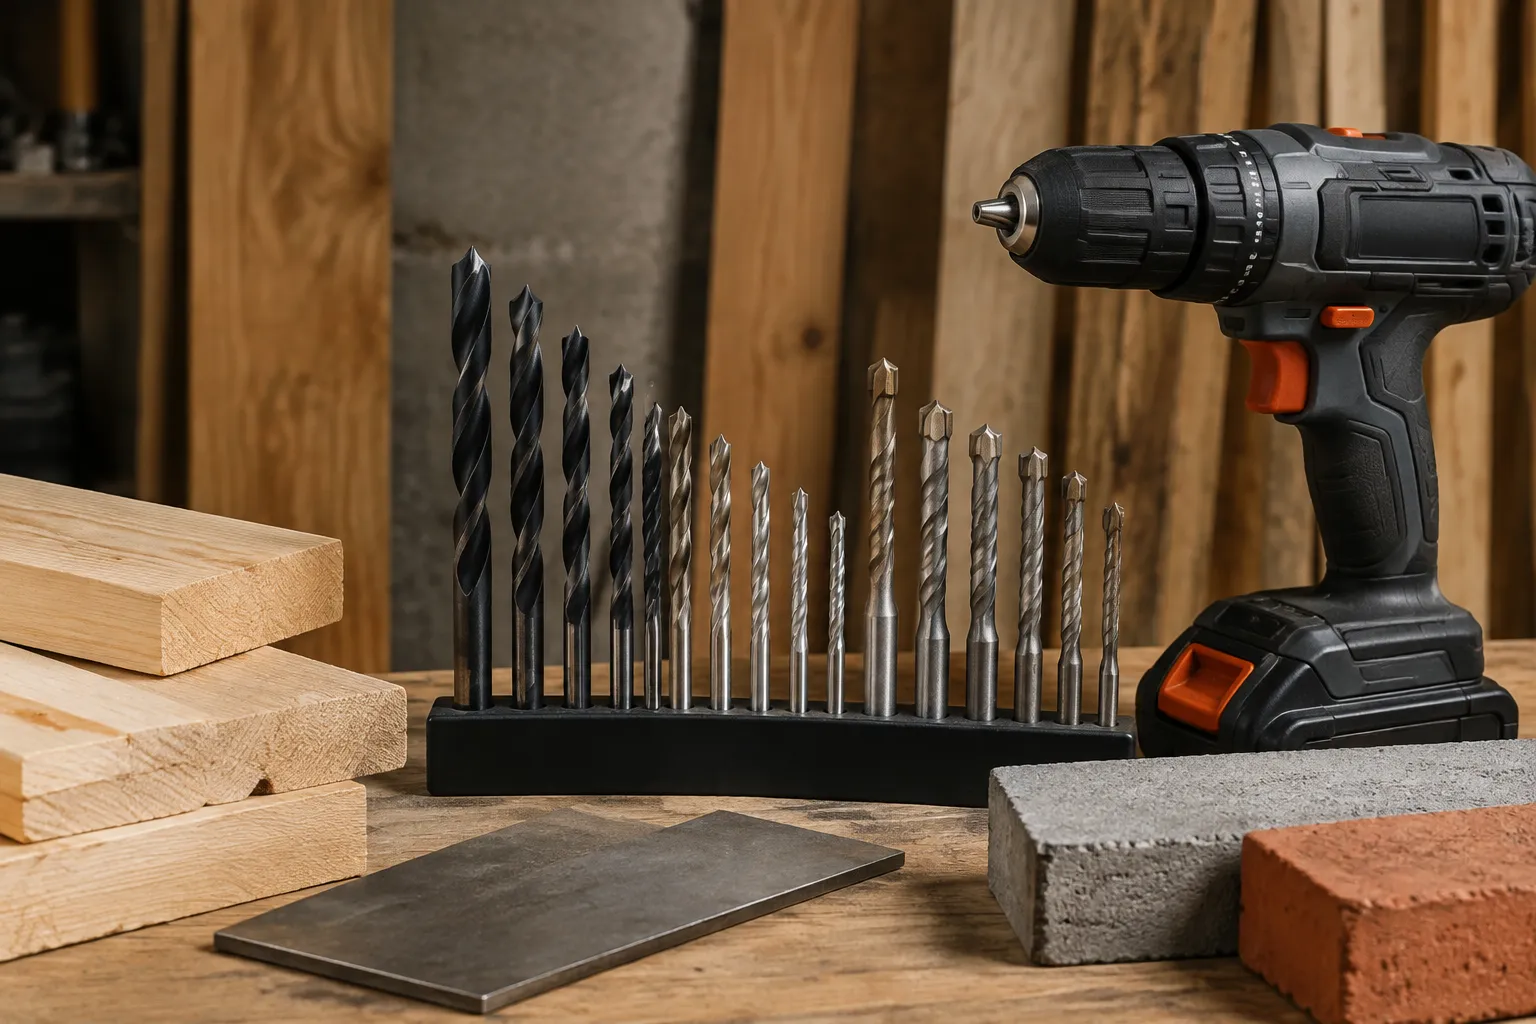
Drill bits are the most lied-about tool accessory in the average garage. A 20-page catalog will show a single bit labeled "multi-material" with a smiling graphic of a plank, a steel pipe, and a cinder block, and a person will buy it expecting one geometry to do all three jobs competently. It will not. The bit will sing against the steel, skate across the concrete, and tear the edge of the wood. The real problem is that drill bits are not universal tools; they are material-specific cutting geometries held together by a shank. The selection process starts with accepting that a "set" of bits is a compromise, and the only way to get good holes is to stop buying sets and start buying for the task.
For cordless drill owners, the stakes are a little higher than for someone running a corded machine. A cordless drill has a finite torque curve and a battery that drains fast when a bit meets resistance. A poorly matched bit turns a simple 10-minute job into a 40-minute saga of recharging, re-gripping, and cursing. Picking the right bit is not about preference; it is about respecting the limitations of the tool. A cordless drill is a high-speed, low-torque device compared to a drill press, and it needs all the help it can get from the cutting edge.
The Wood Bit Problem: Speed and Splintering
Wood is the material where most people start, and it is the easiest to get wrong in the opposite direction. A standard high-speed steel twist bit will drill through pine without much fuss, but it will leave a rough, furry hole. The twist bit scrapes and pushes the wood fibers rather than slicing them cleanly. For a hole that will be hidden by a screw head, this is fine. For a hole that will be visible, like a shelf pin hole or a dowel joint, the rough edge is a failure.
The brad point bit is the answer for clean holes in wood. The sharp center spur bites into the surface first, preventing the bit from wandering across the grain, and the outer spurs score the circumference of the hole before the flutes remove the waste. The difference is immediately visible. A brad point bit leaves a hole that looks like it was routed, not drilled. The trade-off is that brad point bits are fragile. The spurs are thin and will snap if the bit is used on anything harder than plywood or softwood. The moment a person tries a brad point bit on a piece of oak with a knot, the spur catches, the drill twists, and the bit comes out bent.
For deeper holes in wood, like running a cable through a stud or drilling a dowel hole through a 2x4, the standard twist bit is actually the better choice. A brad point bit has a tendency to clog in deep holes because the flutes are not aggressive enough to pull the chips out fast. A twist bit with a higher flute angle will clear the waste better and keep the bit from overheating. The compromise is a slower feed rate. A person has to back the bit out frequently to clear the chips, which is tedious but necessary.
There is also the spade bit, which gets a bad reputation from cheap sets. A quality spade bit with a sharp center point and ground cutting edges is fast and effective for rough holes in framing lumber. The issue is that spade bits have a tendency to splinter the exit side of the hole unless the work is backed by a scrap piece of wood. Clamp a sacrifice board behind the workpiece and a spade bit will blow through clean most of the time. Skip the backing board and the exit hole looks like a woodpecker attack.
Metal: The Hard Stop
Metal is where most drill bits go to die. The failure is almost always the same: the bit is spinning too fast, the cutting edge is ground at the wrong angle, and the metal work hardens instead of cutting. When steel gets hot from friction without proper cutting action, the surface hardens, and the bit cannot bite anymore. The bit skates, the drill battery drains, and the hole never gets bigger than a dimple.
The correct bit for most metalwork is a high-speed steel twist bit with a 135-degree split point. This is not a marketing gimmick. The split point means the tip has a secondary grind that creates a self-centering cutting edge, which prevents the bit from walking across the surface of the metal. A standard 118-degree point will skate on a flat steel surface every single time. The split point bites in and starts cutting immediately.
The second issue is speed. Cordless drills spin too fast for metal cutting. A 1/4-inch hole in mild steel wants a speed somewhere around 1,200 RPM, which most cordless drills can do, but the trigger control needed to hold that speed while applying pressure is difficult. The practical workaround is to run the drill at a low speed setting and pulse the trigger. Let the bit cut without forcing it, and use cutting fluid or a drop of oil to keep the edge cool. A bit that runs dry will dull within a dozen holes. A bit that runs with a little oil will keep cutting for a hundred.
For thin sheet metal, like a steel stud or an electrical box, a standard twist bit will grab and tear the metal as it breaks through. The solution is a step bit, also known as a unibit. These cone-shaped bits cut a series of stepped holes, and they do not grab on breakthrough because the cutting edge is always in contact with the material. A step bit in a cordless drill makes clean holes in sheet metal up to about 1/8-inch thick. The downside is that step bits are not cheap, and they are useless for thicker plate steel. For drilling into a steel beam or a thick bracket, a standard twist bit with oil is the only practical option.
One more thing about metal bits: cobalt is worth the extra money. A cobalt bit is not a different material; it is high-speed steel with a percentage of cobalt added to the alloy, which lets the bit hold its hardness at higher temperatures. For drilling into stainless steel or hardened steel, a cobalt bit will outlast a plain HSS bit by a factor of three or four. For soft mild steel, plain HSS is fine. The cobalt bits are brittle and will snap if a person uses them with too much side pressure, so they are not a universal upgrade.
Masonry: The Hammer and the Carbide
Masonry is a separate universe. A masonry bit has a carbide tip brazed onto a steel shaft, and it works by hammering the carbide into the material while the flutes scrape away the resulting powder. The key word is hammer. A masonry bit in a standard cordless drill without a hammer function will cut brick and concrete block very slowly, and it will cut nothing at all into poured concrete. The drill needs a hammer mode that delivers a rapid axial pulse to the bit. Without that pulse, the carbide tip just spins and polishes the surface.
For cordless drill owners, the hammer function is often a compromise. Many compact cordless drills have a hammer mode that is weak, producing a buzz rather than a serious impact. This works for brick and soft concrete block, but it will stall out on a poured concrete foundation. The honest advice is to rent or borrow a rotary hammer for serious concrete work. A rotary hammer uses a piston mechanism to deliver a much harder impact, and it will drill through concrete in seconds where a cordless drill with a hammer mode will take minutes, if it gets through at all.
The bits themselves matter too. Cheap masonry bits have carbide tips that are brazed on with a thin layer of silver solder, and they will pop off after a few holes in hard concrete. Better bits have the carbide braced with a thicker profile and a more aggressive tip angle. A person can tell the difference by looking at the tip: a quality bit has a pronounced carbide tip that extends well beyond the steel body, while a cheap bit looks like a steel shaft with a thin cap of carbide. The cheap bits are fine for brick or aerated concrete block, but for anything harder, they are false economy.
There is also the question of diameter. Masonry bits for hammer drills come in two shank styles: straight round shanks and SDS-plus shanks. A standard cordless drill takes round shanks, which work for light masonry drilling. The SDS-plus system is a different chuck design that allows the bit to slide axially within the chuck, which is more efficient for hammering. These are not interchangeable without a chuck adapter, and the adapter adds length and slop to the setup. For occasional masonry work, a round-shank bit in a hammer drill works. For regular work, a dedicated SDS rotary hammer is the right tool.
The Shank Is Not Optional
A point that gets skipped in most guides is the shank geometry and how it interacts with a cordless drill's chuck. The standard 1/2-inch keyless chuck accepts round shanks up to 1/2-inch in diameter. Larger bit sizes, like a 1-inch spade bit or a 3/4-inch auger, have a reduced shank that fits the chuck. The problem is that a reduced shank concentrates the torque on a smaller diameter section of steel, which can twist and break if the bit binds. This is a real risk with spade bits in a cordless drill. The drill has enough torque to twist the bit, and the bit binds in the wood, and the shank snaps. The resulting broken bit is almost impossible to remove.
Hex shanks are a better option for larger bits. Many auger bits and hole saws come with a 1/4-inch hex shank that fits directly into a quick-change chuck or a hex adapter. The hex geometry transfers torque more reliably than a round shank held by three jaws, and it is less likely to slip under load. The trade-off is that hex shanks are short, which limits reach for deep holes. A person drilling a 6-inch-deep hole with an auger bit needs a round shank and a longer bit body.
The chuck itself matters too. A keyless chuck that has picked up sawdust and oil will slip at the worst moment, usually when the bit is fully engaged in a piece of hardwood. A person should clean the chuck jaws periodically and replace the chuck if it starts slipping. A slipping chuck is not just annoying; it is dangerous because the bit can suddenly catch and spin the drill body. The standard cordless drill chuck is good for most jobs, but a person who does a lot of heavy drilling should consider a drill with a metal chuck rather than a plastic one. The plastic chucks are lighter but wear out faster.
When to Buy a Set and When to Buy Singles
The standard 20-piece drill bit set is a trap. It looks like a bargain, but it is usually a collection of bits that are mostly redundant or useless. A typical set includes a range of twist bits from 1/16 to 1/2 inch, a couple of spade bits, and maybe a single masonry bit that is too small for anything practical. The twist bits are fine, but they are the cheapest bits that the manufacturer could source, and they will dull quickly. The set is a starter kit, not a solution.
The better approach is to buy a small set of quality twist bits in the sizes that get used daily, then buy specialty bits as individual pieces. A person who drills 1/8-inch pilot holes for screws needs a 1/8-inch bit that is sharp and true. A person who hangs pictures needs a 1/4-inch masonry bit. These individual bits cost more per piece, but they last longer and cut better. The cost per hole is lower over the life of the bit because a quality bit cuts faster and stays sharp longer.
The one exception to the "buy singles" rule is a kit that includes a specific set of brad point bits or a set of step bits. These kits are useful because the sizes are stepped and a person often needs several sizes in one session. A brad point bit set from a reputable manufacturer like Fisch or Colt is a good investment because the bits are ground properly and hold their edge. A step bit set with a couple of different sizes covers most sheet metal work. These are cases where the set is the right purchase.
The Sharpening Myth
Many people believe that drill bits are disposable, and they throw away a dull bit rather than sharpen it. This is wasteful, but it is also understandable because sharpening a twist bit by hand is a skill that takes practice. A drill bit sharpening jig takes the guesswork out of the process, and a person can restore a twist bit to usable condition in about a minute. The jig costs about the same as a set of cheap bits, and it will keep a single high-quality bit sharp for years.
The bits that cannot be sharpened easily are brad point bits, spade bits, and masonry bits. Brad point bits have complex geometry that is difficult to reproduce by hand. Spade bits can be sharpened with a file, but it takes a steady hand to keep the cutting edges even. Masonry bits are not worth sharpening because the carbide tip is the only part that cuts, and re-grinding it requires a diamond wheel. For these bits, replacement is the honest answer.
The practical rule is simple: if a bit costs more than its replacement, sharpen it. If it costs less, toss it. A person with a good sharpening jig and a bench grinder can keep a set of quality twist bits running indefinitely. The grinder needs a light touch though, because overheating the tip will ruin the temper and make the bit soft. Dip the bit in water after every pass and re-grind in small steps.
The Cordless Limits
The cordless drill has a specific weakness that affects bit selection: it is not a drill press. The operator's hand cannot apply consistent pressure and speed, so the cut is uneven. This matters most for large-diameter bits. A 1-inch hole saw in a cordless drill will grab and stall, and the kickback can hurt a wrist. A person should use pilot holes and let the drill do the work, feeding the bit slowly and backing out to clear chips.
Battery voltage also plays a role. A 12-volt drill has plenty of power for small twist bits and light wood drilling, but it will struggle with a 3/4-inch spade bit or a 1-inch hole saw. An 18-volt or 20-volt drill handles larger bits better, but even a high-voltage drill will strain when the bit is dull. The correct response is to switch to a sharper bit or a smaller diameter, not to force the drill. Forcing a dull bit is how people break bits and strip chuck gears.
The final consideration is the chuck capacity. Most cordless drills accept up to 1/2-inch shanks, which limits the maximum hole size to about 1-1/2 inches with a hole saw. For larger holes, a person needs a right-angle drill attachment or a separate tool. The cordless drill is not the right tool for every hole, and pretending otherwise leads to broken bits and wasted time.
The whole game is matching the bit to the material and the drill to the bit. A brad point bit for clean wood holes, a split-point twist bit with oil for metal, a carbide-tipped masonry bit with a hammer function for concrete, and a sharpening jig to keep the twist bits alive. That is the short list. Everything else is packaging and marketing.