
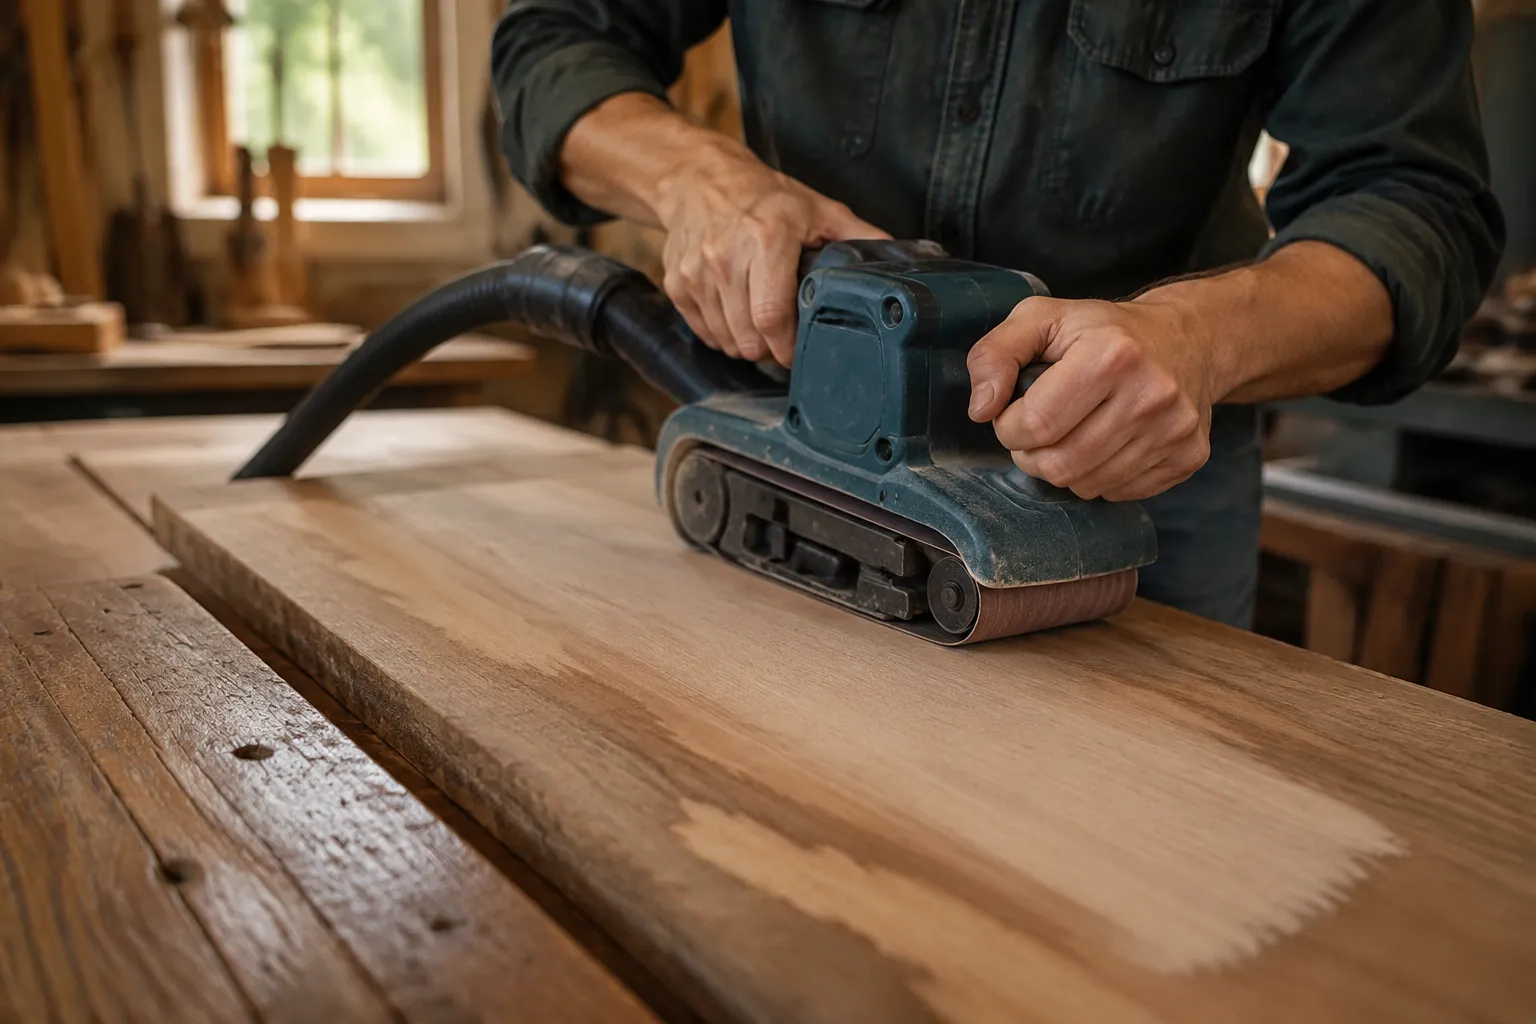
The belt sander is the most honest tool in a workshop, and that is exactly why it punishes the people who fear it. A random orbital sander forgives a heavy hand. A belt sander does not. It removes material at a rate that feels almost aggressive, and the moment the platen tilts even a fraction of a degree, the workpieces develops a groove that takes an hour of hand sanding to undo. The groove is not a failure of skill. It is a failure of geometry.
Most woodworkers who struggle with leveling have been told to keep the sander moving, as if speed alone prevents the dip. Movement helps, but it only spreads the damage around. The real problem is that the tool is being asked to do something its stock parts are not designed to do. A belt sander is built to remove stock aggressively, not to blend a surface into flatness. With a few adjustments and a different mental model, the same machine becomes the fastest flattening tool in the shop.
Why the Platen Decides Everything
The platen is the flat metal shoe behind the belt. On most consumer and prosumer sanders, it is a stamped piece of steel with sharp edges that dig into the work the instant the tool tilts. The belt wraps around it, but the platen's edge is what actually transfers pressure into the wood. When a person rocks the sander forward onto the nose, that edge acts like a gouge traveling at 1,400 feet per minute.
The fix starts before the sander touches wood. A flat platen is rare out of the box. On many machines, the platen is slightly crowned or has a burr along its leading edge from the stamping process. Laying a straightedge across the platen reveals high spots that transfer directly into the workpiece. Flattening the platen with a file or a sharpening stone takes ten minutes and changes the tool's behavior completely. The belt now rides on a true surface instead of a collection of high points.
Beyond flatness, the platen's edges need attention. A sharp 90-degree edge catches wood fibers and creates a visible line whenever the sander tilts even slightly. Dressing the front and rear edges with a file to create a shallow bevel reduces the tendency to dig without sacrificing material removal. The belt still cuts, but the transition between the platen face and the belt's unsupported section becomes gradual instead of abrupt.
The Angle of Attack Is Not What It Seems
The instinct is to hold the sander flat and push down. That produces a surface that follows the sander's natural rocking motion, which is to say it produces a surface with a subtle arc. The human wrist cannot maintain a perfectly level plane over a six-foot board. The sander will dip at the start of each pass and rise at the end, leaving a scalloped pattern that only appears once the dust is blown away.
Experienced operators do not fight the wrist. They work with a slight nose-up attitude, keeping the rear of the platen in contact while the front rides just barely above the surface. This shifts the cutting zone to the rear edge, which is the edge the operator can actually feel through the tool's handle. The front edge becomes a follower rather than a cutter. The result is a surface that tracks the sander's position instead of carving a new geometry into the wood.
This changes the pass pattern. Instead of overlapping long strokes like a painter, the sander should make short, overlapping passes that each cover about half the previous path. Each pass becomes a controlled shave rather than a sweeping cut. The material comes off in ribbons instead of dust, and the surface stays flat because the cutting edge never leaves the operator's sensory feedback loop.
Grit Sequence That Respects the Tool
Jumping straight to an 80-grit belt to flatten a panel is a common mistake. The coarse grit cuts fast, but it also leaves deep scratches that require significant time at higher grits to remove. The sander spends more total time on the wood, which increases the chance of introducing a low spot through cumulative pressure variation.
A better sequence starts with 60 or 80 grit only when the surface is seriously out of flat, and only until the high spots are gone. The moment the surface reads flat under a straightedge, the belt changes to 120 grit. This is not a finishing grit. It is the leveling grit. At 120, the sander removes material slowly enough that a momentary lapse in pressure does not carve a visible dip, but fast enough that the surface still cuts down to a uniform plane.
From there, 180 grit on the belt sander is a waste of time. The machine's aggressive oscillation pattern leaves swirls that 180 cannot remove. The transition to a random orbital sander happens at 120 or 150, where the orbital's motion can actually blend the belt sander's scratches. Trying to finish with the belt sander at higher grits is fighting the tool's nature.
Pressure: The Variable Nobody Calibrates
The human arm applies force through the sander's handles, and that force concentrates at the point of maximum resistance. When a section of wood is slightly higher than its surroundings, the sander pushes back harder against that spot, which makes the operator press down harder without realizing it. The high spot gets removed, but the surrounding area also gets cut because the platen flexes under the increased load.
The counterintuitive fix is to lighten the touch. A belt sander does not need downward pressure to cut. The belt's own speed and the weight of the tool provide sufficient force for most leveling work. The operator's hands should guide, not press. When the sander is allowed to float on the surface, the platen maintains a consistent contact patch, and the material removal rate stays uniform across the entire pass.
Testing this is simple. Run the sander over a flat board with no downward pressure beyond the tool's own weight. The surface stays flat. Repeat the pass with ten pounds of arm pressure. The surface develops a subtle dishing at the center of each pass where the platen flexed. The difference is invisible while sanding and obvious once a straightedge is laid across the grain.
Marking the Surface for Real Feedback
Working by feel alone is unreliable because the sander's vibration masks the sound and texture changes that indicate flatness. Pencil lines solve this. Drawing a series of loose scribbles across the entire surface before each pass gives the operator a visual map of where material has been removed. The pencil marks disappear only where the belt has actually cut. Any remaining marks indicate low spots that the sander has not yet reached.
This method exposes a truth about leveling: the sander only cuts high spots. Low spots remain untouched until the surrounding material is brought down to their level. Watching the pencil marks disappear reveals exactly where the high spots are, which allows the operator to target those areas with shorter passes instead of sweeping the entire surface repeatedly. Targeted passes remove less material overall, which means less risk of overshooting into a new low spot.
The pencil trick works best when the marks are applied in a pattern that distinguishes direction. A series of diagonal lines in one direction, then a second series crossing them, creates a grid that shows exactly where the sander has been. When the grid disappears evenly, the surface is flat. If one corner still shows grid lines, the sander has been avoiding that corner, usually because the operator's stance puts the tool's weight onto the opposite side.
The Long-Board Problem and the Stance Fix
Long boards expose the worst habit in belt sanding: walking the sander while moving the body. Most operators stand in one place and reach, which shifts the tool's angle as the arms extend. The sander tilts nose-down at the far end of the reach and nose-up at the near end. The result is a board that is thicker in the middle and thinner at both ends, a subtle curve that appears only when the board is placed against a straight reference surface.
The fix is to move the feet. Each pass should start with the operator positioned so the sander is directly in front of the body, not stretched out at arm's length. The operator takes a step forward as the sander moves, maintaining the same body-to-tool relationship for the entire pass. This keeps the sander at the same angle relative to the floor, which keeps it at the same angle relative to the board.
This sounds obvious, but watching someone sand a long board reveals how rarely it happens. The feet stay planted while the arms do all the work. The arms cannot hold a level plane for more than a few seconds. The legs can. Moving the whole body instead of just the arms converts the sander from a handheld tool into an extension of a stable platform.
Dust Collection Changes the Cut
A clogged dust port alters the sander's behavior in a way that has nothing to do with airflow. When the dust bag fills or the collection hose kinks, the belt loads up with debris. The belt stops cutting and starts burnishing, which heats the wood and glazes the surface. The operator responds by pressing harder, which flexes the platen and reintroduces the digging problem.
Connecting the sander to a shop vacuum with a cyclone separator, or at least checking the dust bag frequently, keeps the belt cutting cleanly. The difference is audible. A loaded belt produces a higher-pitched whine and a smoother feel because the abrasive is no longer engaging the wood. A fresh or clean belt produces a deeper, rougher sound that indicates actual cutting. Working with that audible feedback instead of fighting the tool's declining performance keeps the platen flat and the surface true.
Setting the Tool Down Between Passes
The final cause of mysterious grooves is the sander itself. Most belt sanders have a flat base that is meant to rest on a bench between uses. Resting the tool on its side or leaning it against a leg can warp the platen over time, especially on machines with aluminum platens. A warped platen produces a groove pattern that appears even with perfect technique, because the platen's surface is no longer parallel to the belt's path.
Checking the platen with a straightedge before each session takes five seconds. If the platen shows light under the straightedge at any point, the tool needs service or replacement. Sanding with a warped platen is a losing battle; the groove appears no matter how carefully the operator handles the machine. The platen is the one component that must be absolutely true, and it is also the component most likely to be ignored until the damage shows up in the workpiece.
The belt sander earns its keep when it is treated as a precision tool with a violent temperament. Flatten the platen, dress the edges, move the whole body, let the tool's weight do the cutting, and watch the pencil marks. The machine will still remove material faster than anything else in the shop, but the surface it leaves behind will be flat enough for a glue-up or a finish without a single groove to explain away.