
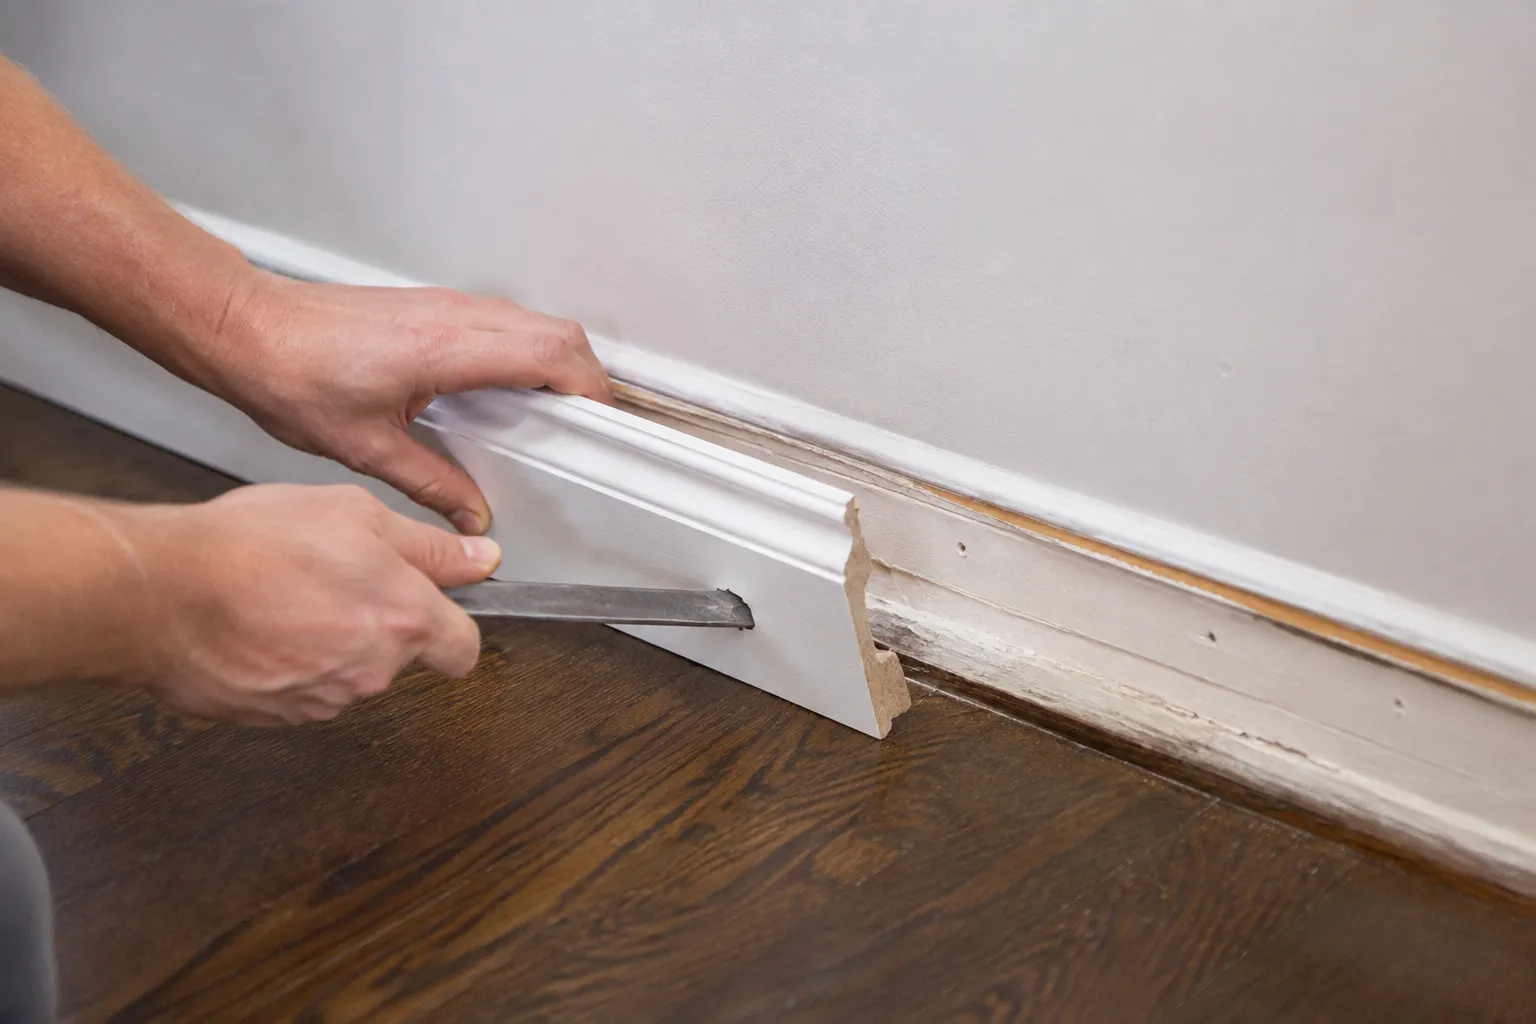
The pry bar is the enemy of the baseboard. Not the baseboard itself, which is usually a disposable piece of MDF or pine destined for the scrap pile, but the wall behind it. Every rental deposit lost and every DIY argument started can be traced back to a single moment: someone wedges a flat bar behind the trim, leans on it like a crowbar opening a crate, and the plaster or drywall gives way before the nail does. The result is a dent the size of a thumbnail, or a chunk of paper torn clean off the face of the wall, or a corner that crumbles into dust. The trim comes off, sure. But the wall now needs its own repair, which turns a thirty-minute job into an afternoon of patching and sanding and repainting.
The core problem is that the pry bar transfers force to the wrong place. The fulcrum is the wall itself. The lever arm is the trim. When the bar pivots, all that mechanical advantage pushes the pointed end hard against the drywall paper while the hook tries to pull the nail out from behind. The wall is softer than the nail. It loses the fight every time. The trick to removing baseboard without damage is to change the fulcrum, to give the pry bar something solid to push against that is not the wall, or to cut the bond between the trim and the wall before any prying happens at all.
Most baseboard is held in place by two things: nails driven into the studs behind the drywall, and a thin bead of caulk along the top edge where the trim meets the wall. The caulk is often the stronger bond. It sticks to the paint on the trim and the paint on the wall, and after a few years it cures into something almost rubbery. Prying against that seal is how the top edge of the wall gets gouged. The caulk has to be cut first. A utility knife with a sharp blade, run along the seam where the trim touches the wall, both at the top and along the bottom if there is a shoe molding, will break that seal. The blade needs to be new enough to slice rather than tear. A dull blade drags and crumples the caulk, and the crumpling pulls the paint off the wall.
Run the knife twice. Once to cut the caulk, and once more at an angle to be sure the blade has reached the actual joint, not just skimmed the surface of the caulk bead. Some painters leave a thick fillet of caulk that hides a gap of a quarter inch or more. The knife has to work down into that gap. This is tedious, and it is the step that most people skip. They figure the caulk is soft enough to break on its own. It is not, not after a few seasons of temperature swings and humidity changes. The caulk hardens, and the paint fuses to it, and the whole assembly becomes one solid piece. Cutting the seam is not optional.
Finding the nails and starting the separation at the top
Once the caulk is cut, the next move is to find where the nails are. A stud finder works, but a simpler method is to look at the trim itself. Most baseboard has been nailed and then painted over, and the nail heads are hidden under a layer of putty or paint. On painted trim, the nail heads often show as tiny round dimples, slightly darker or lighter than the surrounding surface. Running a hand along the trim will locate them by feel. The dimples are spaced sixteen inches apart, matching the stud spacing, so once the first one is found, the rest are predictable.
The nails are the anchor points. The trim will not come off until every nail is separated from the stud. But the order of operations matters. The worst approach is to start prying directly at the nail location. That is where the trim is held tightest, and where the wall is most likely to get crushed. Instead, start at the top edge of the baseboard, between the nails. The top of the trim is usually nailed at an angle, toed into the stud, and the bottom is nailed straight through into the sole plate. The top nails are the ones that cause the most wall damage because the pry bar naturally rests on the wall surface above the trim.
Use a thin pry bar, one with a tapered edge that can slip into the seam between the trim and the wall. A flat bar, sometimes called a wonder bar, is the right tool. The key is to insert the bar at the top edge, between the nails, and to push down gently, rolling the bar rather than prying it. The goal is to create a small gap, a quarter inch or so, between the top of the trim and the wall. This gap gives the bar a place to work without digging into the wall. It also breaks the bond of any remaining caulk or paint that the knife did not reach.
Work along the top edge, moving from one nail gap to the next, opening a thin crack along the entire length. Do not try to rip the whole board off at one end. The trim will bend and crack, and the nails will tear out chunks of the wall as they pivot. Slow, even separation along the top is the difference between a clean removal and a mess. Once the top edge is free along its full length, the baseboard will pivot slightly outward at the top, hanging from the bottom nails. At this point, the bottom nails are the only thing holding it.
The shim trick for the bottom nails
The bottom nails are easier in one sense, because the pry bar can rest on the subfloor rather than the wall. The shoe molding, if there is one, needs to come off first. It is usually nailed with small finishing nails into the baseboard itself, and it is often caulked at the top and bottom. Cut those seams, then pry the shoe molding off from the bottom, using the floor as the fulcrum. The shoe molding is cheap and easily replaced, so it can take some abuse, but the floor underneath should be protected with a scrap of cardboard or a thin piece of plywood to avoid scratches.
With the shoe molding gone, the baseboard is held only by the bottom nails. The temptation is to pry directly at each nail, resting the bar on the subfloor and levering the board outward. That works, but it leaves the bottom edge of the board marred and can split the wood if the nail is stubborn. A better method is to slide a thin shim, a paint stir stick or a piece of scrap wood, behind the baseboard at each nail location, between the board and the drywall. This shim does two things: it keeps the pry bar from biting into the drywall, and it puts pressure on the trim close to the nail, which helps the nail slide out rather than tear.
Insert the shim as deep as it will go, then use the pry bar with its fulcrum on the floor, pushing against the shim rather than directly against the drywall. The shim spreads the load across a wider area of the wall, so even if the nail is stubborn, the pressure is not concentrated on a single point. For nails that refuse to move, a few taps on the pry bar with a hammer, not a hard swing, just a firm tap, will often break the nail free without tearing the wall. The tap should be directed along the axis of the nail, pushing it out of the stud, not upward into the drywall.
Some baseboard is installed with a construction adhesive in addition to nails. This adhesive, usually a thick bead of liquid nails or similar product, bonds the back of the trim to the drywall. It is the worst-case scenario. If the trim does not budge after the nails are removed, adhesive is the suspect. The solution is to use a long, flexible putty knife or a drywall taping knife, inserted into the gap at the top, and work it down along the back of the board, slicing through the adhesive. This is a slow, arm-aching process. It requires patience and a willingness to slide the knife in a few inches at a time, scraping the adhesive off the drywall rather than pulling the drywall off the studs.
When the wall is already damaged
Even with the right technique, some walls will lose a little paper or a bit of joint compound. This is especially true for painted drywall that has been in place for decades, where the paint has bonded to the paper and the paper has bonded to the gypsum core, and the whole thing is one fragile unit. The trick is to recognize when a wall is weak before starting the job. A quick tap on the surface will reveal hollow or brittle spots. If the drywall is soft, or if there are visible cracks, the removal will likely cause damage no matter how careful the prying.
For these fragile walls, the approach changes. The blade of the utility knife should be used more aggressively, cutting through the paint at the seam, not just the caulk. This separates the paper of the drywall from the back of the trim, so the trim pulls away cleanly instead of taking a layer of paper with it. The prying should be done with the shim in place before any pressure is applied, not after. And the pry bar should never be used to twist. A twisting motion is how corners get torn off, both corners of the trim and corners of the wall. The motion should be a straight pull, outward and slightly upward, along the line of the nail.
If damage does occur, the repair is straightforward but requires the right sequence. A torn paper face needs to be glued back down before any joint compound is applied. Use a thin layer of wood glue or a dedicated drywall paper adhesive, press the paper back into place, and let it dry completely. Then skim coat with joint compound, feathering the edges. The most common mistake is to skip the gluing step and apply joint compound directly over the torn paper. The compound will crack and crumble within months. For dents where the drywall is crushed, not just torn, cut away the loose material and fill the void with setting-type joint compound, not the pre-mixed stuff, which shrinks and requires multiple coats.
Saving the baseboard for reuse
Most baseboard is not worth saving. The modern stuff is finger-jointed pine or MDF, primed at the factory, and it is cheap enough to replace with identical stock from any home center. But older homes have baseboard that is worth the effort. Solid oak or fir, with a complex profile that is no longer milled, or painted trim with a hand-rubbed finish that matches the rest of the house. Reusing this trim requires a different removal strategy because the trim itself must survive, not just the wall.
For reusable trim, the nails are the problem. The nails are driven through the face of the trim, through the back, and into the stud. When the trim is pulled off, the nails stay in the wall, and the trim has holes. Sometimes the nails pull through the trim, leaving a ragged hole and a nail head stuck in the stud. To avoid this, the nail heads must be pulled through the back of the trim before the trim is removed. This is done by driving the nails out from the front. Using a nail set, drive each nail through the trim and into the wall cavity, so the nail is no longer holding the trim in place. The trim then comes off with no prying at all, just a gentle pull after the caulk is cut.
This method, driving the nails through, sacrifices the nails but saves the trim. The front face of the trim is slightly damaged by the nail set, a small dimple that will need a touch of filler, but the back is clean. The trim can then be reused, and the holes from the original nails can be filled and sanded, and the trim reinstalled with new nails or adhesive. The wall is completely untouched because no prying ever happened. The only tool that touches the wall is the utility knife cutting the caulk.
Driving nails through works best when the trim is thick enough to take the blow without splitting, and when the nails are not too long. If the nail is long enough to reach the back of the stud, driving it through can push the drywall out from the inside. A quick test, looking at the length of the nail after a couple of pulls, will tell whether the nails are short enough to drive through safely. If they are long ring-shank nails, common in newer construction, driving them through will not work. The ring shank grips the stud too tightly and the nail will bend before it moves.
The right tools make this a ten-minute job
A dedicated baseboard removal tool exists, but it is not necessary. It is a thin, flat pry bar with a curved end, designed specifically to slide behind trim and pull nails without a fulcrum against the wall. The tool works by hooking the nail head from the side and pulling straight out, using a slide hammer action. It is slower than a pry bar, but it is nearly foolproof for avoiding wall damage. For someone doing a single room, buying this tool is overkill. For whole-house renovation, it pays for itself in the first hour.
For most jobs, the toolkit is simple: a sharp utility knife with extra blades, a thin pry bar, a hammer, a nail set, and a handful of paint stir sticks to use as shims. The paint stir sticks are the unsung heroes. They are free from any paint store, they are thin enough to slide behind trim, and they are soft enough to not scratch the wall. A stack of them, cut to short lengths, becomes a set of disposable shims that can be left in place while the pry bar does its work.
The other tool that matters is the pry bar itself. The wide flat bar, often called a wonder bar, has a notch cut out of one end for pulling nails. The notch is useful, but the flat, tapered edge is the important part. The bar needs to be thin enough to slide into a narrow gap without forcing it. A bar that is too thick will widen the gap by crushing the drywall before any prying happens. The best bar has a beveled edge that is about the thickness of a credit card at the tip. That thin edge is what gets under the trim without damaging the wall.
The technique for using the pry bar matters more than the brand. The bar should be inserted at a low angle, almost parallel to the wall, not steeply angled. A low angle means the force is directed outward, pulling the trim away from the wall, rather than upward, which pushes the bar into the drywall. The bar should be rolled, not rocked. A rolling motion uses the curve of the bar to lift the trim gradually. A rocking motion, where the bar pivots on its edge, is what creates the dent in the wall.
There is one more consideration that most guides miss: the temperature of the room. In cold weather, caulk gets harder and more brittle, and the paint on the trim is more likely to chip. The baseboard itself, especially if it is MDF, becomes more fragile and prone to cracking along the bottom edge. Warming the room for an hour before the job, or using a hair dryer on the seams, softens the caulk and makes the paint more pliable. This is a small step that makes a measurable difference. A room at 70 degrees is noticeably easier to work in than a room at 55 degrees, and the trim comes off in longer, cleaner pieces.
The last detail is the most practical. When the baseboard comes off, the nails are left in the wall. They need to be pulled, and the temptation is to grab them with pliers and yank, which takes a chunk of drywall with every nail. The right way is to use the pry bar's nail notch, sliding it under the nail head with the bar flat against the wall, and pulling straight out. Or, even simpler, drive the remaining nails into the wall cavity with a hammer. The holes left behind are small, and patching a handful of nail holes is far easier than patching a torn sheet of drywall. This is the final step that separates a clean removal from a damaged one.