
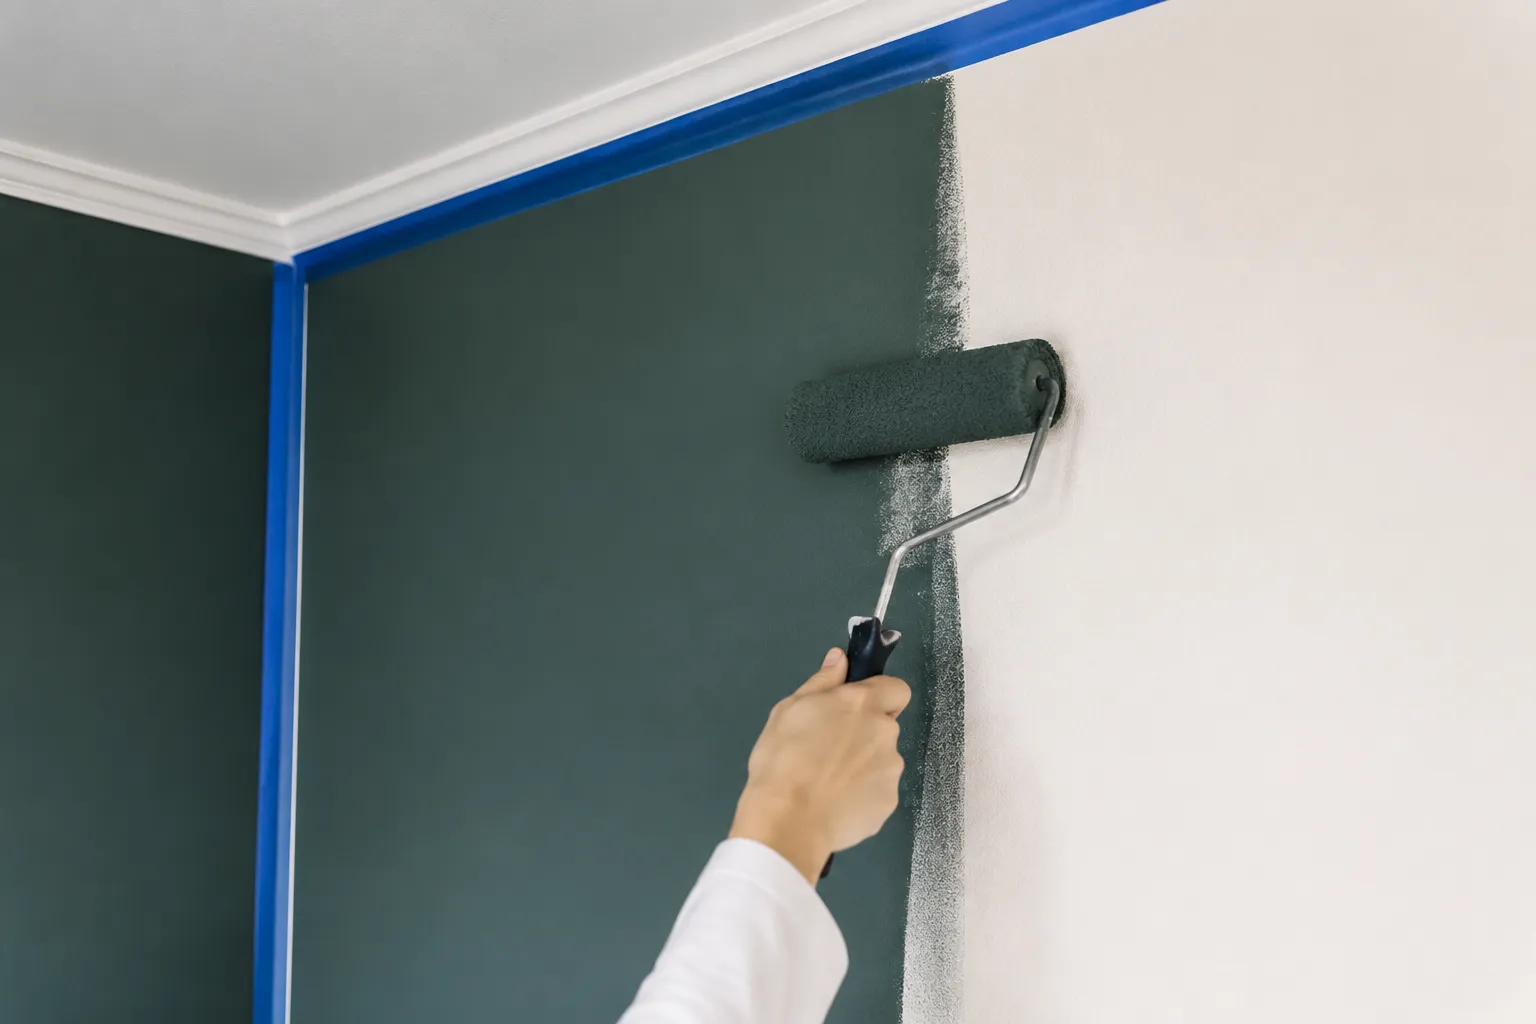
There is a correct order of operations for painting an accent wall, and most people get it wrong by treating the accent wall as an isolated project. The common approach involves taping off the three adjoining walls, cutting in along the ceiling and baseboard, and then rolling the color on in a single enthusiastic session. That sequence produces acceptable results maybe seventy percent of the time. The other thirty percent, the edges look like a child drew them with a crayon that kept slipping. The fix is not better tape or a steadier hand. The fix is changing the sequence itself.
An accent wall is a single plane of color surrounded by a different color on every side. That sounds obvious, but the geometry matters. A normal wall has four edges to worry about: two vertical corners, one ceiling line, and one baseboard line. An accent wall has those same four edges, plus the four corners where it meets the adjacent walls, plus the subtle transition where the new color stops and the old color resumes. Every one of those boundaries is a chance for the paint to bleed, skip, or build up into a visible ridge. The sequence needs to account for all of them, not just the ones at eye level.
Here is the sequence that produces cleaner edges. It is not the fastest method, and it is not the method that uses the least tape. It is the method that produces a line so sharp that a visitor has to touch the corner to believe the wall was painted at all. It involves two coats of the accent color, one coat of the adjacent wall color applied after the accent color has dried, and a final touch-up pass that no one ever mentions in the standard how-to guides.
The First Coat Goes on Loose, Not Perfect
The first mistake happens before the paint even touches the wall. A person tapes off the ceiling, tapes off the baseboard, tapes off the two adjoining walls, and then cuts in a razor-straight line along the tape. That is the wrong instinct. The first coat of any paint job is about building a base, not achieving perfection. Paint behaves differently on bare drywall, old paint, and patched spots. The first coat soaks in unevenly, and the color looks patchy and translucent. Trying to make that first coat perfect is a waste of effort.
For the first coat, tape only where absolutely necessary. Tape the ceiling line if the ceiling is a different color, and tape the baseboard if it is painted a different color. Skip the tape on the two vertical corners entirely. Instead, cut in along those corners with a brush, but do not obsess over the line. A slightly wobbly line is fine here because the second coat will fix it. The goal of the first coat is simply to get a uniform layer of the accent color onto the wall, including a few millimeters past where the final edge will sit.
The cut-in for the first coat should extend about a quarter of an inch past the corner onto the adjacent wall. This is a deliberate overrun. It creates a small patch of accent color on the neighboring wall that will be covered later. This overrun may look sloppy during the first coat, and that is acceptable. The paint is wet, the light is probably bad, and no one is judging a work in progress. The overrun exists so that the second coat of accent color can land on top of first-coat accent color, not on bare drywall or old paint. Paint adheres better to paint than to a substrate, and this tiny margin makes the final edge more durable.
Roll the first coat after cutting in. Use a roller with a 3/8-inch nap for smooth walls, or a 1/2-inch nap for textured walls. Roll in a W pattern, then fill in the gaps. Do not press hard; let the roller do the work. The first coat will look streaky and thin in places. That is normal. Let it dry completely, which usually takes two to three hours depending on humidity and the specific paint formula.
The Second Coat Is Where the Edge Gets Defined
The second coat is where the actual edge of the accent wall gets established. This is the coat that demands patience and a steady hand. By now, the first coat has dried, and the patchy areas are covered enough that the color looks close to final. The second coat will make it look finished.
Tape the ceiling line fresh, because the first coat likely left a few tiny gaps and the old tape may have lifted. Taping fresh for the second coat is a small cost that pays off in a cleaner line. The vertical corners still get no tape. Instead, the cut-in for the second coat should land exactly on the corner, with the brush loaded with paint but not dripping. The wrist moves in a single smooth pass, and the brush tip rides right along the corner crease. This is the moment where a steady hand matters more than any tape brand.
Here is the detail that changes the outcome. After cutting in the second coat along the vertical corners, do not roll the wall yet. Wait for the cut-in to dry to the touch, usually thirty to forty-five minutes. Then roll the rest of the wall. This waiting period prevents the roller from pushing wet paint into the corner and causing a ridge. A ridge is the most common edge failure in accent walls. It happens when the roller deposits a thick line of paint right at the corner, and that line dries into a raised bead that catches light and looks like a scar.
Roll the second coat in the same W pattern, working from the top down. Overlap each roller pass by about half the roller width to avoid stripes. The second coat should look uniform and solid. If any spots still look thin, let this coat dry and apply a third coat only to those spots. A third full coat is rarely necessary on an accent wall, since the color is usually a bold shade that covers well by the second pass.
The Adjacent Walls Get a Fresh Coat Afterward
This step is the one that separates the clean-edge result from the merely okay result. After the accent wall has dried completely, the adjacent walls need a fresh coat of their own color, applied right up to the corner. Most people skip this step because the adjacent walls already look fine. They think the old paint is good enough, and they only need to worry about the new accent color. That assumption creates the most common edge defect in accent wall painting: a visible line where the new color meets old, faded paint.
The adjacent walls have been in the room for years, probably. Their original paint has faded, collected dust, and oxidized slightly. The fresh accent color is vivid and new. When the two meet at the corner, the contrast is not just between two colors. It is between fresh paint and aged paint. Even if the adjacent wall color is the exact same shade it was when originally painted, the old paint will look duller and slightly yellowed next to the new accent color. The eye picks up this difference as a raggedness at the corner, even when the line itself is perfectly straight.
To fix this, tape off the now-dry accent wall along the vertical corners, and cut in a fresh coat of the adjacent wall color along those corners. Extend the cut-in about two inches onto the adjacent wall, then feather it out with a dry brush or a small foam roller. The new coat of adjacent color should only be applied to the few inches nearest the corner, not the entire wall. This local touch-up refreshes the paint at the boundary where the colors meet, so the age difference disappears.
The same logic applies to the ceiling line. The ceiling paint has aged too, and the fresh accent color will make the old ceiling paint look dingy where they meet. A quick cut-in of fresh ceiling paint along the line, feathered out a few inches, eliminates this mismatch. This is the step that makes the edge look like it was always there, rather than looking like a new addition.
Removing the Tape at the Right Moment
Tape removal is a timing operation, and the timing window is narrower than most people think. If the tape stays on until the paint is fully cured, which takes days, the paint film has bonded to the tape and will peel off with it, taking chunks of the fresh edge along. If the tape comes off while the paint is still wet, the paint runs and bleeds under the edge. The correct moment is when the paint is dry to the touch but not yet cured, usually about an hour after the final coat is applied.
At that point, the paint has formed a skin that will hold its shape, but it is still soft enough that the tape can be pulled away without disturbing the film. Pull the tape at a 45-degree angle, slowly, and pull toward the painted side, not away from it. Pulling toward the painted side pushes the tape edge down against the paint rather than lifting it, which reduces the chance of peeling. If any small spots of paint pulled up with the tape, let them dry completely, then touch them up with a small artist brush. Do not try to fix them while the paint is still tacky.
One more tape detail: never use the same piece of tape twice. After the tape is pulled, discard it. Fresh tape grips better and creates a cleaner seal. Old tape that has been stuck and pulled loses its adhesive quality, and reusing it is a false economy. A roll of tape costs a few dollars. A touch-up session costs an hour.
The Final Touch-Up Pass Is a Separate, Deliberate Act
After the tape is off and the paint has dried for a full day, do an inspection pass with a bright light held at a low angle to the wall. This raking light reveals every ridge, every skip, and every tiny gap that normal overhead lighting hides. Most people skip this inspection because they think the job is done. The job is done when the raking light reveals nothing, which usually requires a few small fixes.
The common defects are a tiny gap at the ceiling line where the brush skipped, a thin spot at the corner where the roller did not reach, and a small ridge where the second coat overlapped the first coat's overrun. Each of these fixes requires a different tool. The gap at the ceiling line gets a small angled brush with barely any paint on it. The thin spot at the corner gets a cotton swab dipped in paint, gently daubed in. The ridge gets sanded with fine-grit sandpaper, 220 grit, then repainted with a single light coat over the sanded area.
This touch-up pass is not glamorous and it does not photograph well. It is the kind of work that takes ten minutes and makes the difference between a wall that looks painted and a wall that looks like it was born that color. The raking light is the tool that reveals the truth, and the touch-up pass is the tool that fixes it. Together, they are the final two hundred yards of a marathon. Skip them, and the finish line is an illusion.
Why the Overrun Step Feels Wrong but Works
The deliberate overrun of the first coat onto the adjacent wall is the step that most contradicts a painter's instincts. Every instinct says to keep the paint on its own side of the line, to stay neat, to avoid spreading the color where it does not belong. But the overrun creates a foundation. When the second coat of accent color lands on the overrun, it adheres to paint that has already bonded to the wall. When the adjacent wall color is applied later, it covers the overrun entirely. The final edge is a sandwich: adjacent wall color on top, overrun underneath, and the boundary between the two coats is a clean vertical line that has never been exposed to the bare substrate.
This sandwich structure is why the edge stays clean for years. A wall that was painted with the tape-only method, where the accent color was applied flush to the tape and the adjacent wall was never touched, has a single layer of paint at the boundary. That single layer is thin, and it is vulnerable to chipping and peeling. The sandwich method produces a boundary that is multiple layers thick, and it does not depend on the tape to hold the line. The tape is just a guide. The paint layers are the structure.
There is also a practical benefit that shows up the next time the room gets repainted. When the accent color eventually fades and a new color takes its place, the old overrun and the old adjacent wall coat have bonded into a single surface. The new painter can tape right along the corner and get a clean line without worrying about the boundary failing. The wall has a memory of being painted correctly, and that memory makes the next job easier.
The sequence is not hard. It is just longer and more deliberate than the common approach. It adds maybe ninety minutes of work across two evenings: the first coat goes on loose, the second coat goes on precise, the adjacent walls get a local refresh, and the final inspection catches the small sins. The reward is a corner that looks machined, a line that catches no light, and a wall that does not announce itself as a recent addition. A proper accent wall should not look like something that was added. It should look like the room was always supposed to have that one deep blue wall, that one terracotta plane, that one dark green field holding the rest of the space in place. The sequence is what gets a person there.